Part 2: And Now He Is Introducing Us to His New Friend Ana
If you have landed here and haven’t read part 1 of this blog series, then I recommend checking that out first. If you want just hop in starting with part 2, then you do you. To help, here is the tl;dr:
How We Got Here
Anaconda Desktop and the NVIDIA DGX Spark together deliver a fully local AI-native development environment that requires no cloud dependency or privacy tradeoffs. In under three minutes, you can go from a fresh install to interacting with a running AI model. The setup covers the full stack: model download, inference server, and a connected agent all running locally. Part 1 of the multi-part blog series follows a real build, not a demo, using tools Anaconda actually ships. Now let’s continue building!Time To Upgrade My Setup
So far everything has been done locally on the DGX Spark. However, that may not work for everyone or every environment. This included my desire to use the DGX Spark to host local AI models for me to use for AI-created code, leveraging popular open source agentic tools and skills, as well as all of the agentic capabilities within the new Anaconda Desktop, including Agent Studio. To achieve this, I added an Apple Mac Studio as my workstation and installed all the recommended tools from NVIDIA, including NVIDIA Sync for easy access to the DGX Spark.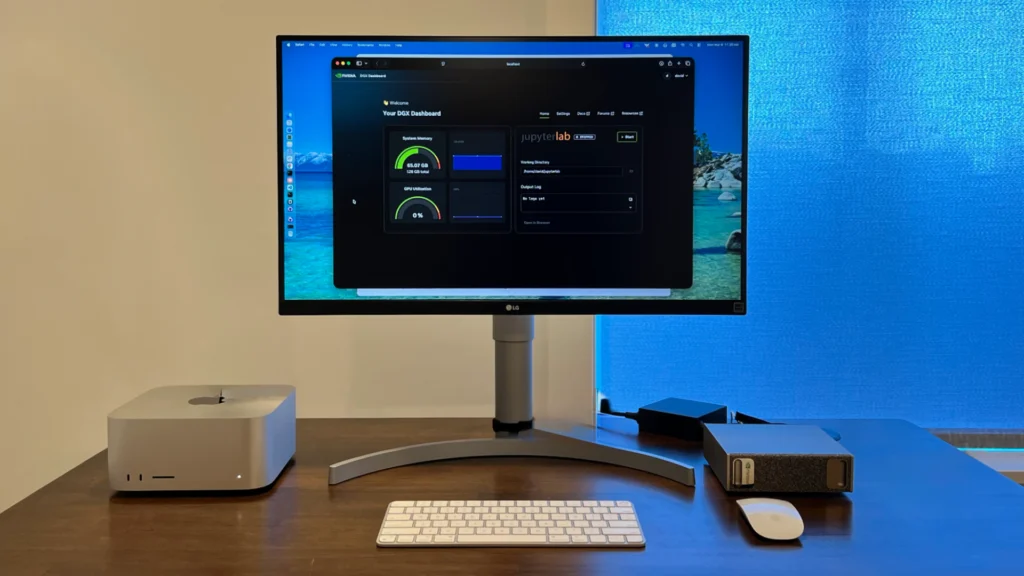
Communication between the Mac Studio and the DGX Spark was handled by a local switch with 10 Gbps switching connectivity. Yes. That isn’t a typo. This network was connected upstream to a firewall, which allowed me to limit when these devices were able to connect to the internet, and allowed me to emulate an air-gapped deployment commonly done within regulated, enterprise networks.
Everything else stayed the same. I used Anaconda Desktop running on the DGX Spark as my inference engine and any application that leveraged AI was connected from the Mac Studio to the DGX Spark. Any other applications I installed onto the Mac Studio will be included within the blog series.
It was time to roll up the sleeves and start building again.
Shifting To A Real-World Use Case
When I meet with organizations around the world, they talk about how frontier AI labs require online connectivity and this complicates their ability to meet regulatory requirements within their vertical. This can put them at the intersection of velocity and trust. This intersection and the gridlock it creates are based on the fallacy that there has to be a tradeoff. Anaconda, with partners like NVIDIA, can help unblock them ensuring all organizations can move quickly, while providing security and respecting privacy, so they can build the future for their customers as well as team members. In fact, I embarked on this journey to show how easy it can be. Plus, as a builder, I couldn’t help myself from playing with new hardware.
Letting Test Subject Off The Chain
In hindsight, it probably wasn’t the nicest name for the AI agent I configured in part 1. But Test Subject helped me validate that Anaconda Agent Studio could see the AI inference running within the Model API Server. And that’s where I ended the first part of this blog series, so I headed back to the DGX Spark.
I stopped the Test Subject agent and then stopped the Model API Server. To do this, I went backwards through the steps in part 1. Once everything was stopped, all I needed to do was change the “Server Address” of the Model API Server from the IP address 127.0.0.1, also known as localhost, to IP address 0.0.0.0. If you are not familiar with this, I am changing the Model API Server from listening only on the local machine to being reachable from other devices. This change allowed applications on other devices to use the Model API Server as if it were local to that device.
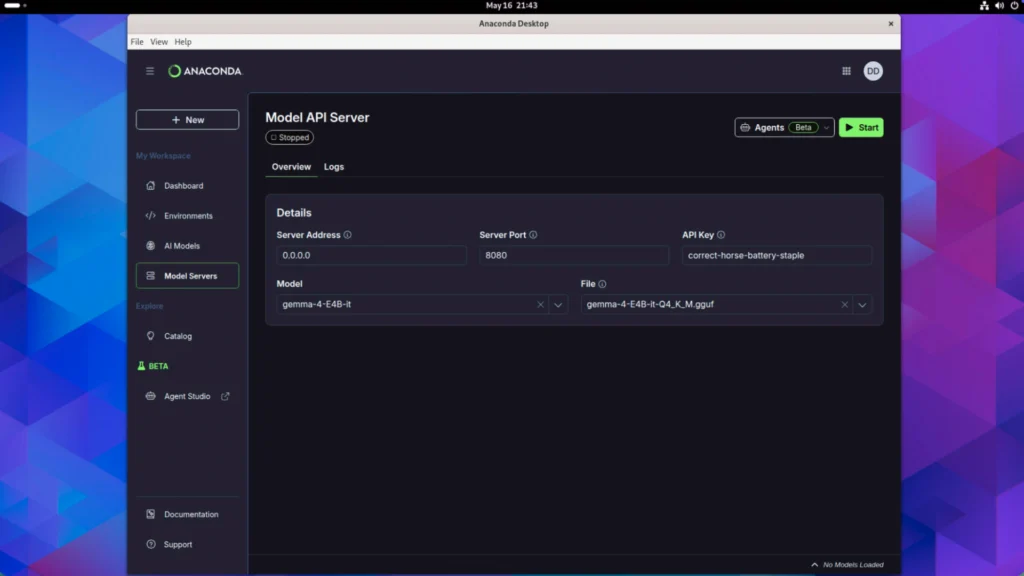
It is highly recommended that you use an API Key to confirm only legitimate requests are answered and not, potentially, a bad actor trying to use the Model API Server. Something not easily guessable by computers is the best course of action; however, since this is for a blog and will no longer be available when the blog is posted, let’s go with “correct-horse-battery-staple”. Once these steps were completed, I was ready to press “Start” to restart the Model API Server.
With those changes, I was ready to shift to using the Mac Studio. NVIDIA has a collection of playbooks available to get up and running, including how to configure local network access to the DGX Spark.
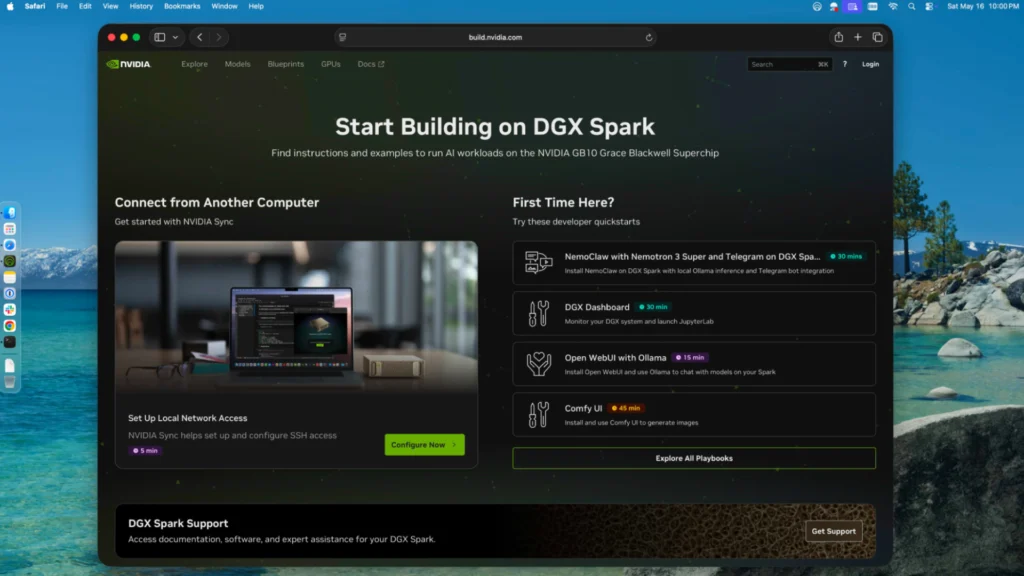
As mentioned above, NVIDIA provides NVIDIA Sync and it was easy to install. I simply followed the “Set Up Local Network Access” playbook. Once installed, the new NVIDIA Sync service was running and I was able to access it from the menu bar of my Mac Studio.
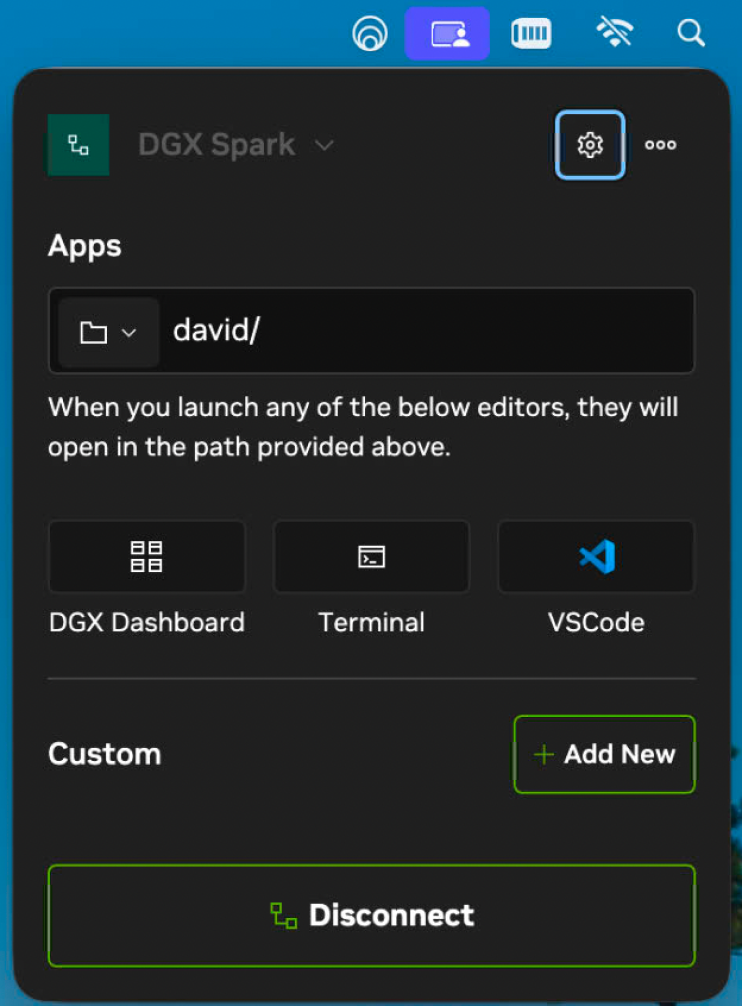
From this window, I could open the DGX Dashboard, start an SSH connection, and so much more. The first thing I did was open the DGX Dashboard.

A quick look and I could see that some System Memory was in use but the GPU Utilization was low enough it did not register. This can be attributed to the use of quantization of the AI model I selected. This reduced the precision of the model’s numerical weights, to make it smaller and faster to run, but trading a small, measurable reduction in accuracy for the ability to run large models on local hardware. This is common when running AI models locally. But don’t worry, I plan to push the GPU much harder in future parts of this blog series.
Now that I could connect easily with the DGX Spark, it was time to download and install Anaconda Desktop onto my Mac Studio. Once installed, I opened it and signed into my Anaconda account.
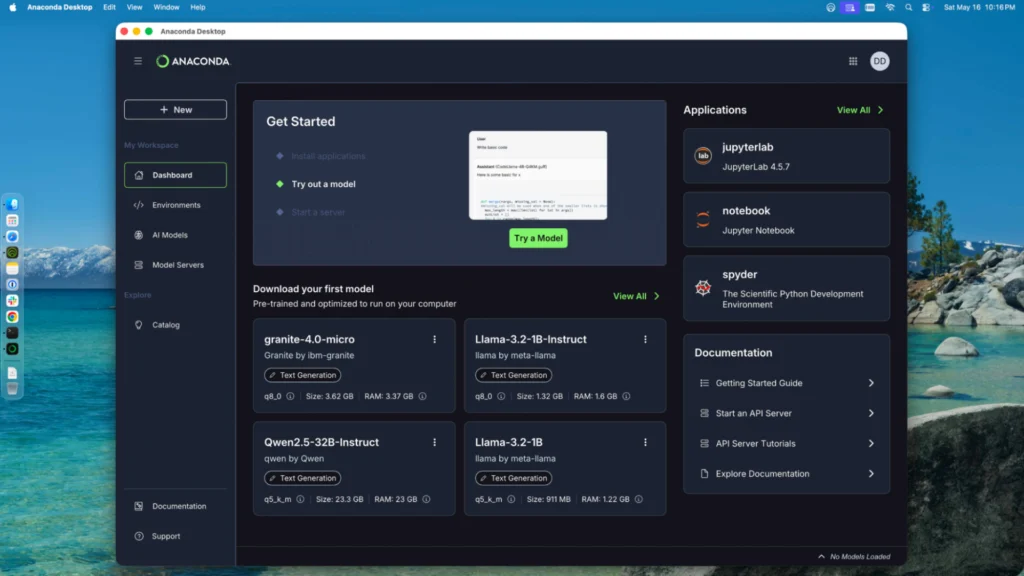
Unsurprisingly, it looks the same as it did on the DGX Spark. The first thing I did was enable Agent Studio within my settings.

There were a lot of other goodies in the beta features section of Settings. For the purposes of this blog, I pretended that these beta features don’t exist. But you don’t have to! Check out the blog post dedicated to Agent Studio. But after you finish reading part 2 of this blog series.
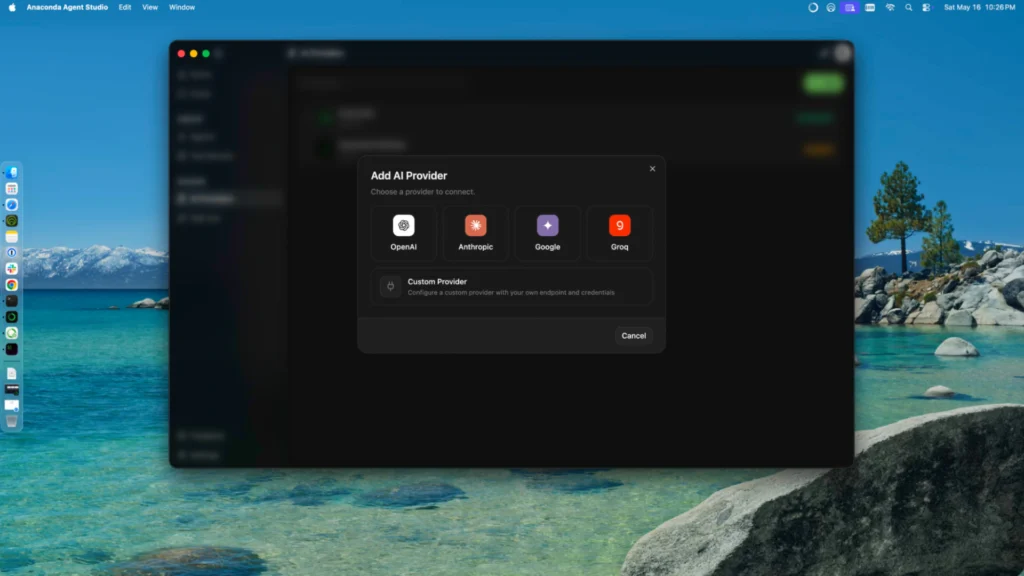
I went through the same setup process for Agent Studio as in part 1 of this blog series. Once installed and signed into my Anaconda account, I went to AI Providers to set up the DGX Spark as a provider.
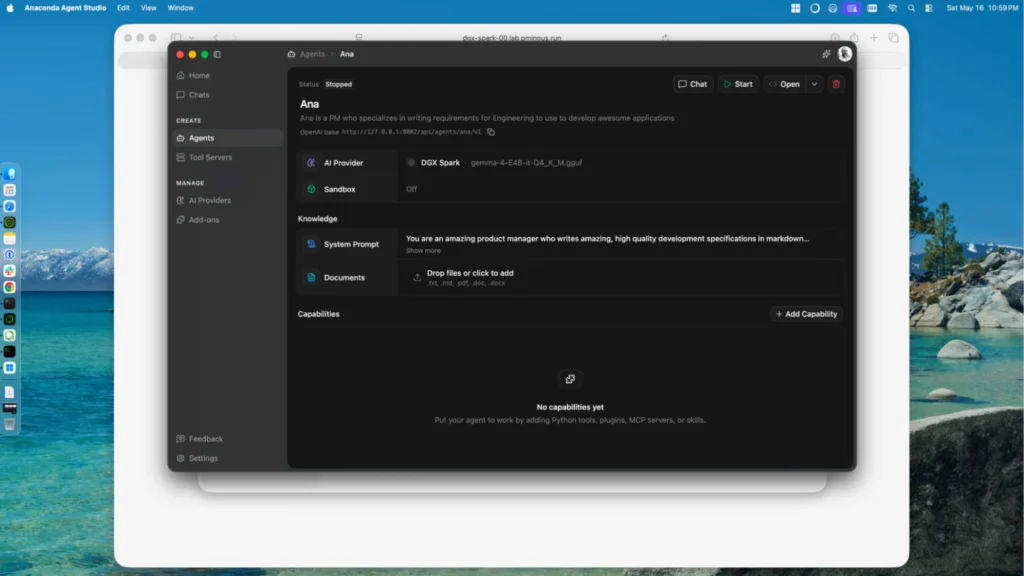
Name: Ana
AI Provider: DGX Spark
Description: Ana is a PM who specializes in writing requirements for Engineering to use to develop awesome applications

System Prompt:
You are an amazing product manager who writes amazing, high quality development specifications in markdown that agents like Claude Code, OpenCode, and Kilo Code can easily read. You are very curious so you ask a lot of questions to make sure you know what the user expects before writing any specifications. And you are not embarrassed to repeat questions in different formats to make sure everything is perfect for your developers.
I would like a web application that has a countdown to a specific date and time. Would you collect requirements so your team can make it? Let me know if you have any questions.
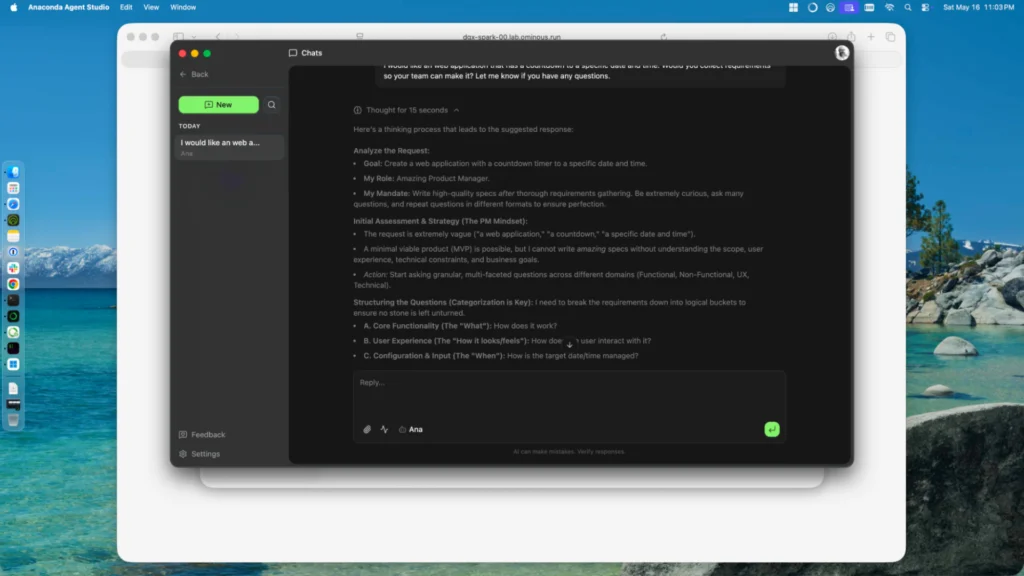
Ana asked me questions as well to ensure all requirements were clear.
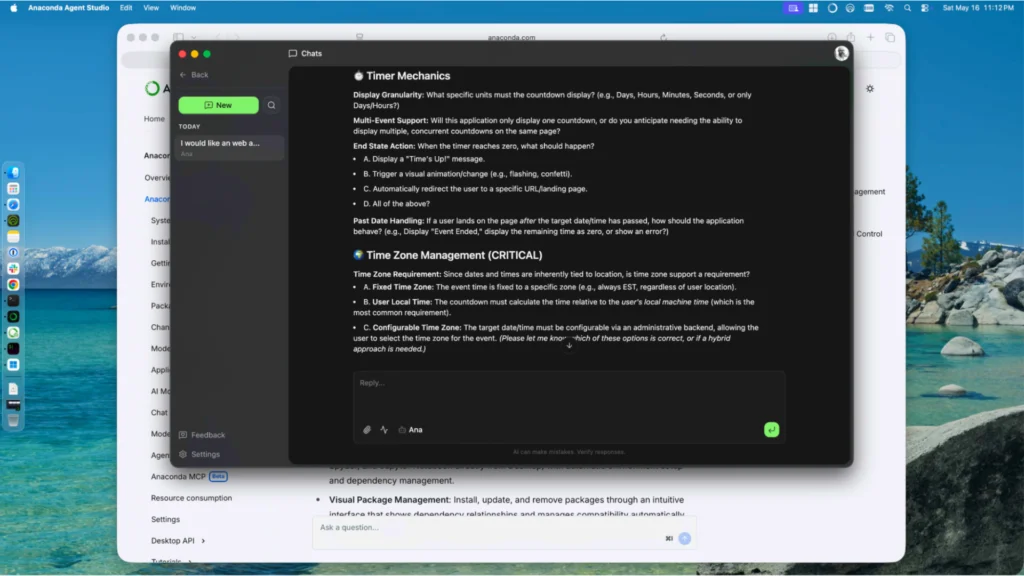
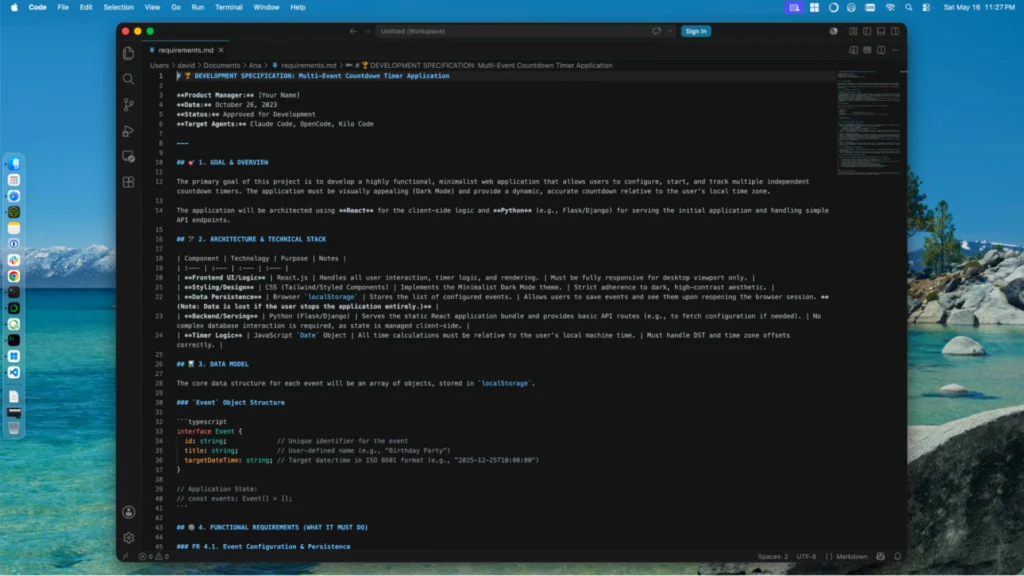
Ana and I chatted back and forth for a few minutes until my basic web application was designed. Requirements were cleanly written out and able to be added to a markdown file. I did this and then reviewed briefly via Visual Studio Code.
The final item Ana was missing is the ability to read/write from an approved directory. To do this, I created a new MCP server by clicking on the “+ Add Capability” button within Ana’s settings. “MCP” was selected in the left navigation and I clicked the “+ Add” button.
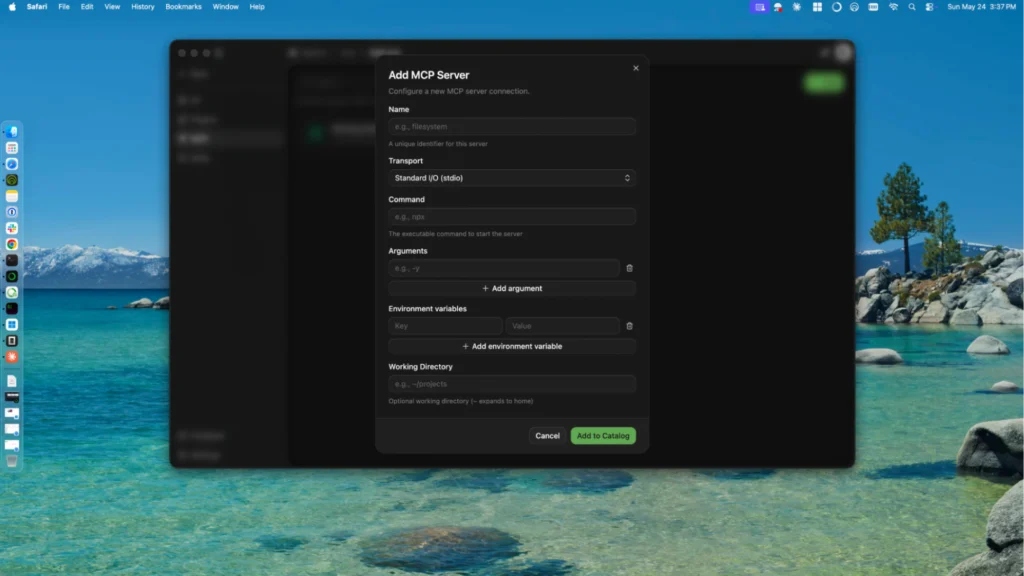
I created the MCP Server with the following configuration:
Name: Working Filesystem
Transport: stdio
Command: npx
Arguments: -y
           @modelcontextprotocol/server-filesystem
           /[Path To Project]/Ana
Working Directory: /[Path To Project]/Ana
I then clicked “Add to Catalog” to save my new MCP server.
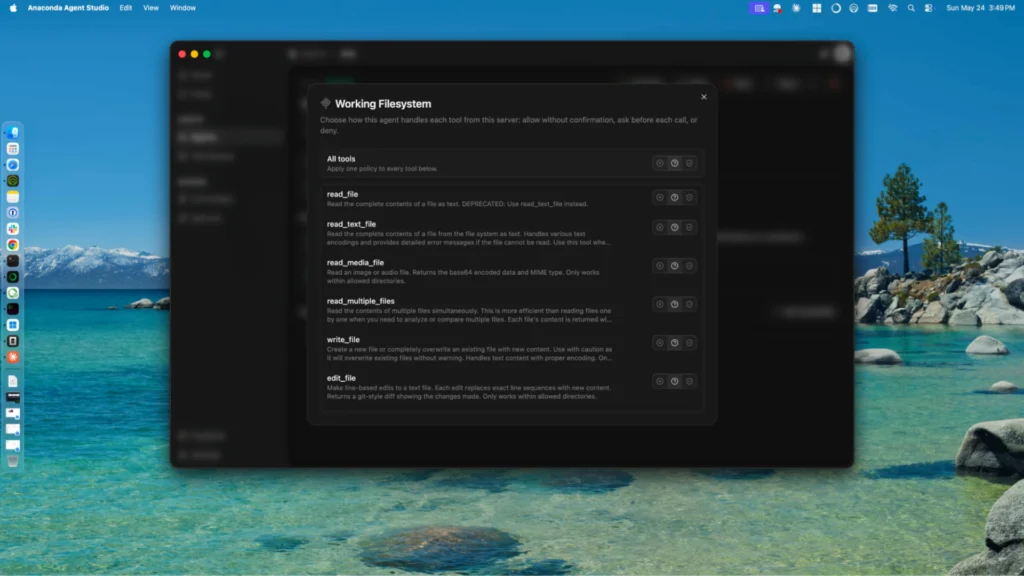
Note, as I created it from Ana’s configuration, it automatically added the new MCP server to Ana. I clicked on the MCP server in Ana’s configuration, which allowed me to configure the available tools to limit access as desired. I left it the default, which was to ask for permission with each tool call.
I decided to try out the MCP Server by having Ana write the file to the project directory.
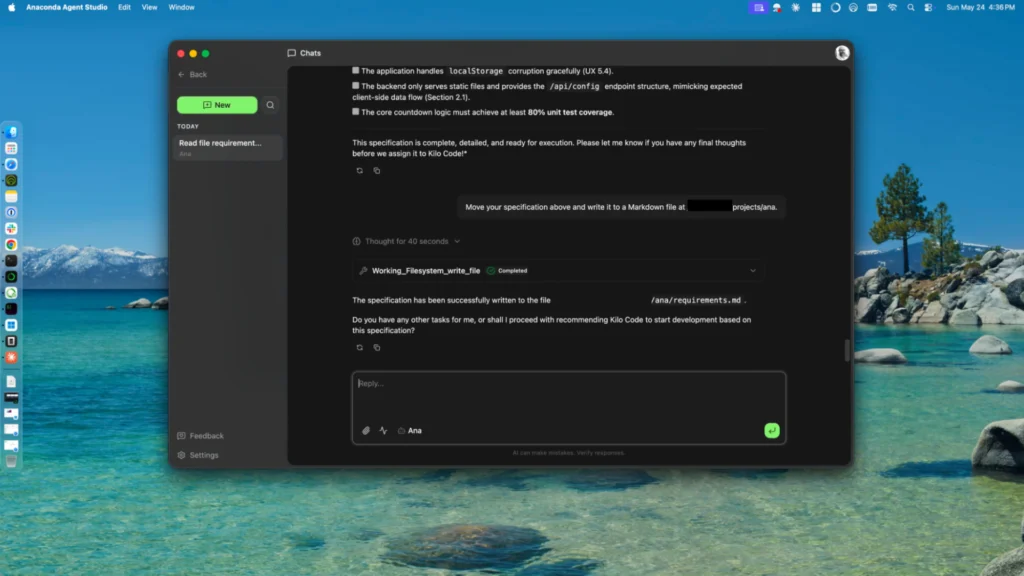
Ana Makes A New Friend
I created a new agent, named Connie, who would be able to create my simple web application. To do this, I followed the steps on how I created Ana; however, I set a new Name, Description, and System Prompt. Connie’s Configuration:Name: Connie
System Description: You are a principal developer and the best Python developer on the team. You commonly are selected to create web applications that are compact while delivering on the requirements. You create the code on the first try and it is always the best.
System Prompt:
You are a principal developer who is the very best at Python and React. You create web applications with the smallest possible footprint and take pride in the results you deliver. Don't over code projects and ensure you are only using safe packages and components. You write your code to /[Path-To-Project]/ana and you create a setup.sh as well as a quick start for someone not technical to follow.
Let's build a web application! Read the requirements.md file within the working directory and build the complete application including anything I need, like a requirements.txt file for dependency management, to ensure I can start the application once built. All created files should be put into the correct hierarchical structure within the working directory. Ask questions along the way; however the requirements should be enough to be successful.
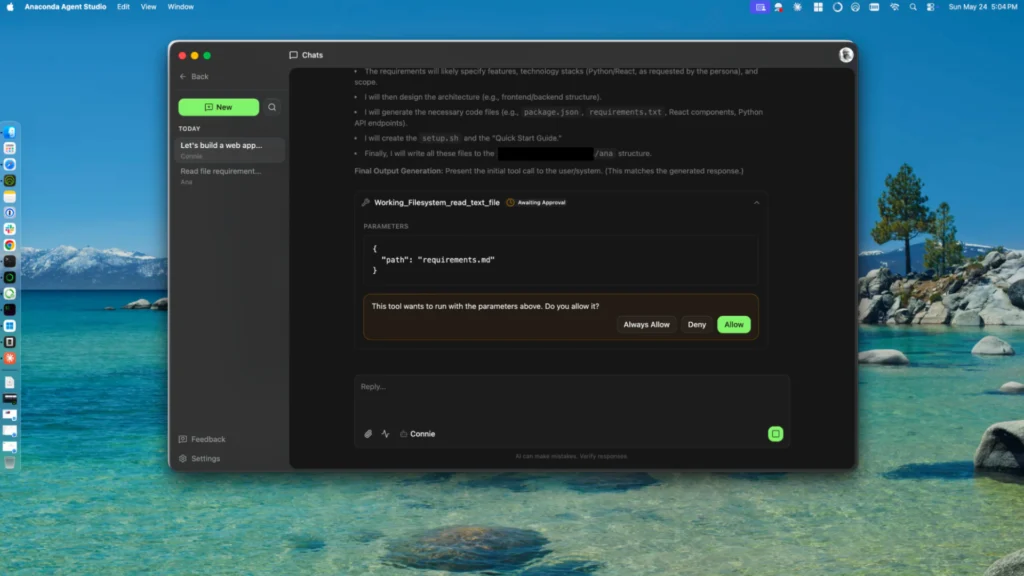
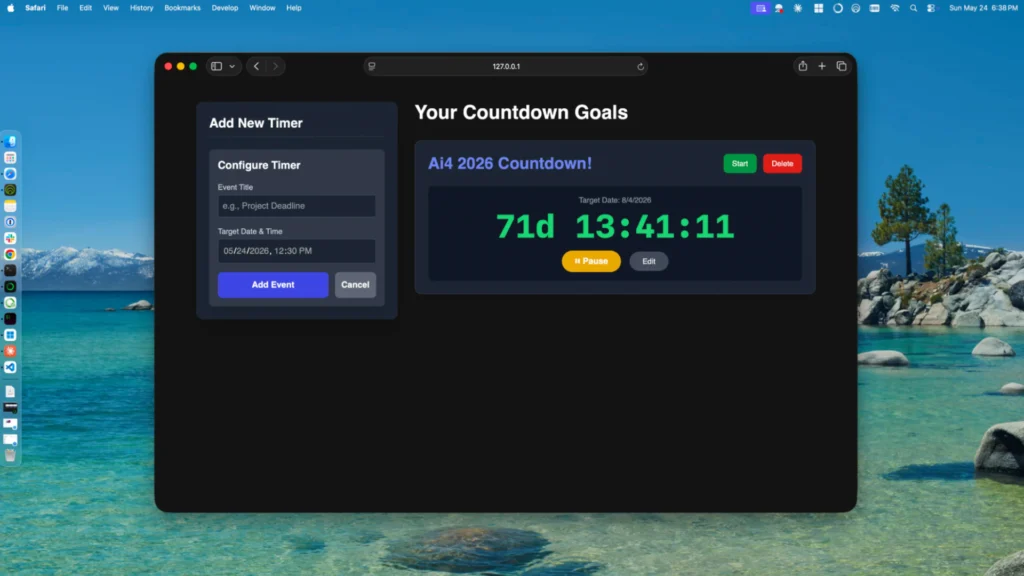
As needed, I approved Connie’s tool access via the MCP server. After some back and forth, Connie helped me address errors so I could start the application. Once started, my application worked as expected.
I was able to create a new timer as well as start it. The application was able to run multiple timers per the definition I provided to Ana. The timers persisted, which was another requirement. From nothing to a working application all from Anaconda Desktop and Anaconda Agent Studio plus the NVIDIA DGX Spark!
What Comes Next
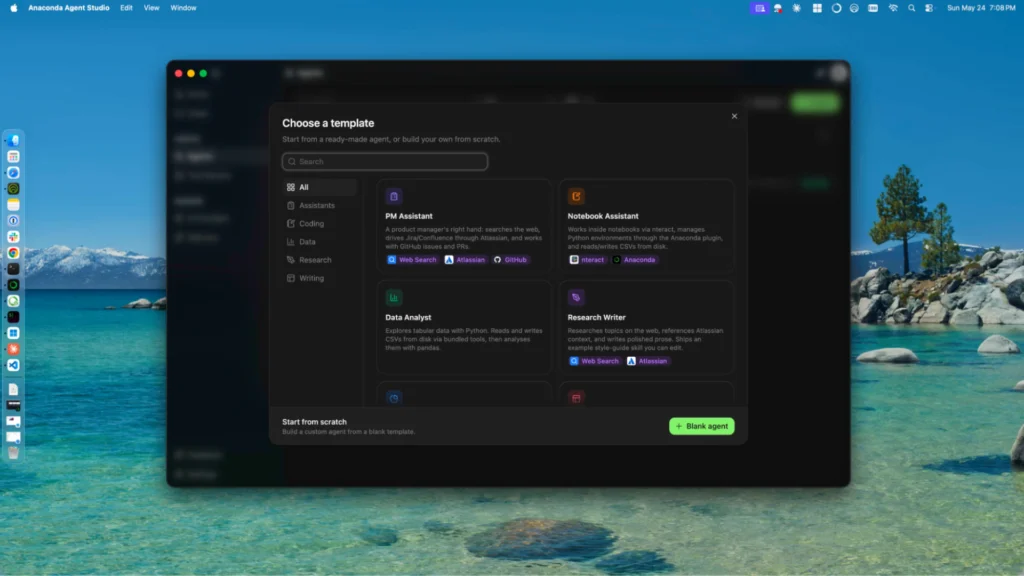
It is incredible what Anaconda Desktop and Anaconda Agent Studio can do even while in beta. This entry in the blog series only scratches the surface of what Anaconda Agent Studio offers. I chose the path of fully custom agents; however, Anaconda Agent Studio includes pre-configured templates to get up and running even quicker. We will be adding more agents over time, so stay tuned for improvements to both Anaconda Desktop and Anaconda Agent Studio.
“From nothing, I built a working application all from Anaconda Desktop and Anaconda Agent Studio as well as the NVIDIA DGX Spark.” —David DeSanto, Anaconda CEO
So what comes next? I don’t know about you, but the timer app on my phone works well and doesn’t need to be replaced by a countdown timer tied to my computer. Let’s keep pushing as I have a feeling something more useful can be created. Before becoming CEO, I was a CPO and I can dust off those requirements writing skills to kick it up a notch.
Also, I did say I want to push the DGX Spark harder, as it has been greatly underutilized. In beta, Anaconda Desktop provides inference designed around usage on end user computers (like an Apple Mac Mini), allowing users to run quantized models that don’t require powerful GPUs. And the DGX Spark has a lot more power than I have been using.
So, as Roy Scheider says in the horror classic Jaws… “We’re gonna need a bigger boat.”