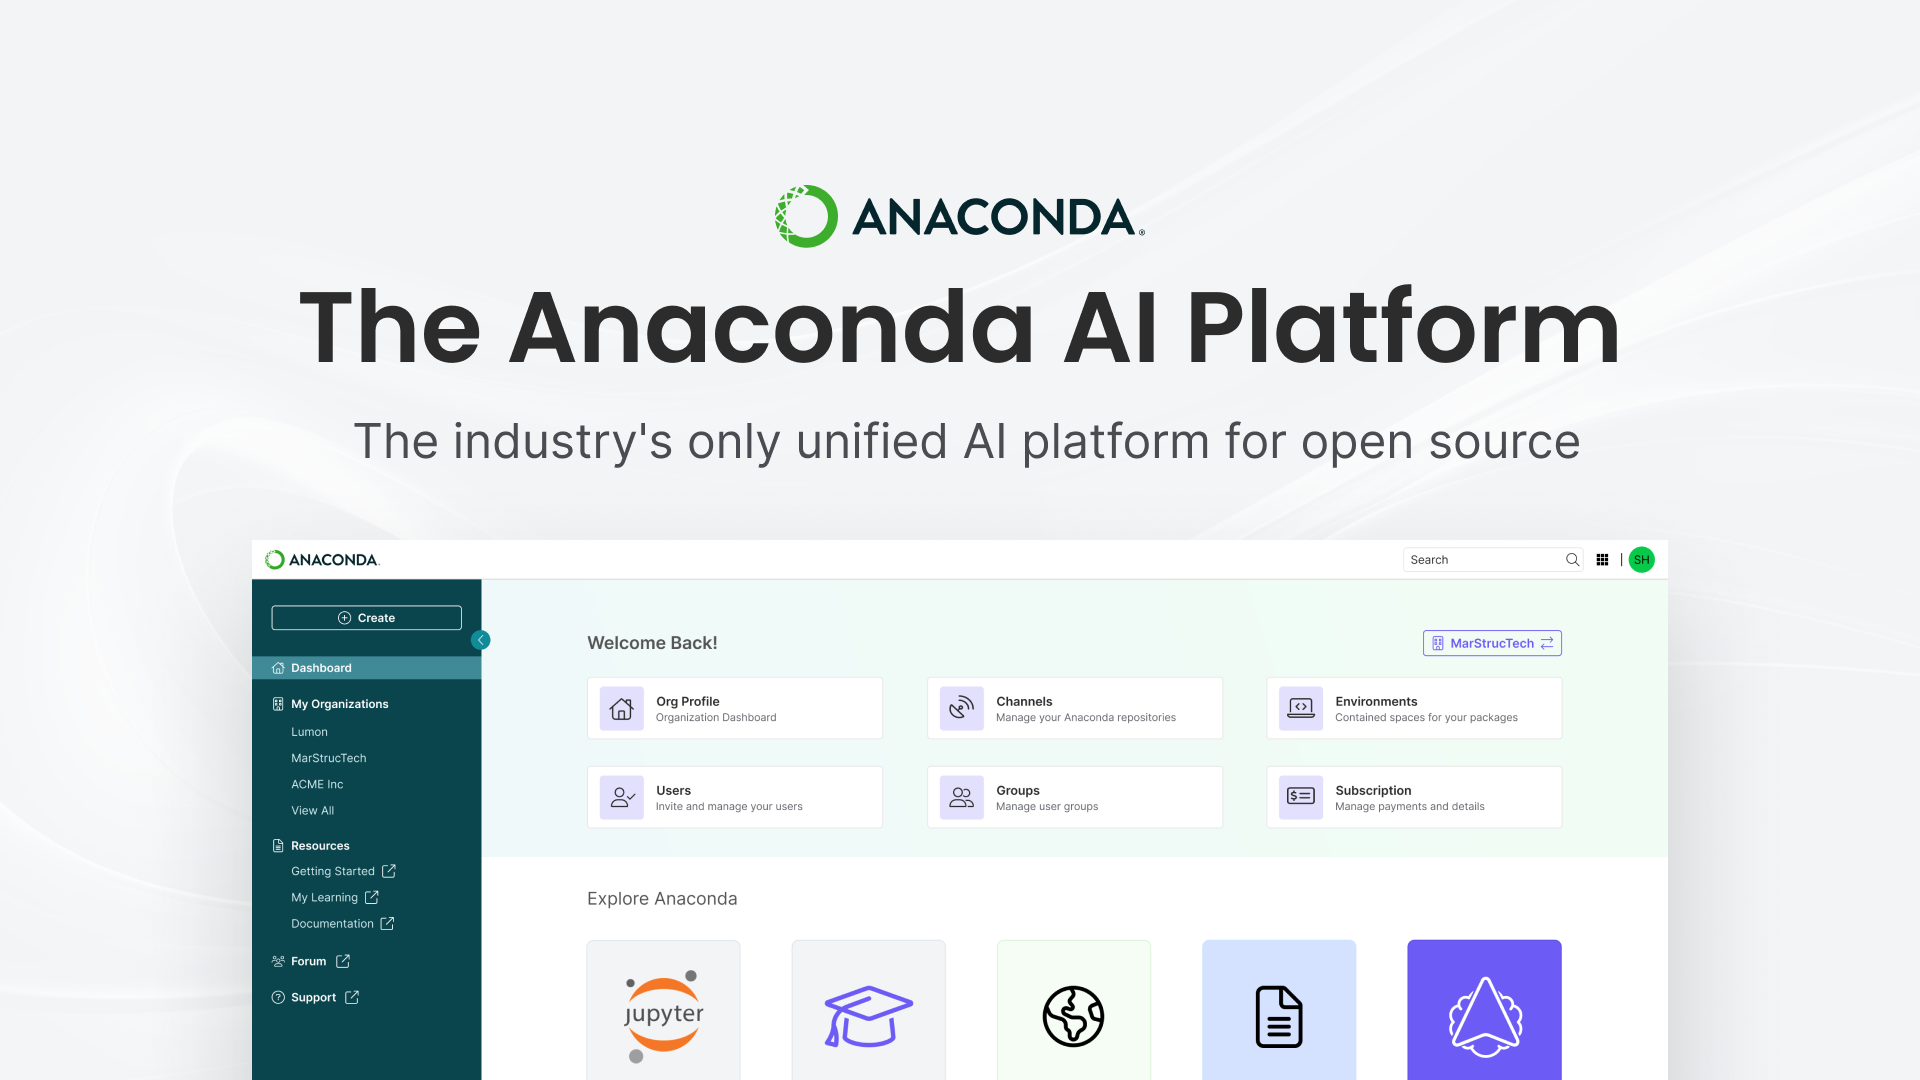
Anaconda AI Platform

Simplify your access to premium repositories with Anaconda’s new CLI-based token management workflow. We’ve completely reimagined how Business Tier customers interact with the Anaconda Premium repositories and your organization’s hosted channels within the Anaconda AI Platform. The streamlined token management allows both administrators and practitioners to access critical resources with fewer steps and greater security. To see this new workflow process in action, check out the video below or read along for full instructions.
Before we dive into the new token workflow, it’s useful to understand the existing, or now legacy but still supported, workflow for obtaining and using an Anaconda token. Previously, in order to obtain a token, users had to log into the Anaconda.com portal, navigate to their organization’s page, then navigate to the “Token Access” section, and click the “Reissue token” button. After clicking the button the user received an email with further instructions on how to install the token by copying and pasting several commands into their terminal, and then finally read the Anaconda Quickstart Guide to learn how to configure their .condarc file.
Obviously, this wasn’t an ideal scenario and many folks expressed dissatisfaction with the number of steps they were required to go through to get and use a token. Now we’ve introduced a new workflow that meets users where they are, on the command line. This new workflow provides a single command that obtains a token, installs the token, and configures the user’s .condarc file with a single command – anaconda token install.
To leverage the new command line driven workflow, users must first install the new anaconda-auth plugin. If you have the May 2025 or later release of the Anaconda Distribution, you already have this plugin installed. If not, you’ll need to install it manually. The main channel already includes this plugin, so if you want to install it all you need to do is run the following command in your terminal.
conda install anaconda-authAfter installing the package, you’re ready to get started. Unlike the previous token workflow where an admin or user would issue the token, follow multiple steps to install the token, and then configure the .condarc file, we’ve handled all of this for you.
Once you log into the Anaconda AI Platform, to issue your token, simply type the following command in your terminal:
anaconda token install
From there, a browser window will open and request that you log in. Once you’ve logged in, a CLI-based wizard will guide you through installing your token and configuring your .condarc file.
~ anaconda token install
 Please select an organization:
 * Blog Demo (blog-demo)

An existing token already exists for the organization blog-demo.
Reissuing a new token will revoke and deactivate any existing token access. This action can't be undone.
Proceed? [y/n] (n): y
Your conda has been installed and expires 2053-12-17 00:00:00. To view your token(s), you can use anaconda token list

Backing up config to /Users/psautter/.condarc.bak
Configuring your .condarc file
Prepared to set default channels in .condarc.
Proceed? [y/n] (n): y

Success! Your token has been installed and validated, and conda has been configured.Once you’ve completed the wizard, assuming you’ve answered y to all of the questions, you can now view your configured .condarc file.
 ~ cat ~/.condarc
channel_settings:
  - channel: https://repo.anaconda.cloud/*
    auth: anaconda-auth
default_channels:
  - https://repo.anaconda.cloud/repo/main
  - https://repo.anaconda.cloud/repo/r
  - https://repo.anaconda.cloud/repo/msys2
The .condarc configuration provided by anaconda-auth currently only supports Anaconda’s secure default channels and we’re working to include organization specific channel configuration in the near future. To learn more about .condarc configuration, please review the documentation provided by the Anaconda Quickstart Guide.
There are a couple of details and considerations with this new workflow. First, your operating system’s secure storage mechanism protects your Anaconda Token (e.g. Keychain on MacOS) for secure secret storage, so it’s not available in plain text. Secondly, the anaconda token install command will deactivate your existing token, if you have one.
This token refresh process is seamless for most users, however there are some edge cases where users may not want to deactivate the old one. For those users, the existing UI based workflow remains available via the Anaconda AI Platform at anaconda.com. You can find the documentation for the existing workflow on the Anaconda docs site.
The new anaconda-auth workflow significantly improves how you access and manage your premium Anaconda resources—turning what was once a multi-step process into a straightforward experience. By reducing configuration hurdles and enhancing security, your team can focus on what matters: building powerful data science and AI solutions.
If you’re already using the May 2025 Anaconda Distribution, you can start immediately. For detailed information about advanced features of the anaconda-auth library, explore our comprehensive documentation. We actively maintain this tool and value your feedback—share your experience or suggest improvements through our public GitHub repository.
Ready to experience the difference? anaconda-auth is waiting for you.