This guide is designed to walk you through the essential steps to begin using Anaconda Desktop. It provides guidance on signing in, launching applications, downloading models, chatting with a model, and loading models into the API server. –Documentation Index
Fetch the complete documentation index at: https://anaconda.com/docs/llms.txt
Use this file to discover all available pages before exploring further.
Before you start
Make sure you have Anaconda Desktop installed.Launching Desktop
Open Desktop using the following instructions:- Windows
- macOS
From the Start menu, search for “Anaconda Desktop” and select to open.
Signing in
Anaconda Desktop requires you to have an Anaconda account to sign in. If you’re part of an Anaconda Platform organization, sign in with your assigned credentials.
Understanding Desktop
The Dashboard
When Desktop opens, you’ll start at the Dashboard, where you’re provided a few ideas on how to get started. After you’ve interacted with Desktop by, for example, downloading a model or starting a chat, your most recent activities will appear on your dashboard.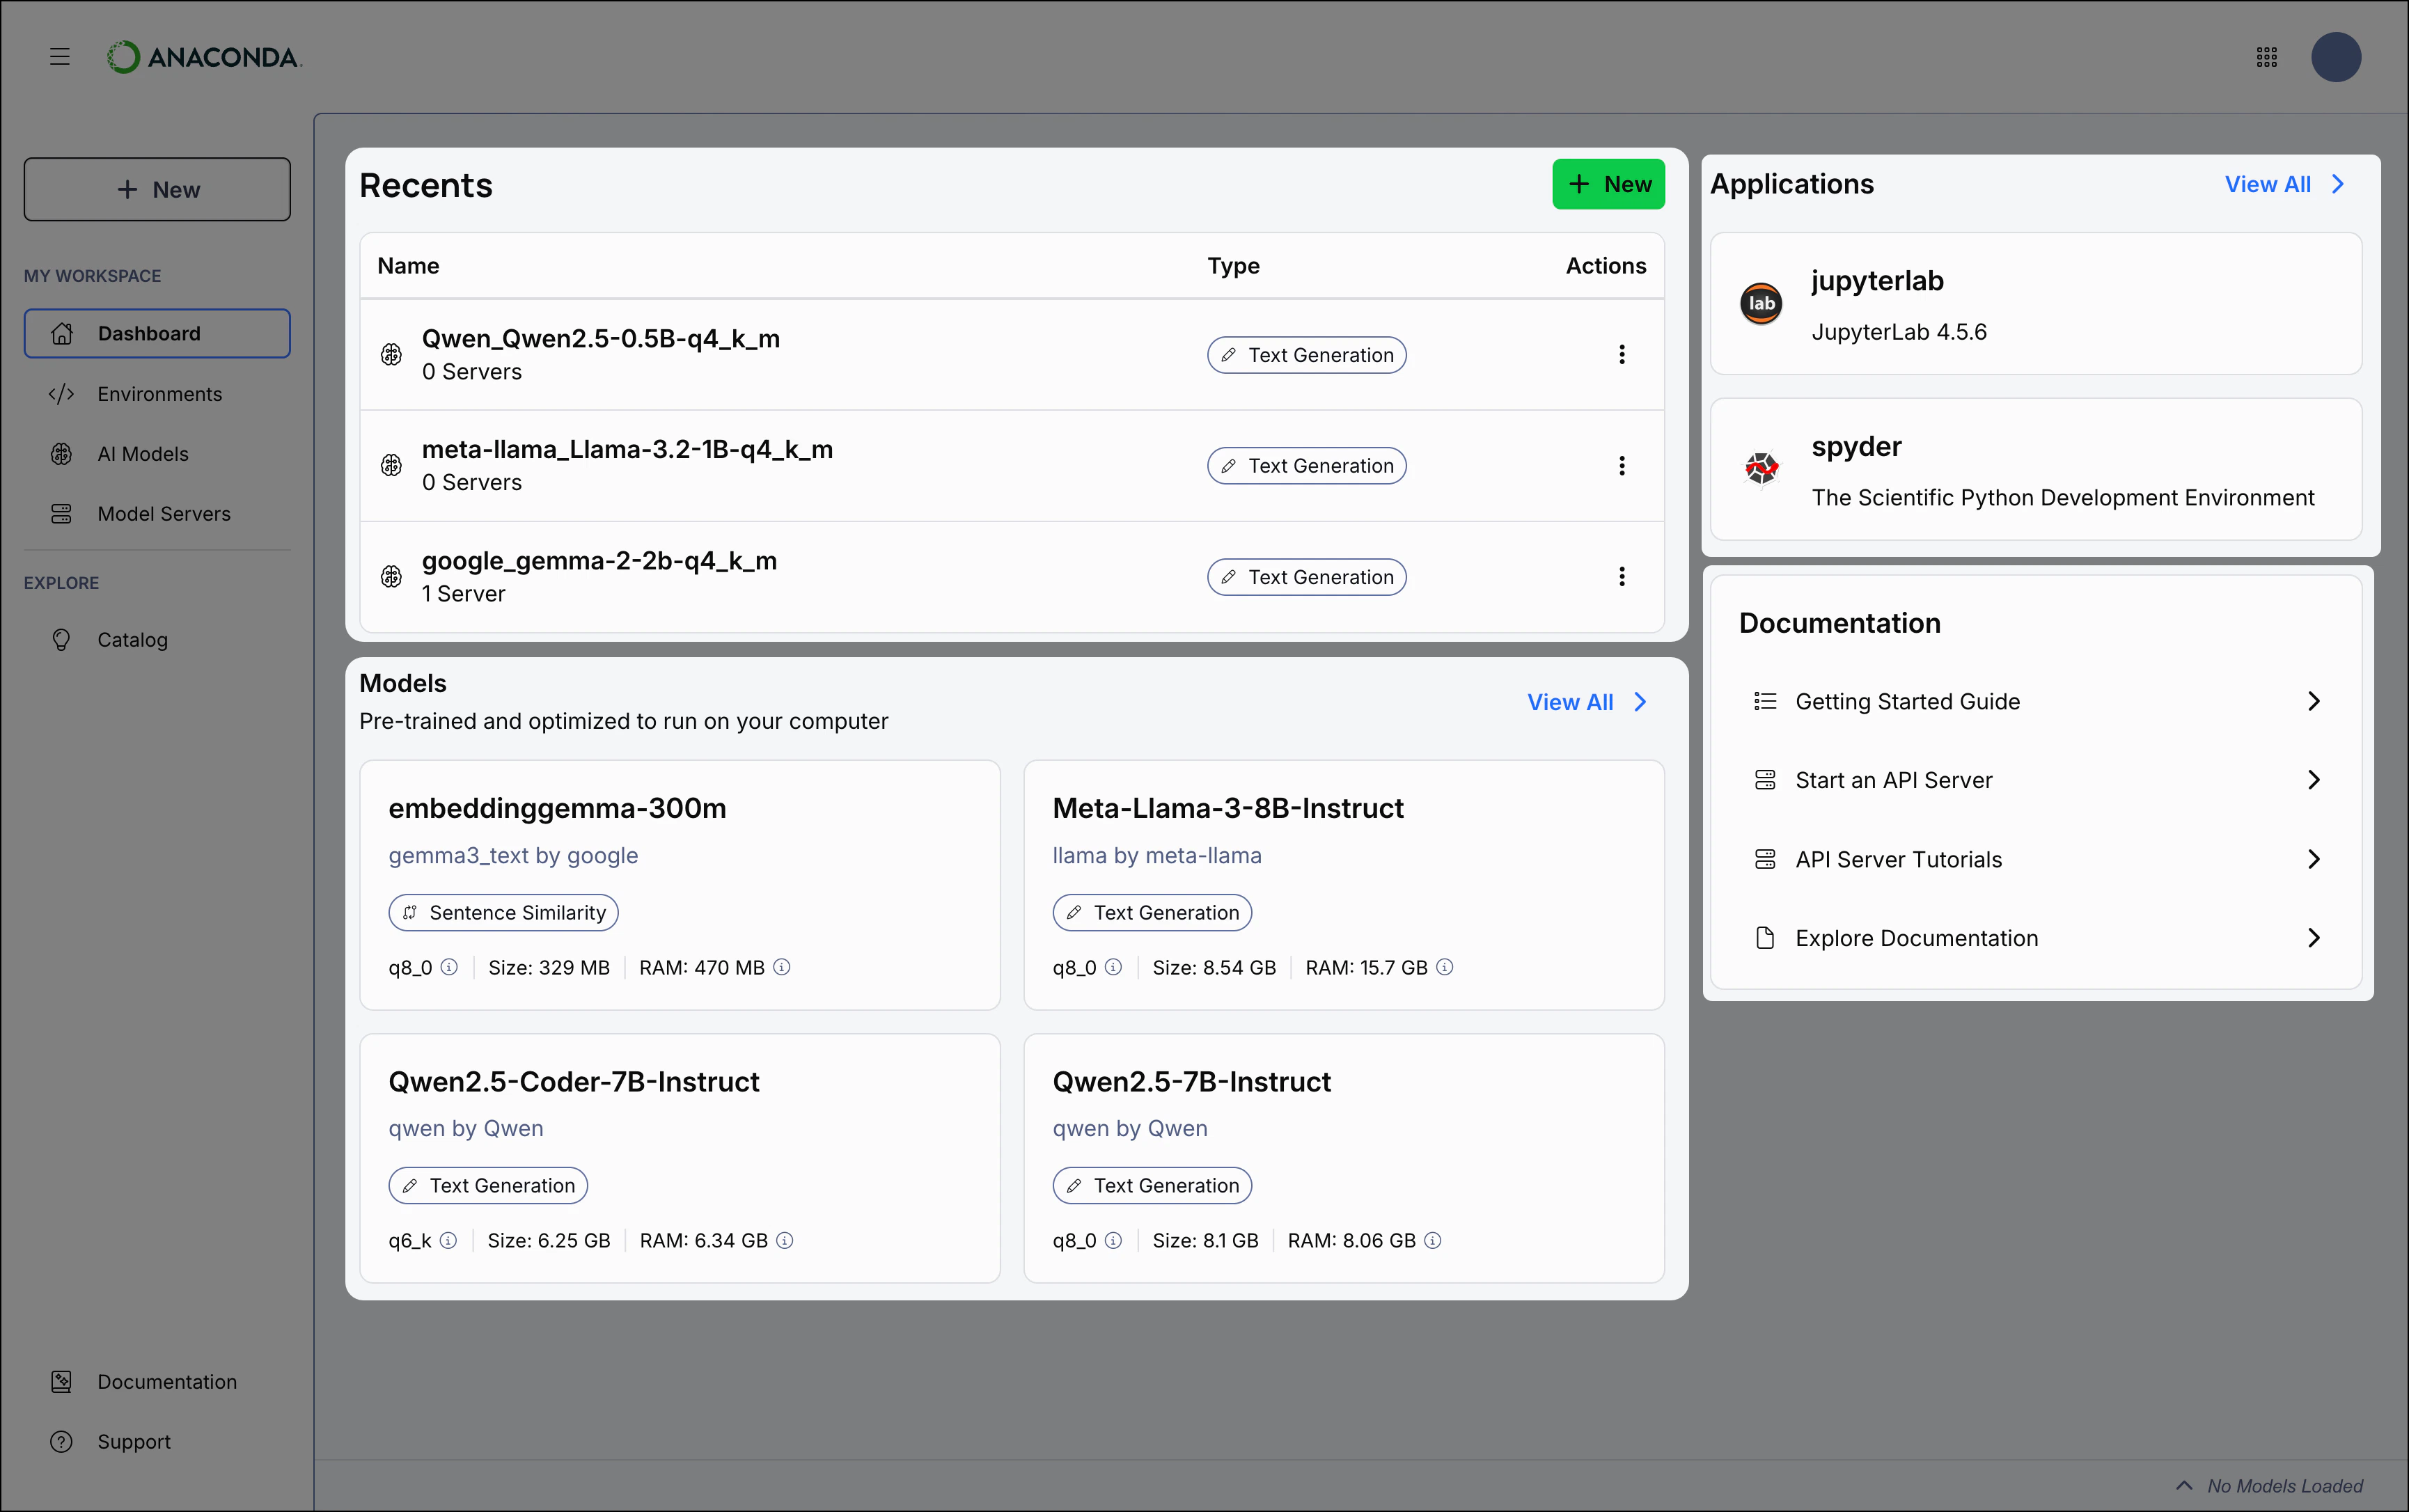
Recents
From the Recents table, you can return to a previous chat, start a new chat with a model (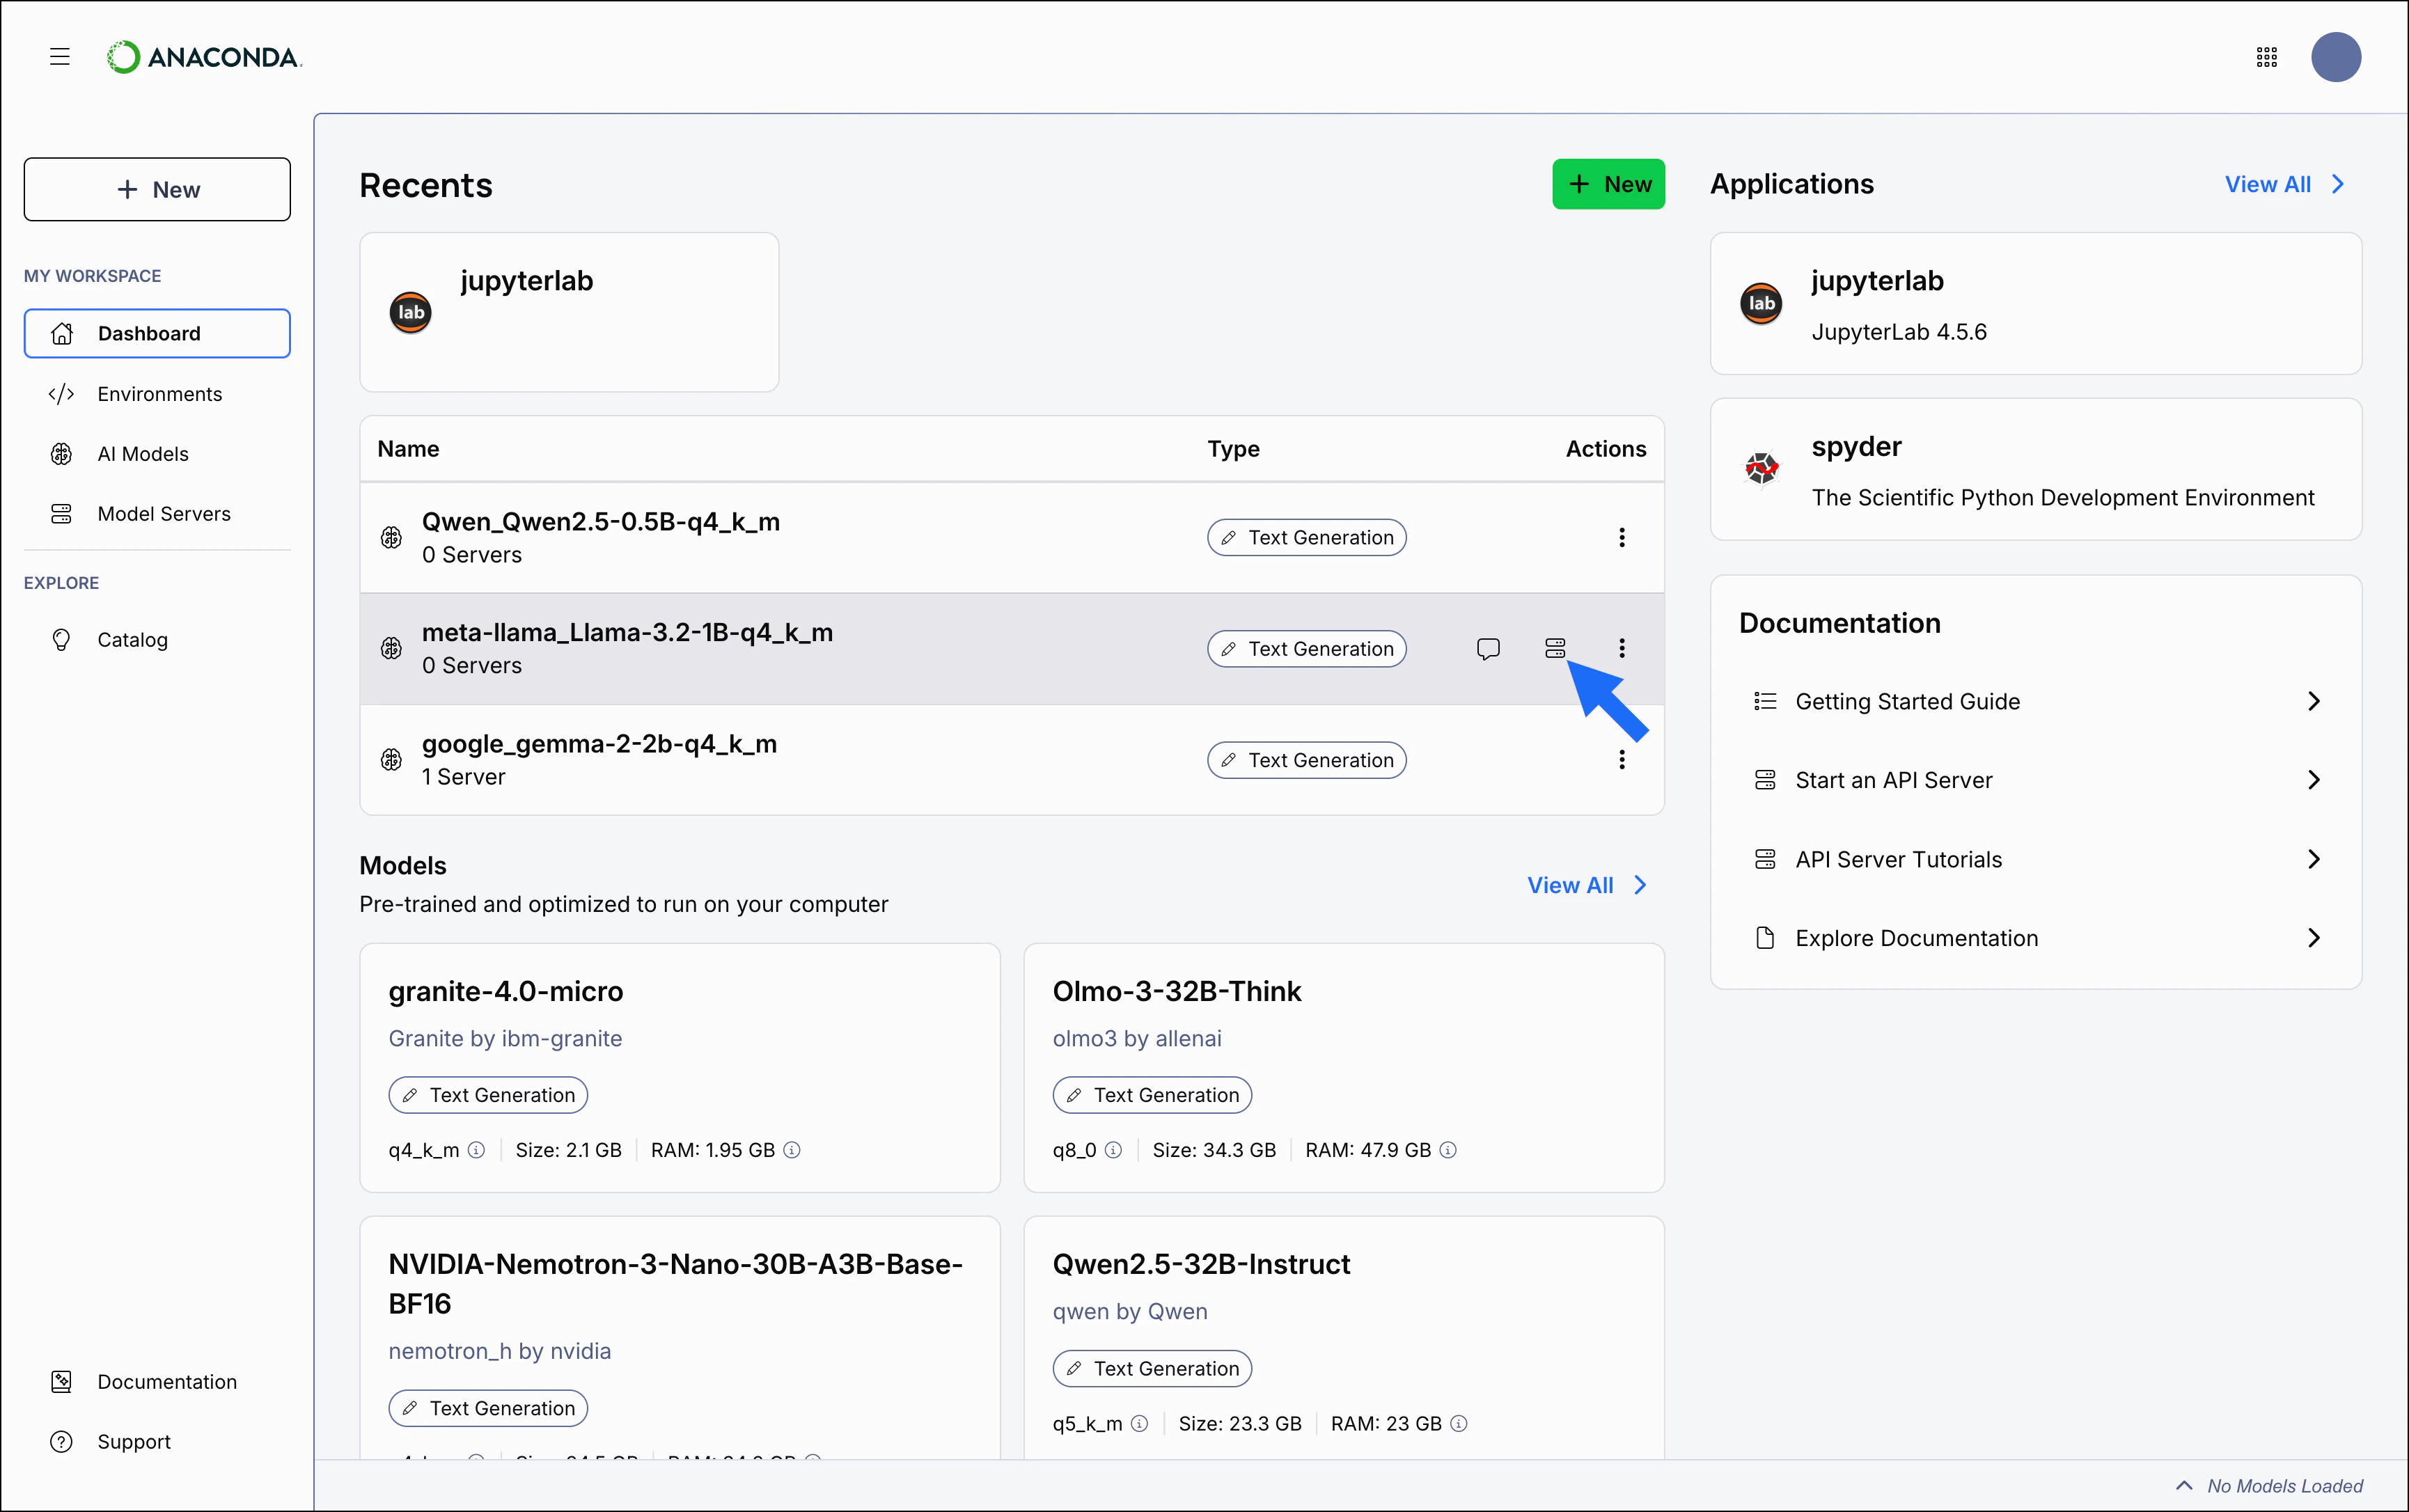
text-generation type models only), or start an API server. Hover over a table row and click Chat or Start Server. Click the Actions menu and select Delete to remove a table item.Models
The Models section will only display if you have eight rows or fewer in the Recents table.
Applications
The Applications section shows your most recently launched applications. Click anywhere on an application’s tile to launch it from its default environment. Hover over the card and click the Actions menu to launch the application from a different environment.
Navigating Desktop
Let’s take a look at the Anaconda Desktop navigation menu.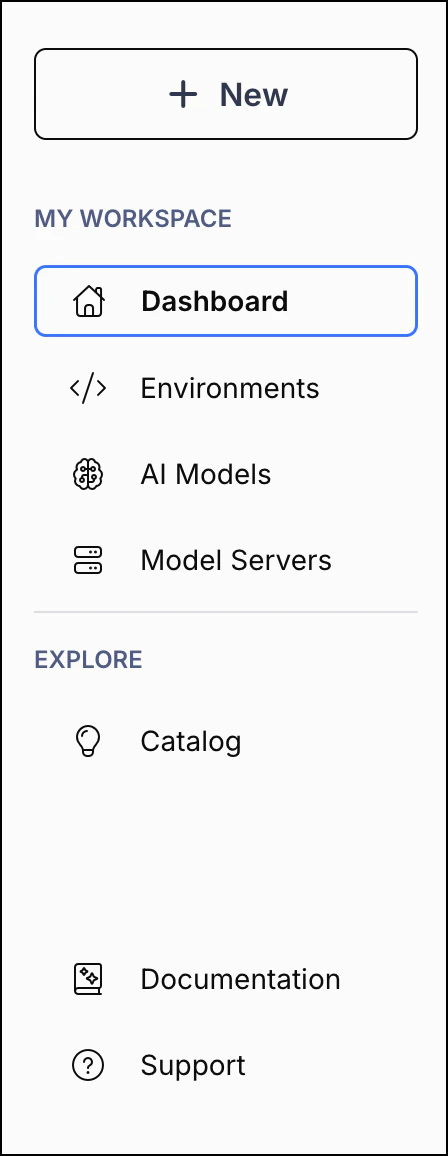
Dashboard
See your most recent activity, view and download popular models, and access learning materials.
Environments
View and manage your environments.
AI Models
View your downloaded models.
Model Servers
Start an API server to interact with your models.
Model Catalog
Search, filter, and download applications and models.
Support
Open a Support ticket to request help with a technical issue.
You can toggle Dark Mode on and off from the user dropdown menu.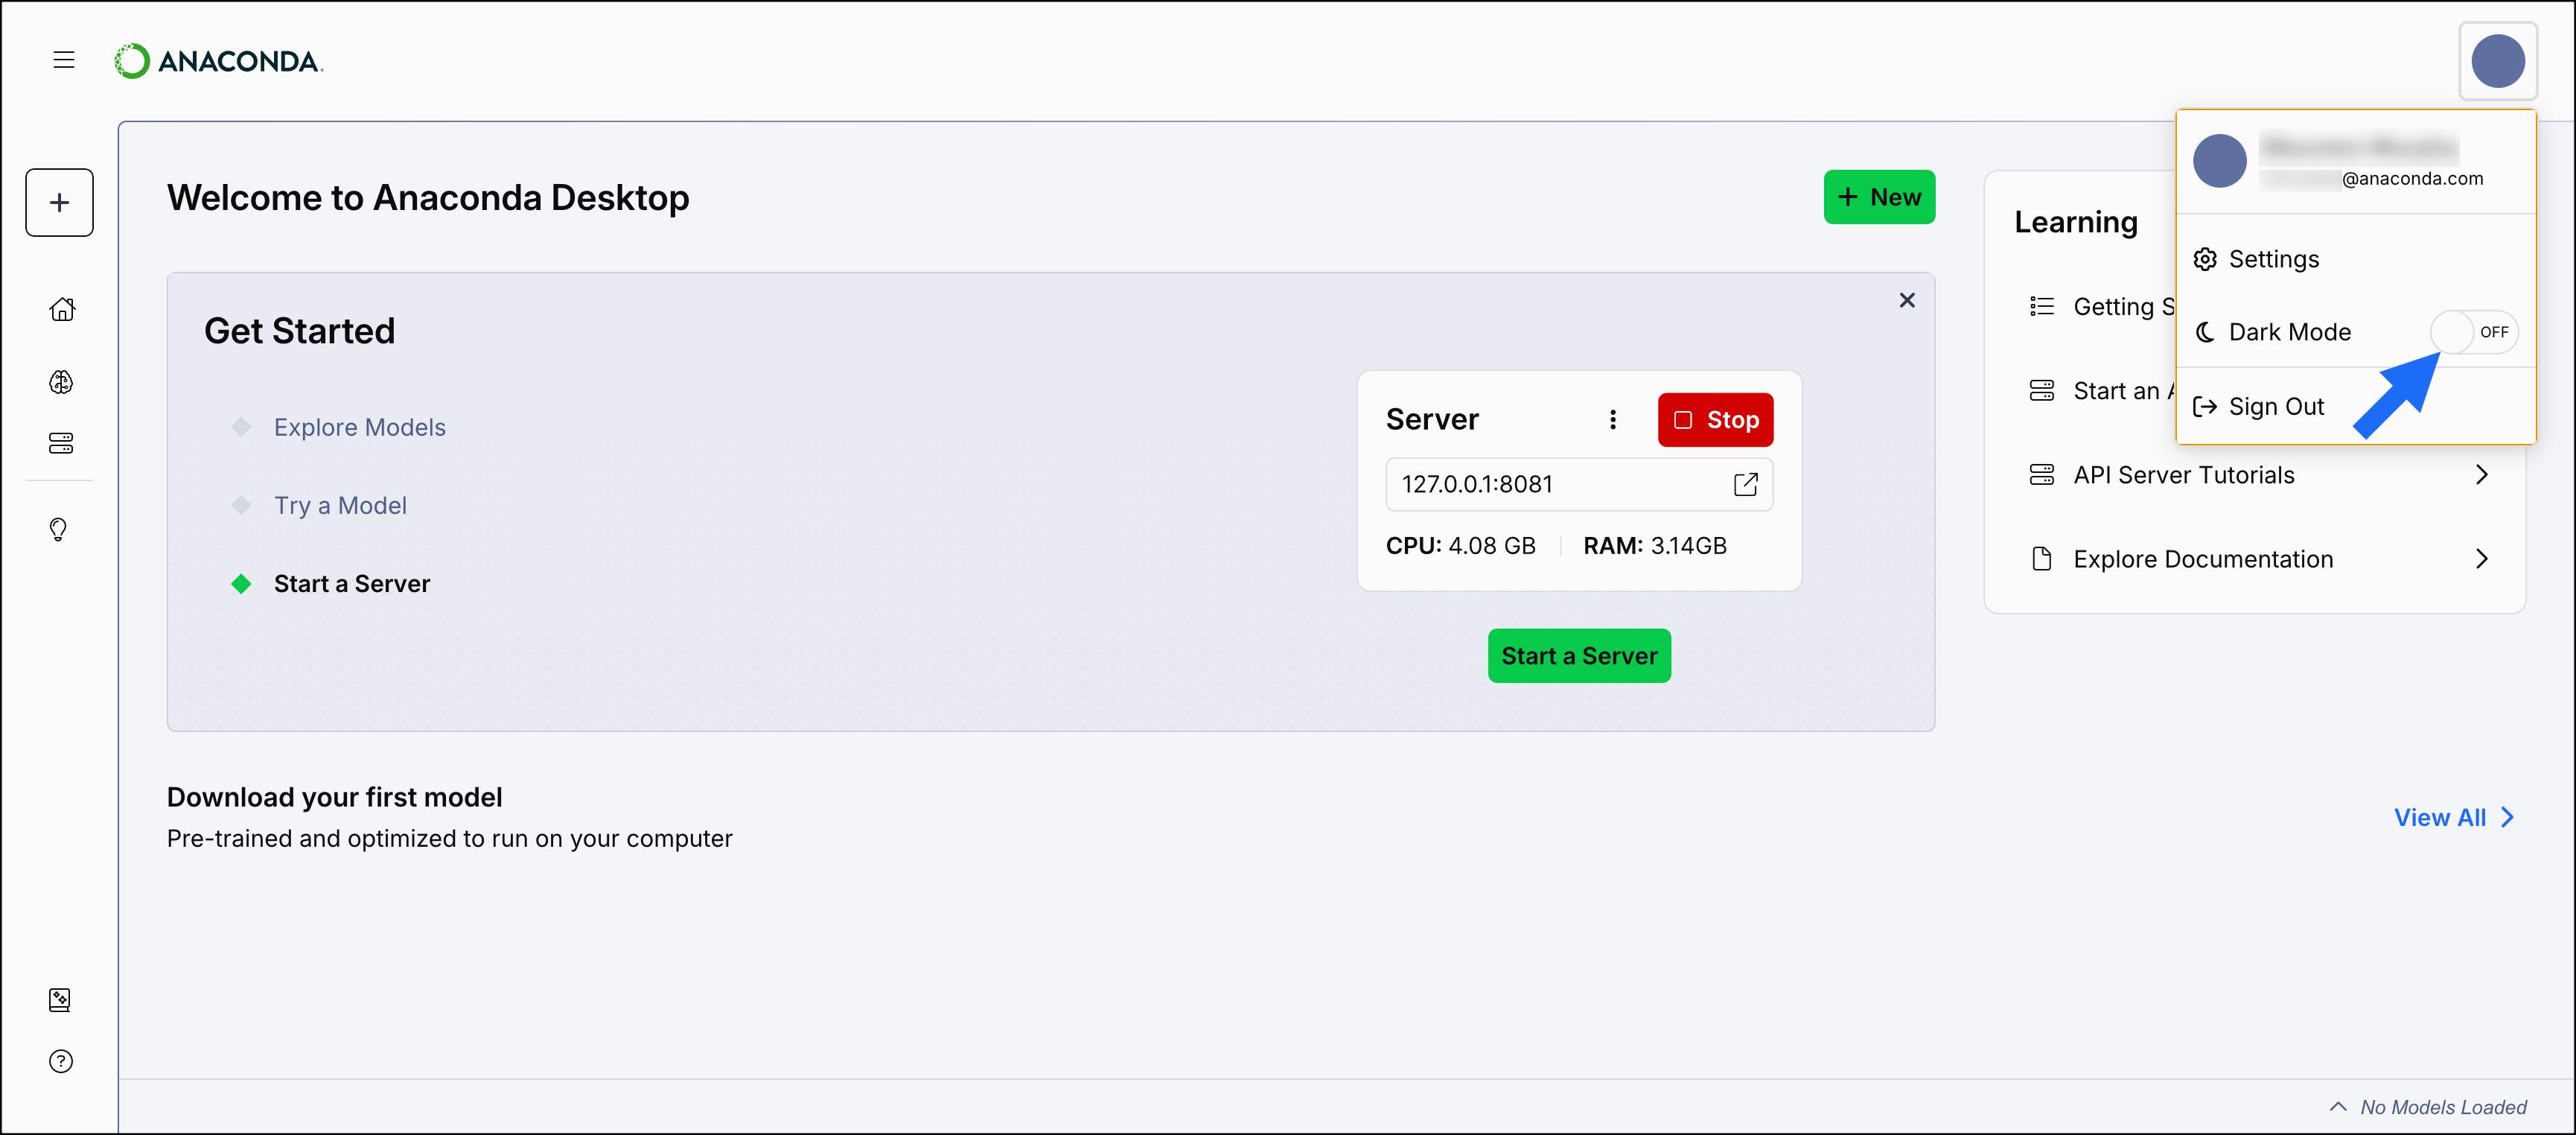
Launching JupyterLab from Desktop
To launch JupyterLab from Desktop:- From the Dashboard, select the JupyterLab tile.
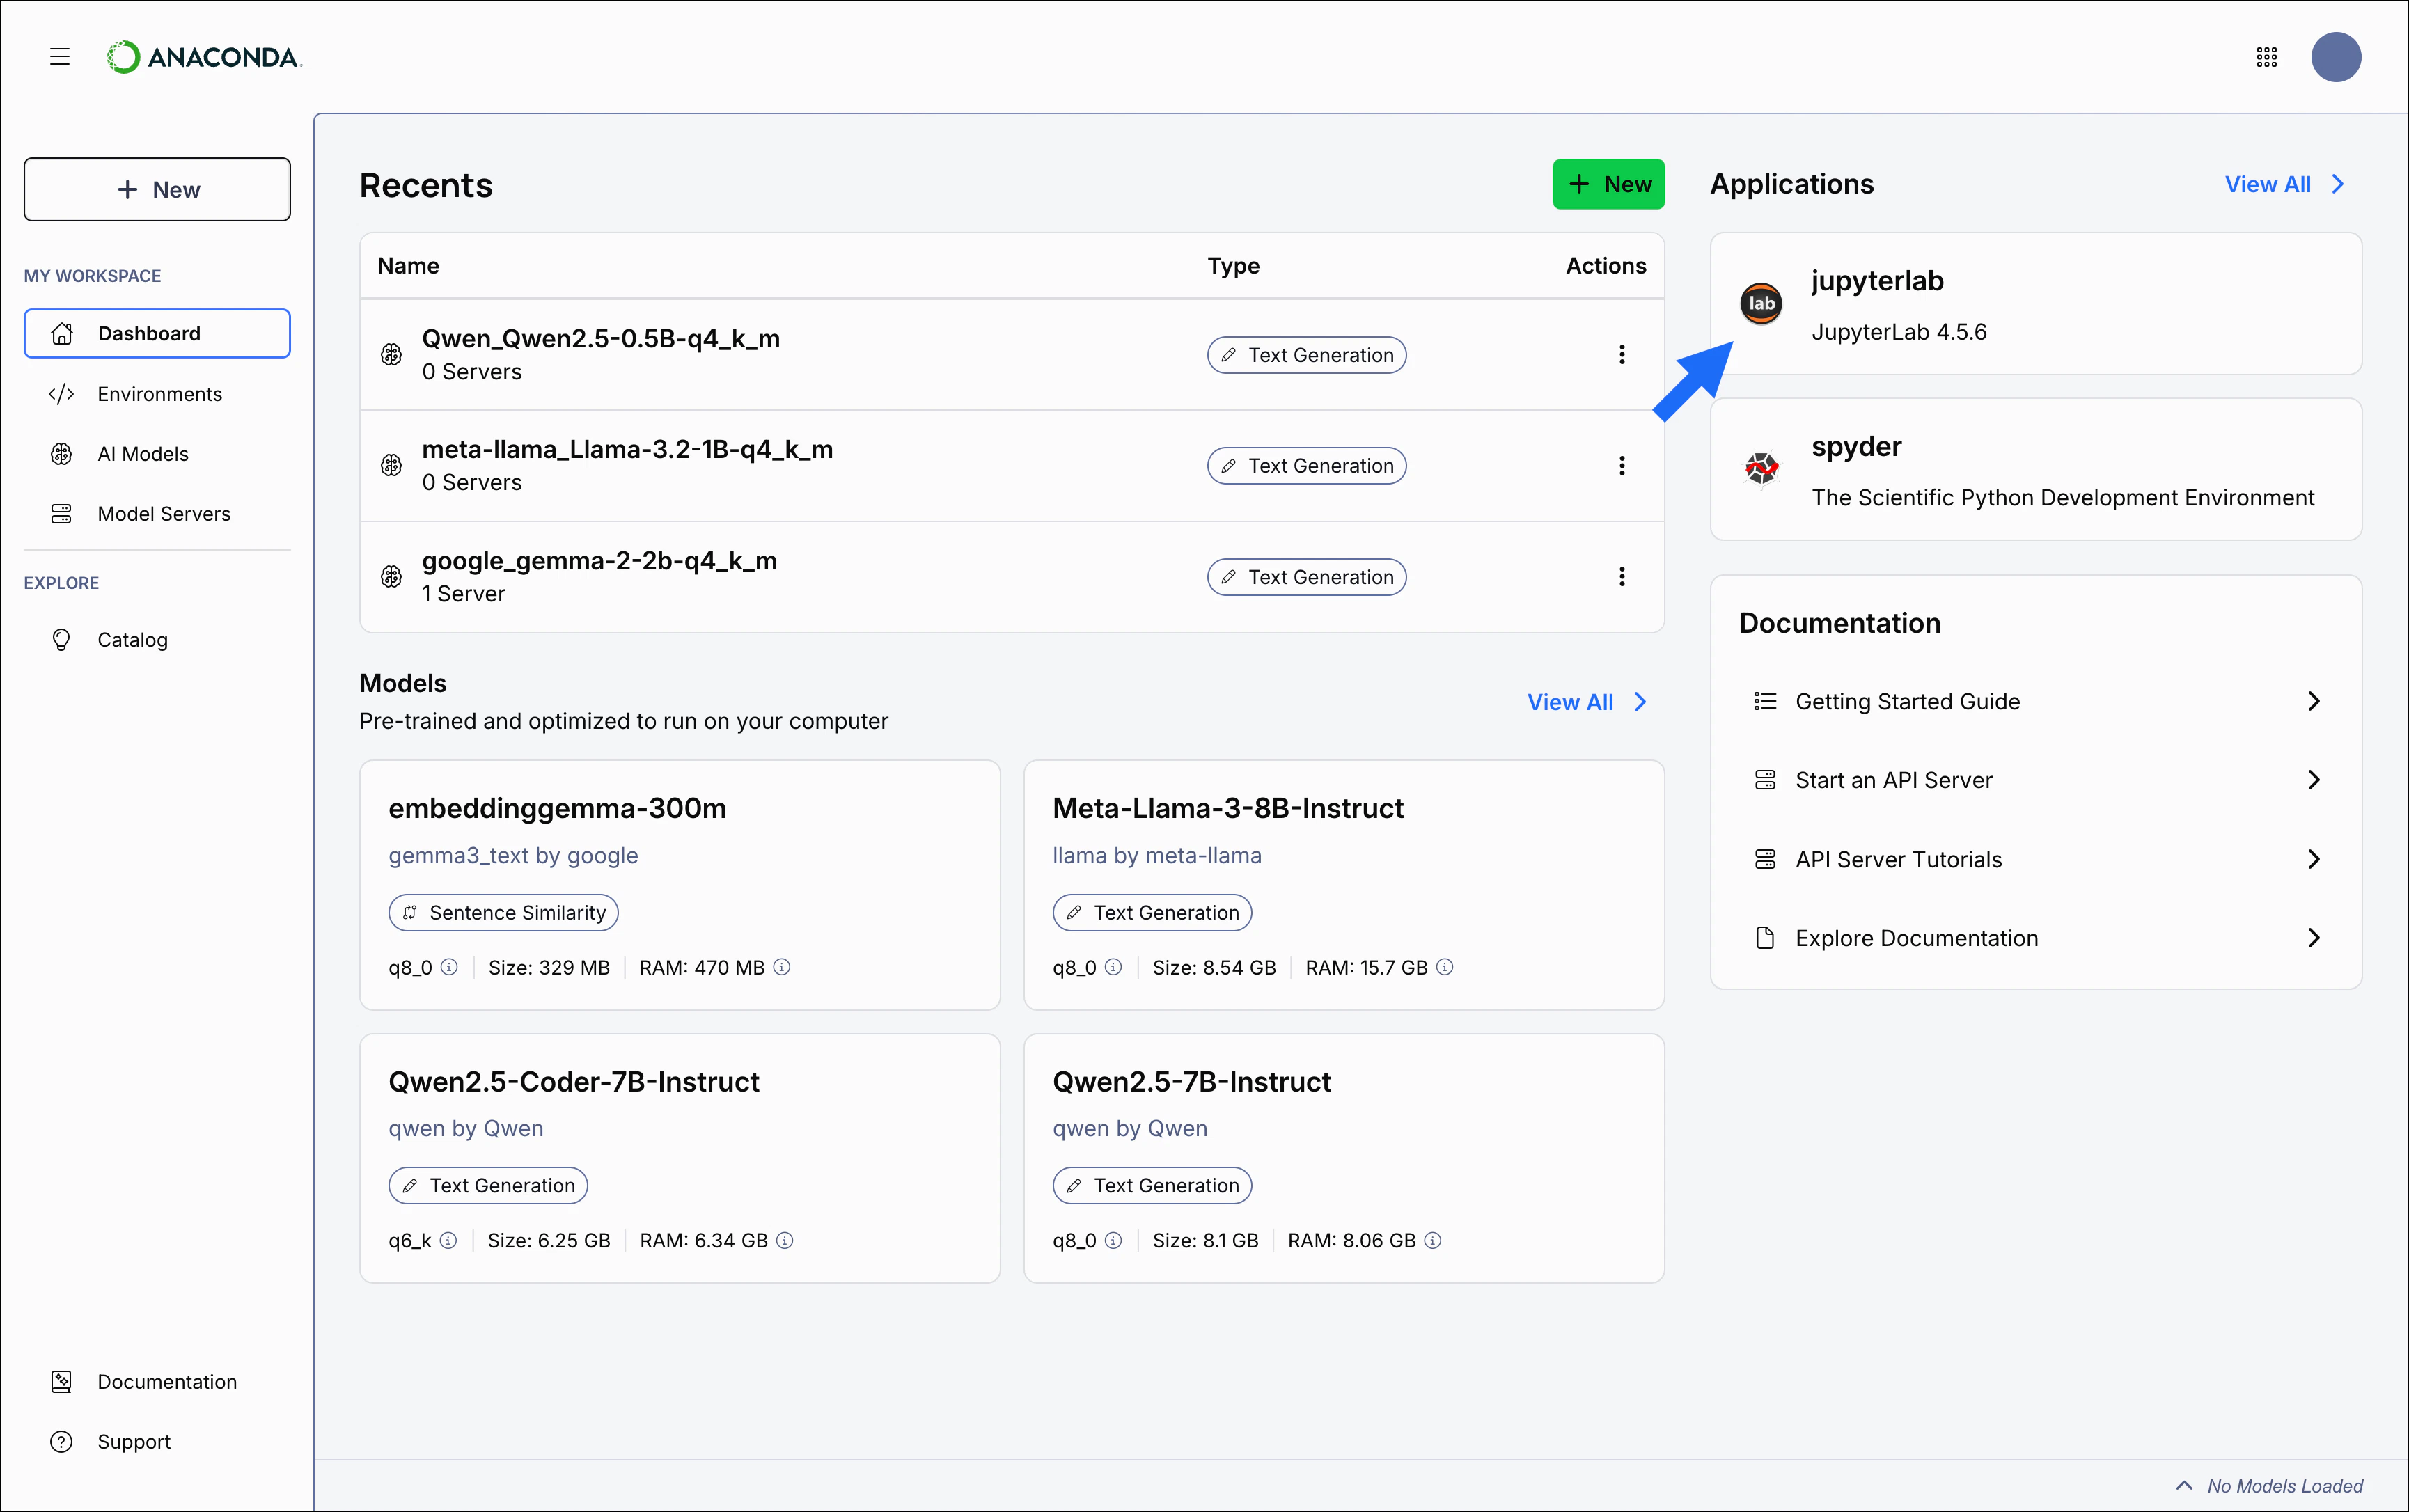
You can also launch JupyterLab from the Applications tab in the Catalog.
Downloading and interacting with models
A typical workflow in Desktop might start with browsing available models and downloading one, then chatting with the model to understand its capabilities, and finally using it in a development workflow with the API server.Exploring and downloading models
If you haven’t downloaded a model yet, you can explore Anaconda’s curated collection:- Select Catalog from the left-hand navigation.
- Click the Models tab.
- Browse the available models or use the search and filter options to find one that suits your needs.
- Select a model tile to view its details, including resource requirements and performance information.
- Select a Quantization Method from the dropdown.
- Click Download to download the model locally.
Models are listed alphabetically by name. Verify that you have the available disk space and RAM required before you download a model. Most models fall between 2-10 GB, but some require up to 150 GB of storage space.
Chatting with a model
Once you have a model downloaded, the easiest way to interact with it is through the chat interface:You can only chat with models labeled
text-generation. Learn more about model types.- Select Dashboard from the left-hand navigation.
- Locate your downloaded model in the Recents table.
- Hover over the model and click Chat.
- Enter a prompt to start chatting with the model!
Starting an API server
If you want to test a model’s performance within applications you’re developing, load the model into Desktop’s built-in API server:- Select Model Servers from the left-hand navigation.
- Choose your model from the Model dropdown.
- Select your model file from the File dropdown.
- Configure your server settings (address, port, API key) as needed.
- Click Start to start the server.
What’s next?
Now that you have Desktop set up and running:- Install applications: Explore the Application Catalog to install and launch popular data science applications like JupyterLab, Spyder, and Jupyter Notebook directly from Desktop, with automatic environment setup and dependency management.
- Manage environments: Explore the Environments page to create, manage, and delete environments.
- Learn with tutorials: Get hands-on experience by building a chatbot application or text comparison tool with step-by-step guidance.
- Use the Desktop API: Explore the Desktop API to programmatically manage models, control servers, and integrate Desktop’s capabilities directly into your applications.
- Use the Anaconda AI CLI tool: Learn how to use the Anaconda AI CLI to manage your models, servers, and applications from the command line.