

Before you begin
- Ask all users to save their work, stop any sessions and deployments, and log out of the platform while you update the certificates.
- Backup your current Anaconda Enterprise configuration following the backup process.
- Gather all of the following information and files related to your certificates, so you have it available to copy and paste from in the procedure that follows:
- Registered domain name for the server
- SSL certificate for
servername.domain.tld, namedtls.crt - SSL private key for
servername.domain.tld, namedtls.key - Root SSL certificate (such as this default Root CA), named
rootca.crt. A root certificate is optional but recommended. - Intermediate SSL certificate chain/bundle, named
intermediate.pem(This certificate may also appear as the second entry in yourfullchain.pemfile.) - Wildcard domain name
- Wildcard certificate for
*.servername.domain.tld, namedwildcard.crt. - Wildcard private key for
*.servername.domain.tld, namedwildcard.key.
- After you’ve gathered all the information above, follow the steps below that correspond to whether you will use the Admin console or the command line to update the Anaconda Enterprise platform to use your certificates.
Updating certificates
Using the Admin console
- Log in to Anaconda Enterprise, select the Menu icon in the top right corner and click the Administrative Console link displayed at the bottom of the slide out window.
- Log in to the console using the Administrator credentials configured after installation.
- Select Web Certificates from the left menu.
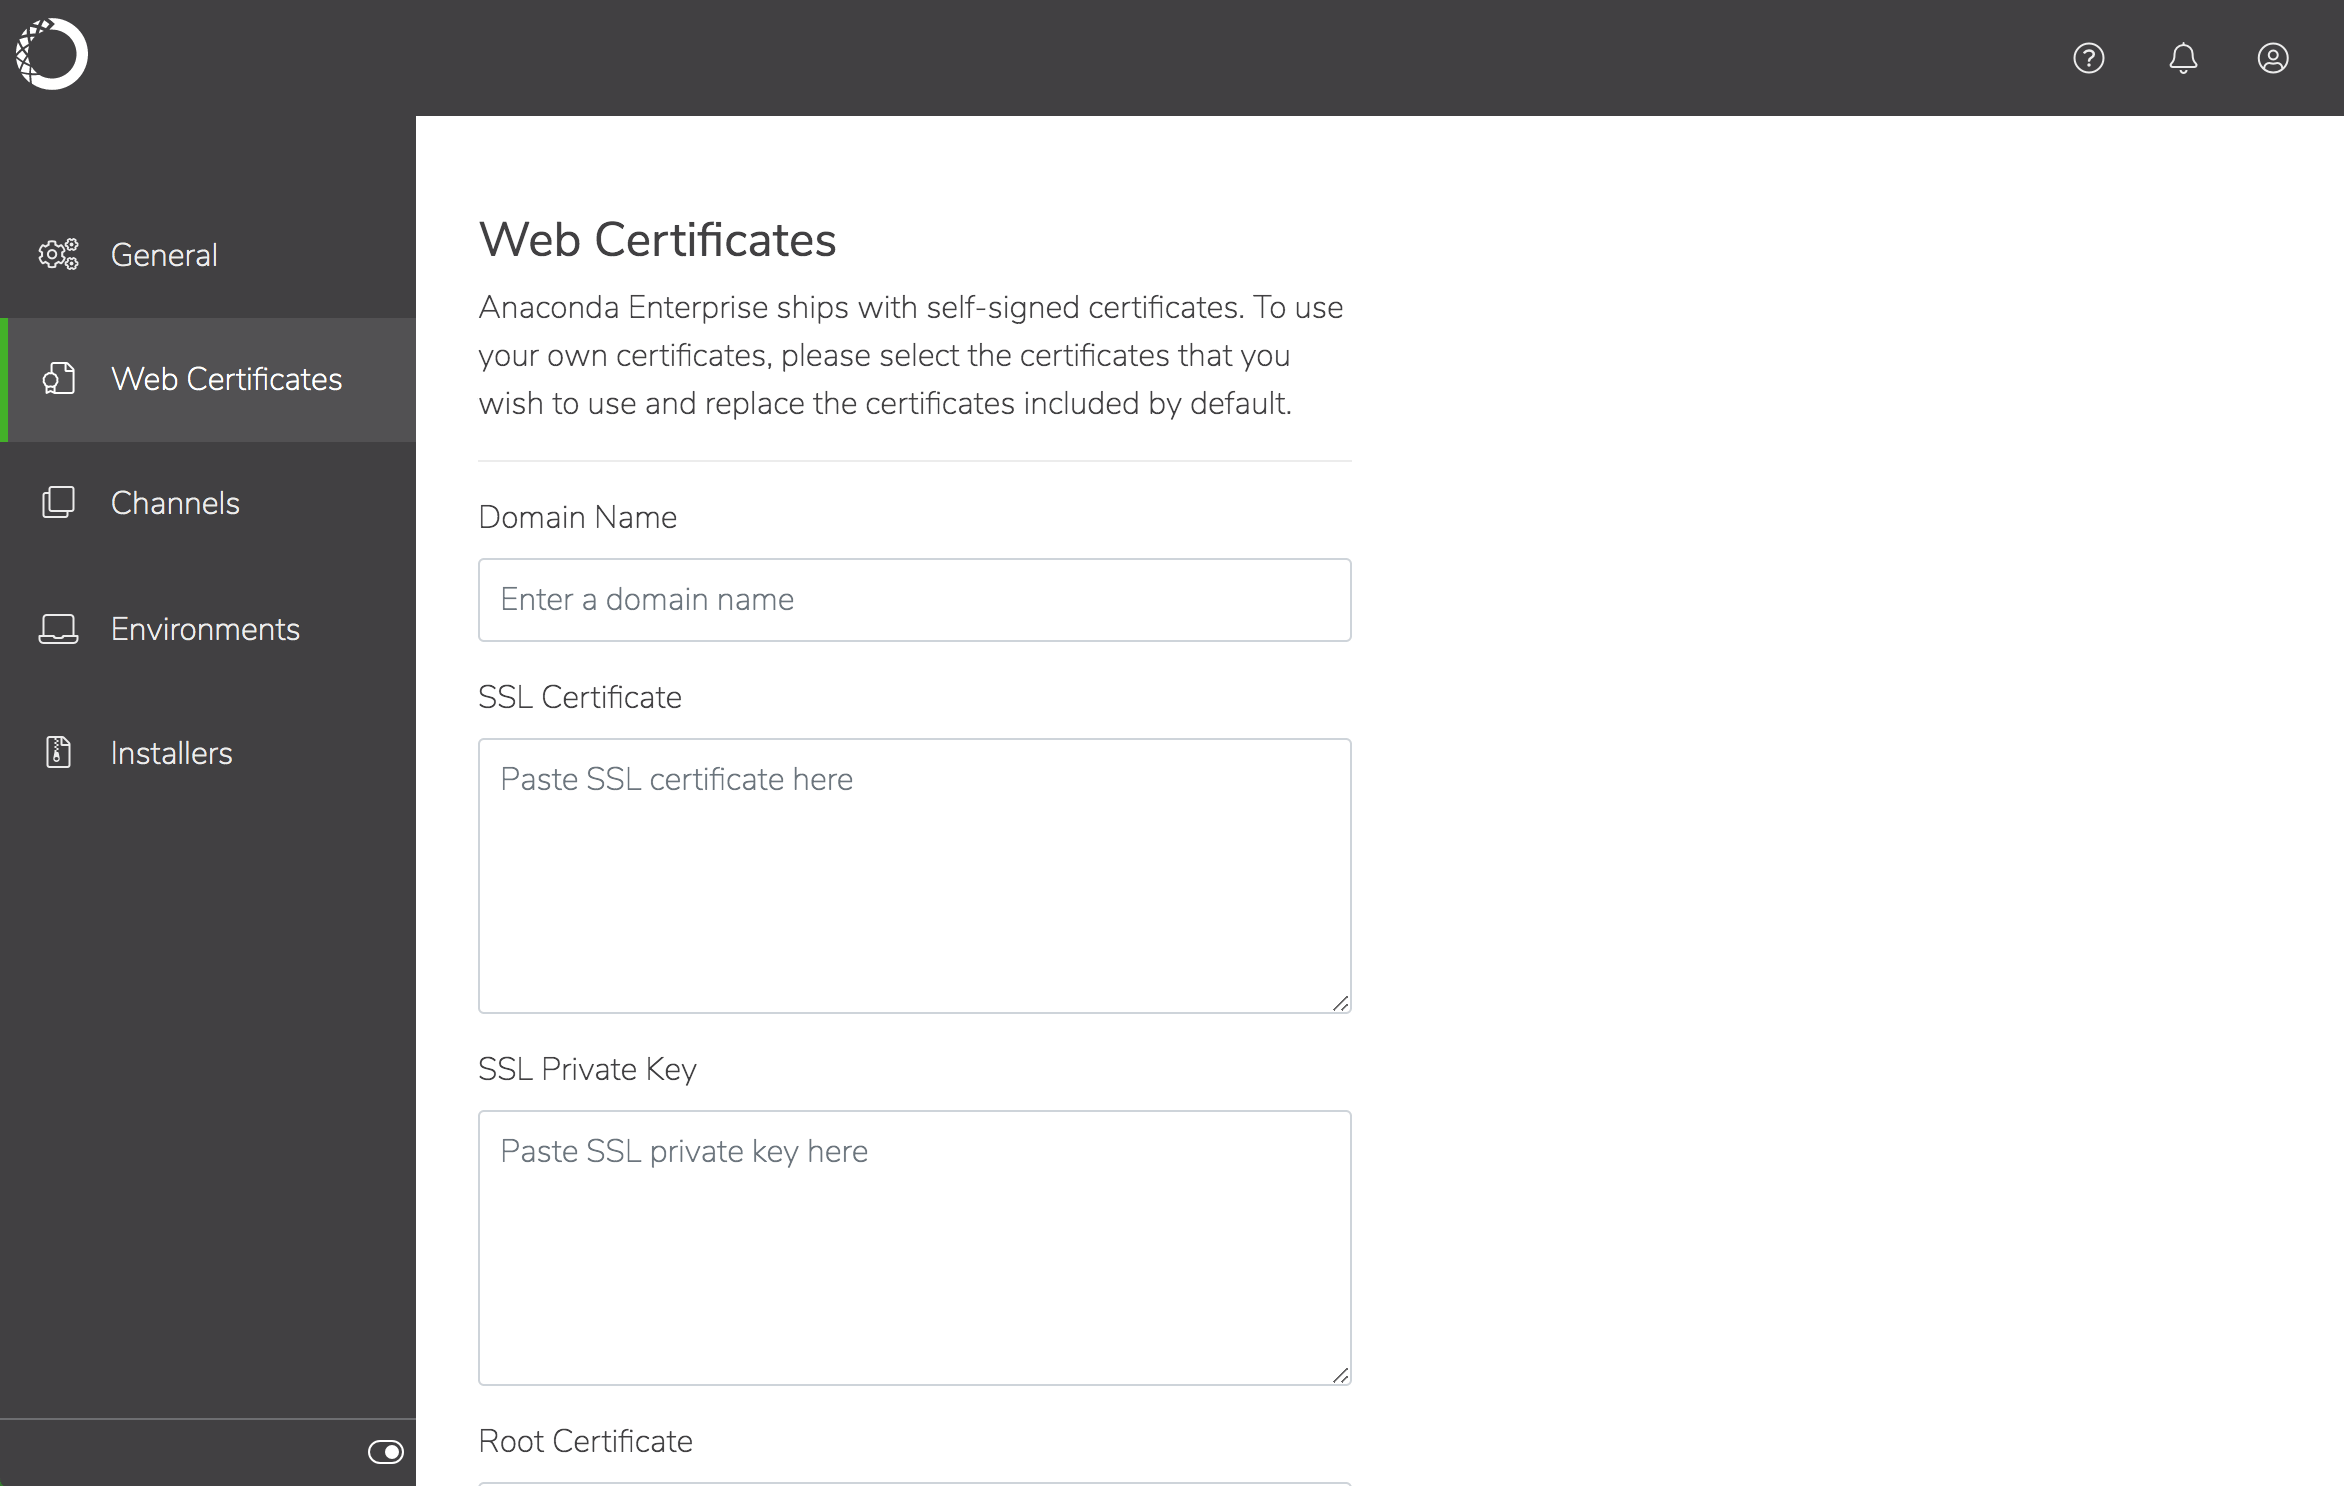
- Copy and paste the certificate and key information from the files you gathered previously into the appropriate fields.
- Click Save to update the platform with your changes.
The default SSL certificate file names generated by the installer vary slightly between versions. If you have upgraded from a previous version of Anaconda Enterprise, you might need to update your configuration to make sure all services are referencing the correct SSL certificate filenames (see below).
The
keystore.jks filename remains unchanged.Using the command line
On the system where the certificate and private key reside:-
Install
openjdk. For example, use the following command to installjava-1.8.0-openjdkon CentOS 7.5: -
Run the following command to create the
keystore.jksfile that will be used by Java:If you’re using a certificate provided by Let’s Encrypt, useFULLCHAIN.PEMinstead ofCERT.PEM. -
Create an updated Root CA to use with the system:
If you’re using a certificate provided by Let’s Encrypt your can obtain the Root CA here. You must also prepend the
CHAIN.PEMto the Root CA.For RHEL-based systems, the path to the trusted CA is:/etc/ssl/certs/ca-bundle.trust.crt. For Ubuntu-based systems, the path to the system CA is/etc/ssl/certs/ca-certificates.crt. -
Setup the basic structure of the
certificates.yamlfile, that you’ll be updating in the next several steps: -
Add the main domain for the SSL certificate. For example
test.anaconda.com: -
Add the private key for the certificate:
-
Add the SAN certificate to the file. For example
*.test.anaconda.com: -
Add the private key for the SAN certificate:
-
Add the keystore you generated in Step 2:
- Add the updated Root CA that you created in Step 3:
- Add a new line at the end of the file:
- Copy the file to the share directory inside gravity:
- Run the following commands to enter gravity and list your secrets:
- In the next step you’ll be removing and recreating a secret, so create a backup of the existing secrets first:
- Remove the existing secret, and recreate it from the file you placed in the share directory (in Step 12):
- Restart all pods to update Anaconda Enterprise to use your certificate:
Extracting TLS/SSL certificates
Run the following command for each certificate file you want to extract, replacingrootca.crt below with the name of the specific file:
rootca.crt: the root certificate authority bundletls.crt: the SSL certificate for individual servicestls.key: the private key for the above certificatewildcard.crt: the SSL certificate for “wildcard” services, such as deployed apps and sessionswildcard.key: the private key for the above certificatekeystore.jks: the Java Key Store containing these certificates used by some services
Verifying TLS/SSL certificates
If you are using privately signed certificates, extract the rootca, then useopenssl to verify the certificates and make sure the final Verify return code is 0:
The root CA for the self-signed certificates generated as part of the installation is contained in the certificate bundle at
/etc/pki/tls/certs/ca-bundle.crt.