Log in to Anaconda Platform
Log in at anaconda.com/app.
Create your notebook
In the upper-left corner, click Create and select New Notebook. Name your notebook and click Create Notebook. A new project is created using your notebook name.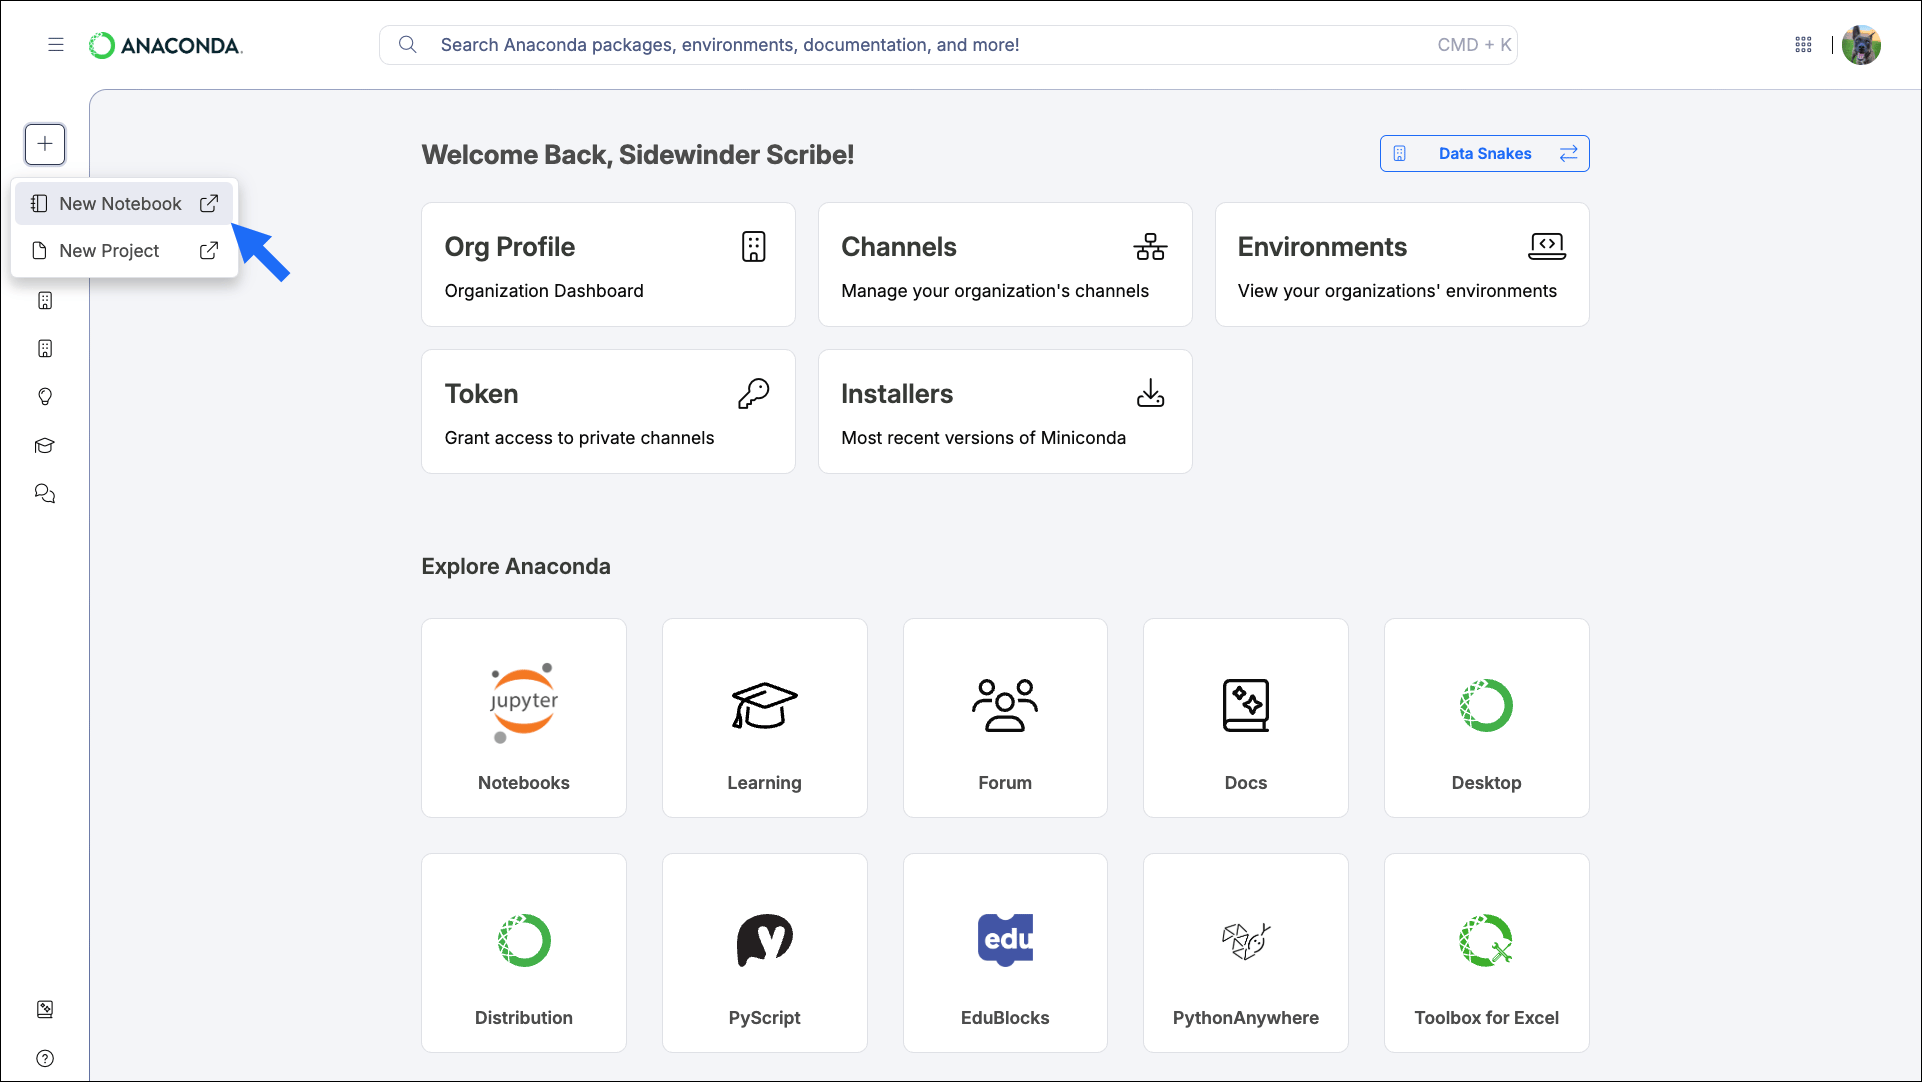
Choose a kernel
A kernel runs your code; it includes Python and any conda packages your notebook needs. When the notebook opens, select a kernel from the Select Kernel dialog.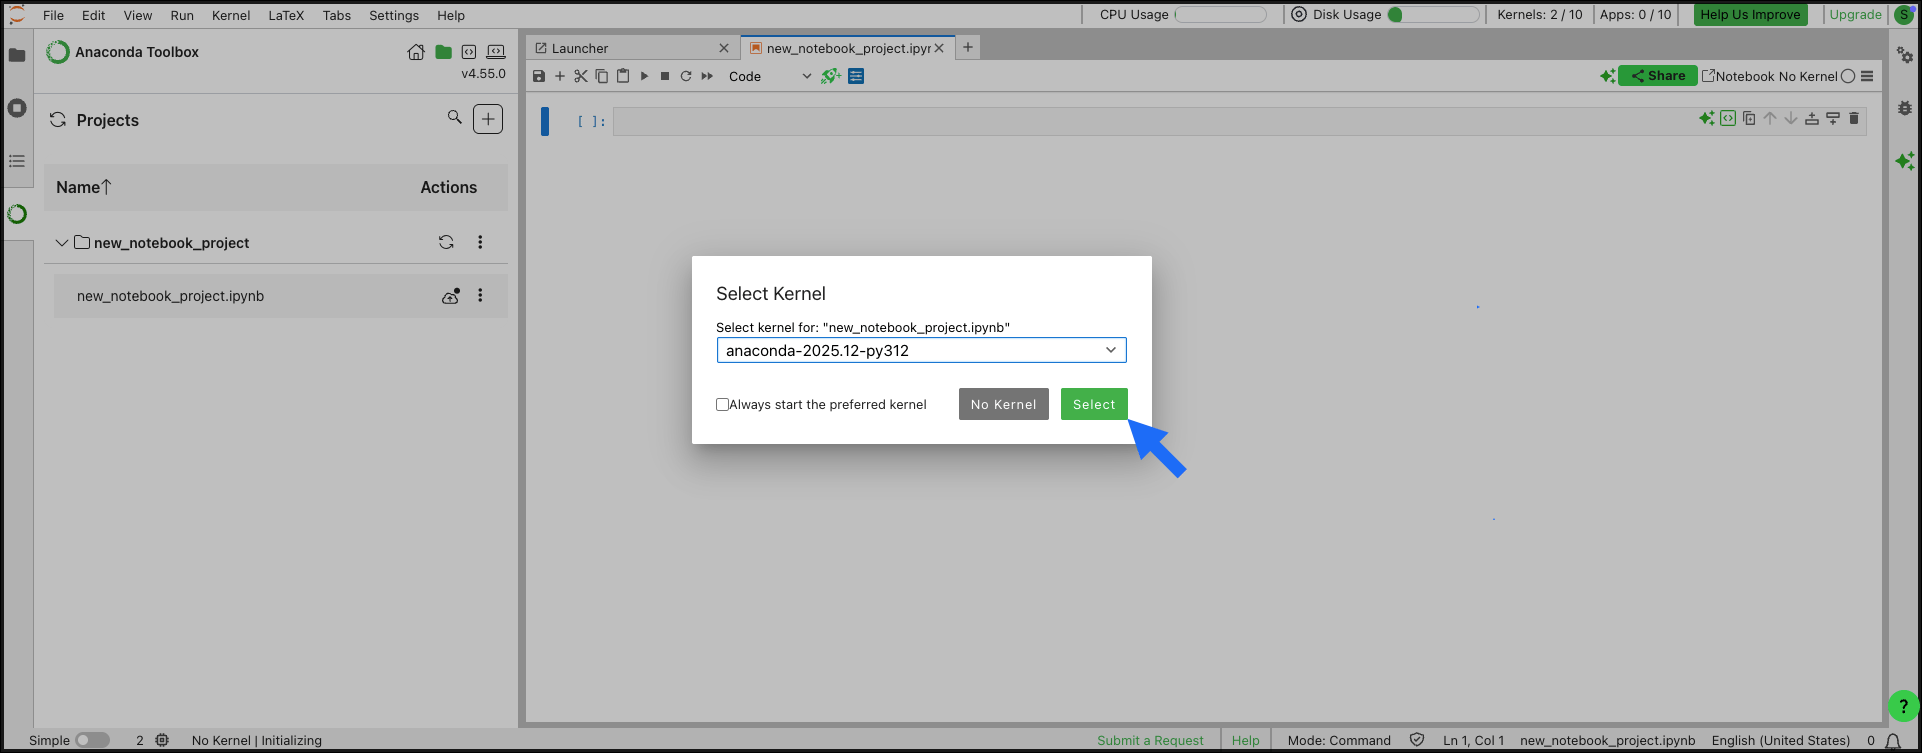
What’s next?
Anaconda Toolbox
Use Anaconda Toolbox in your notebook to generate code, save snippets, and access the Anaconda Assistant.
Notebook runtimes
Learn about runtimes and how to create custom runtimes for your projects.
Publish your notebooks
Publish a notebook as a Panel app with a custom URL, ready to share.
Storage and memory
Manage your notebook storage and understand memory limits across runtimes.