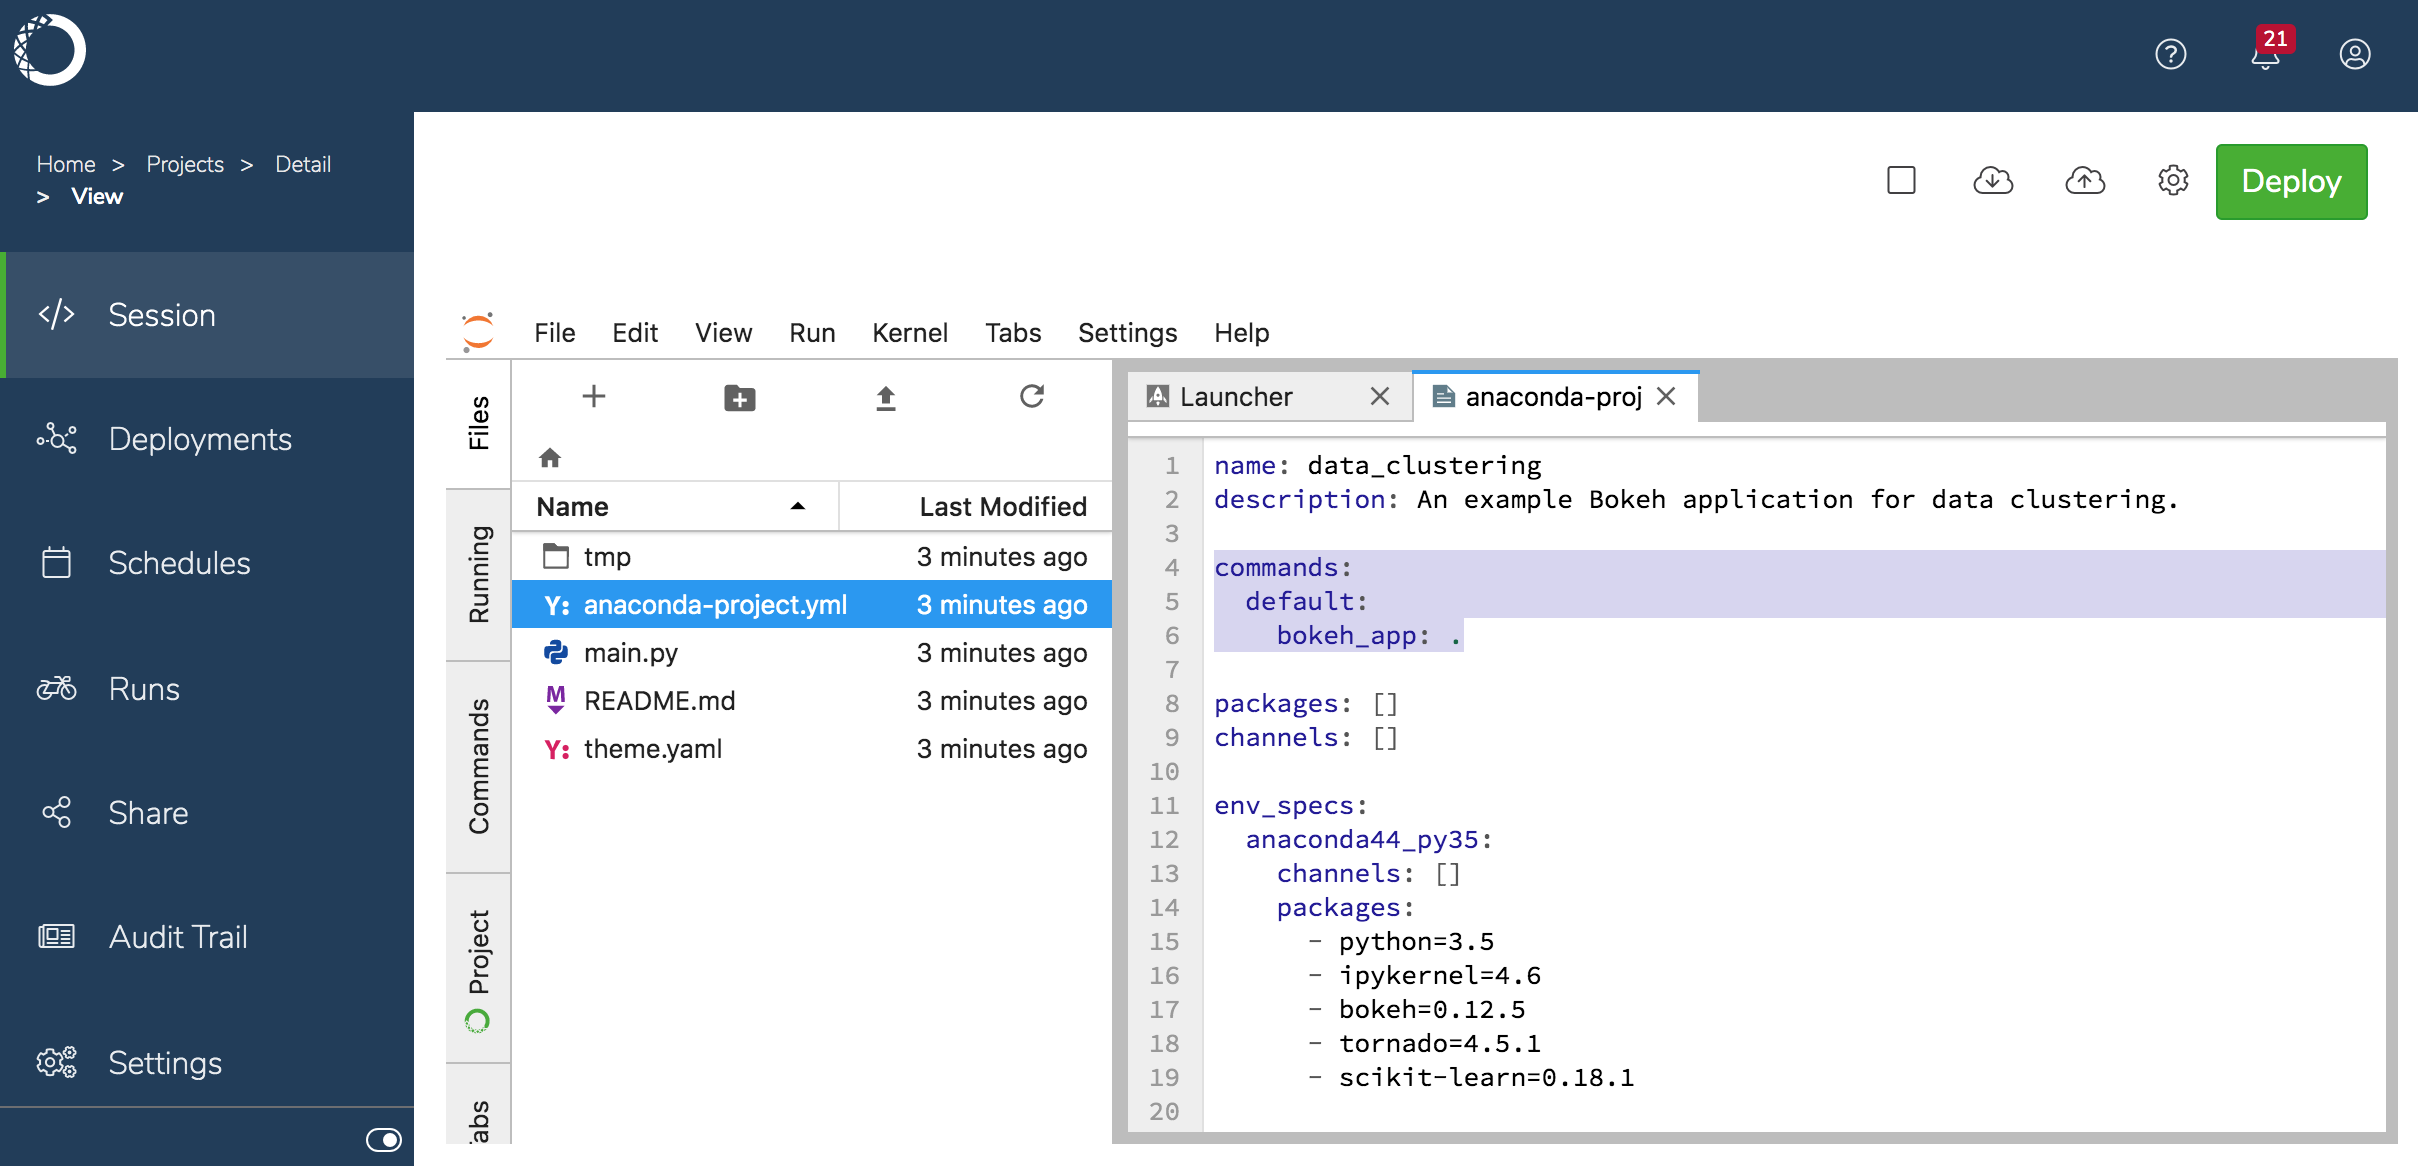
anaconda-project.yml. You can also accept the default command, like the following example Bokeh app:
To deploy a project:
-
Select it in the Projects list and click Deploy.
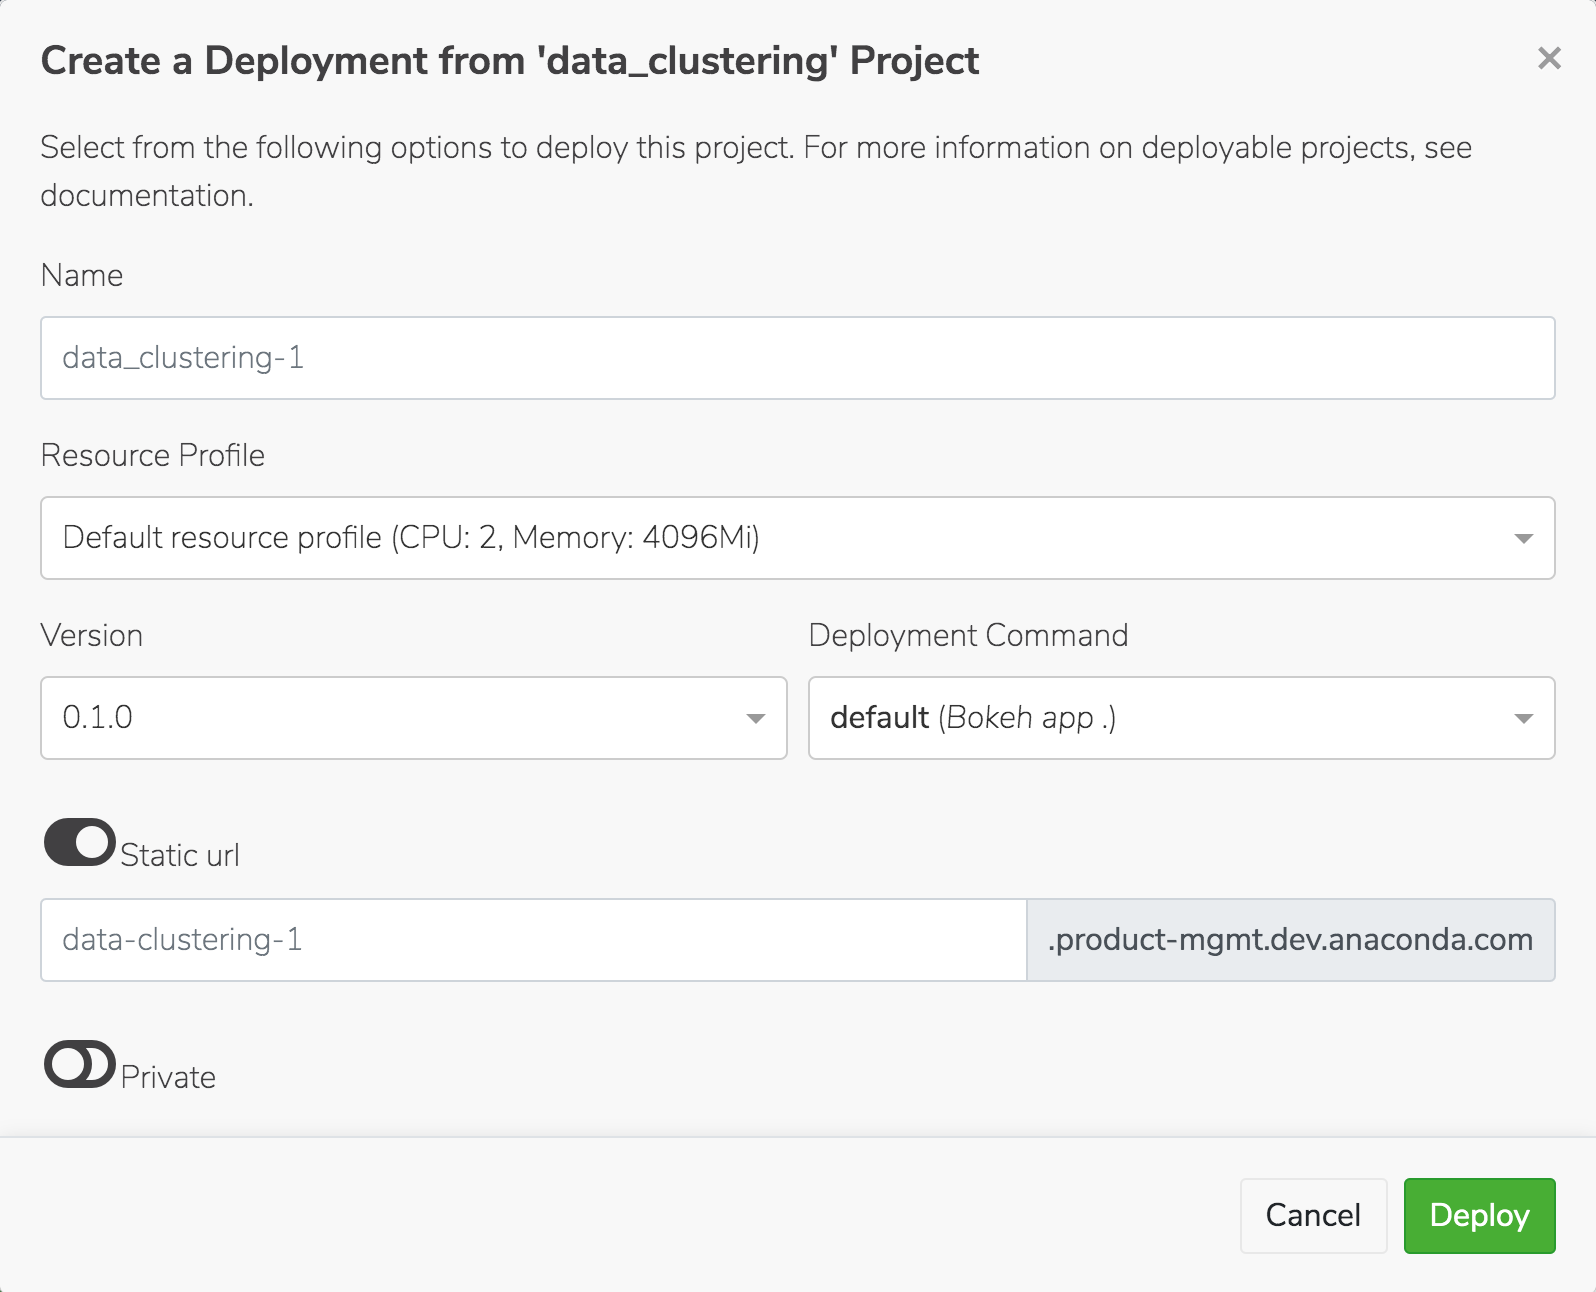
- Choose the runtime resources your project requires to run from the Resource Profile drop-down, or accept the default. Your Administrator configures the options in this list, so check with them if you aren’t sure.
- If there are multiple versions of the project, select the version you want to deploy.
- Select the command to use to deploy the project. If there is no deployment command listed, you cannot deploy the project. Return to the project and add a deployment command, or ask the project owner to do so if it’s not your project. See Configuring project settings for more information about adding deployment commands.
-
Enter the URL where you want the deployment to be hosted in the Static URL field.
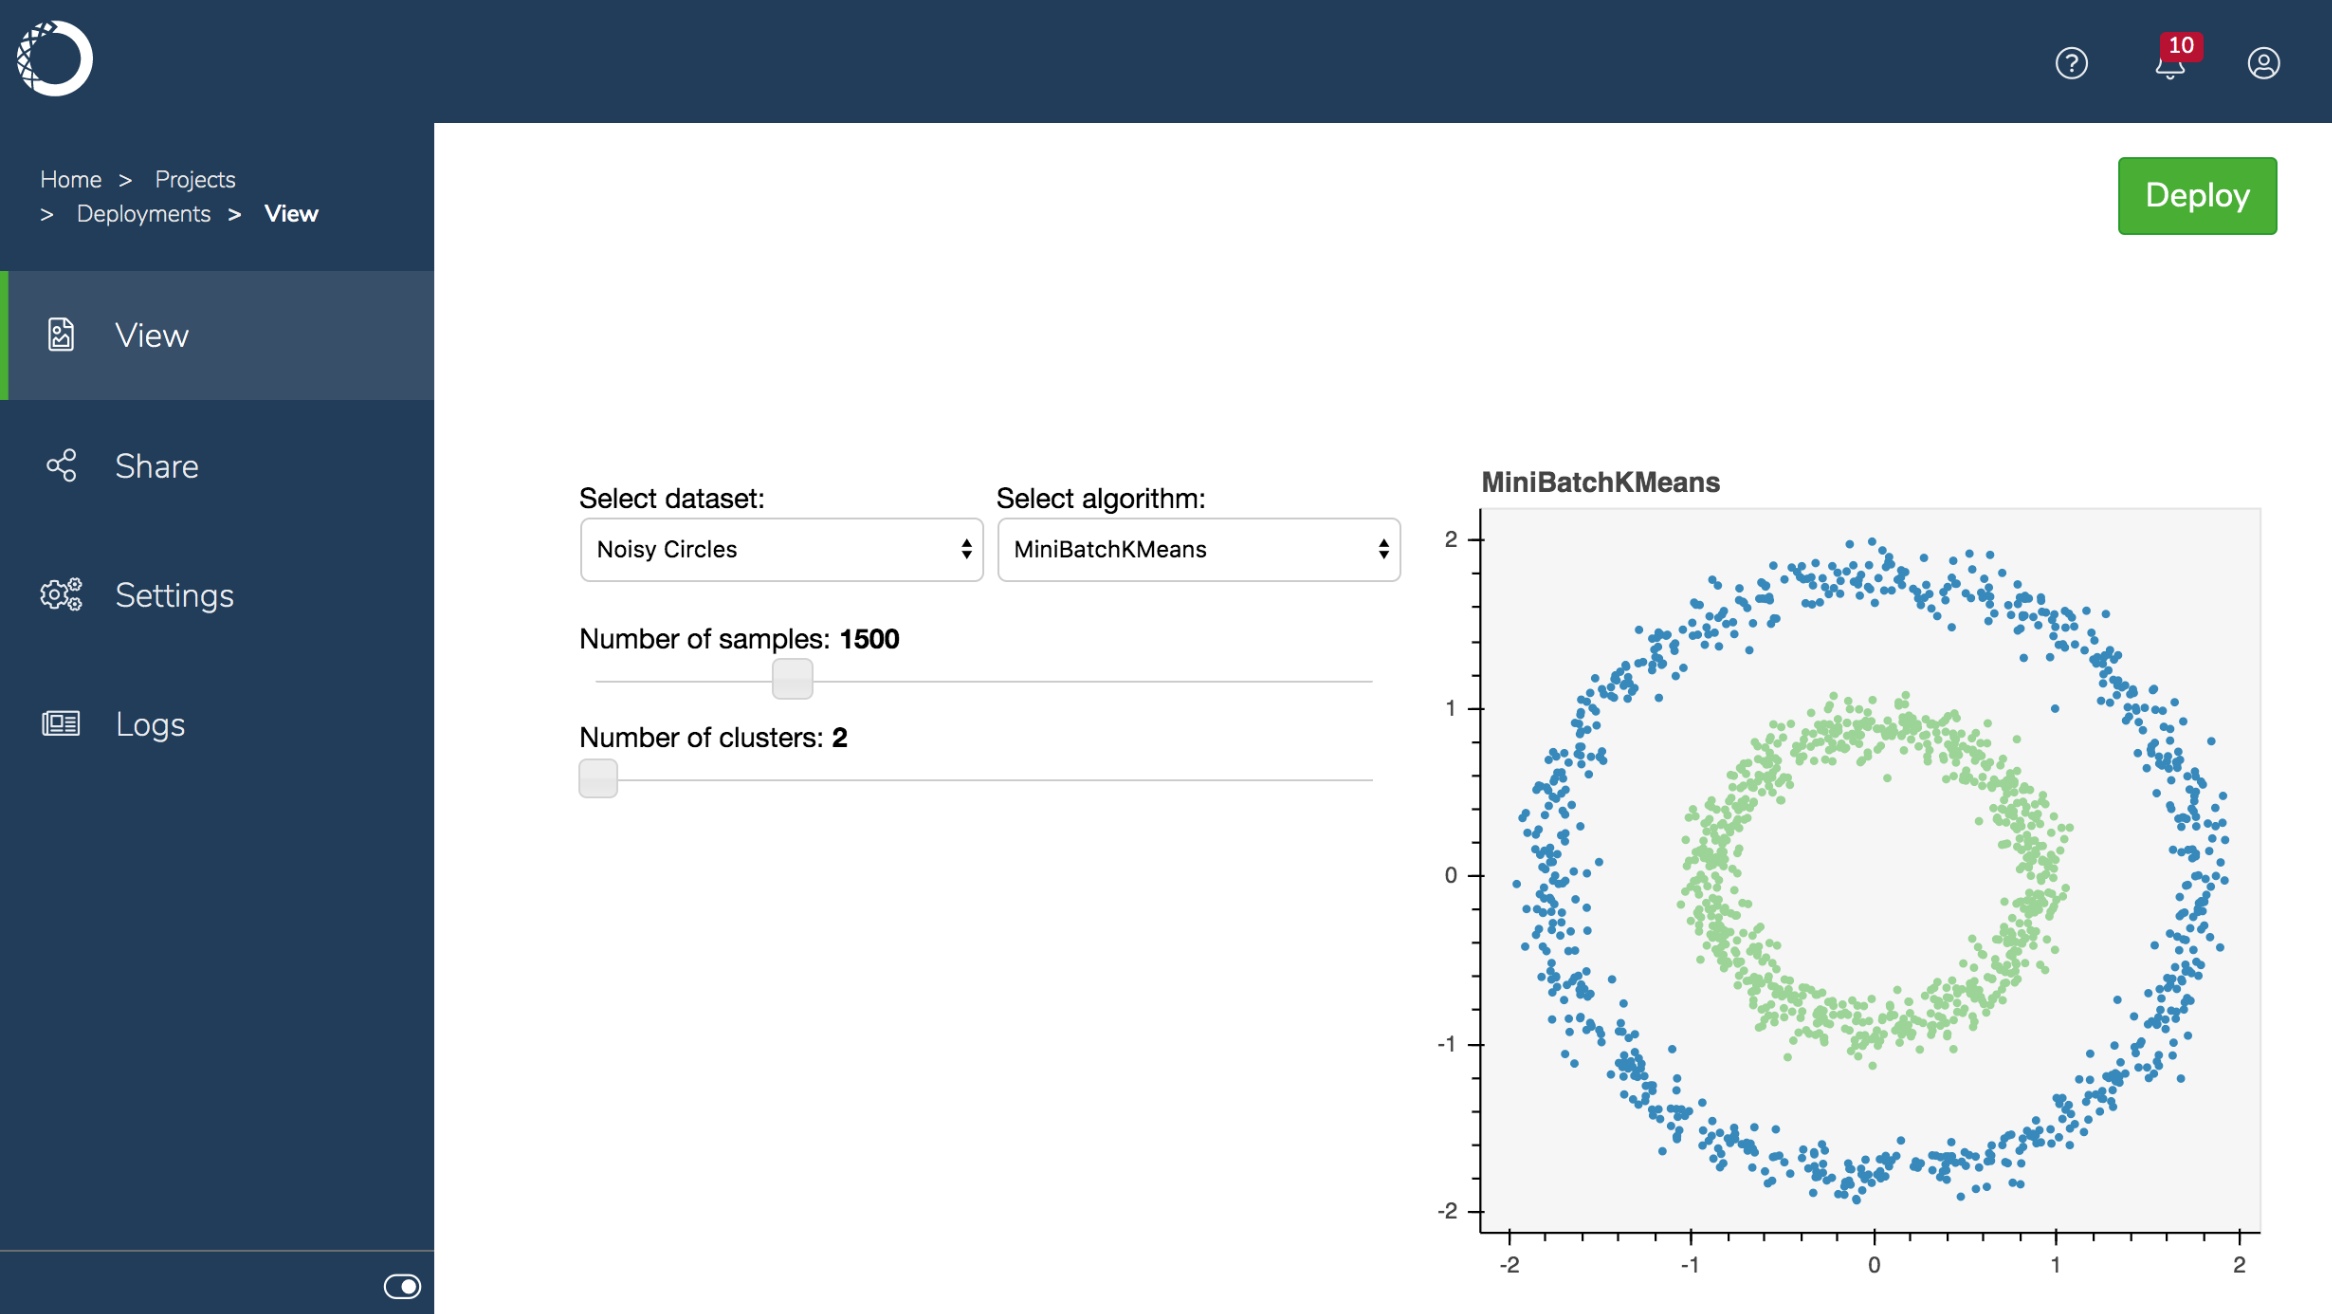
This is the URL you’ll use to call the deployment from within a web application, and therefore it must be unique. Disable the Static URL toggle if you want Anaconda Enterprise to automatically generate a URL for the deployment.
-
Choose whether you want to keep the deployment
Private—and therefore acessible to authenticated platform users, only—or make itPublic, and therefore available to non-authenticated users. After it’s deployed, you can share the deployment with others. -
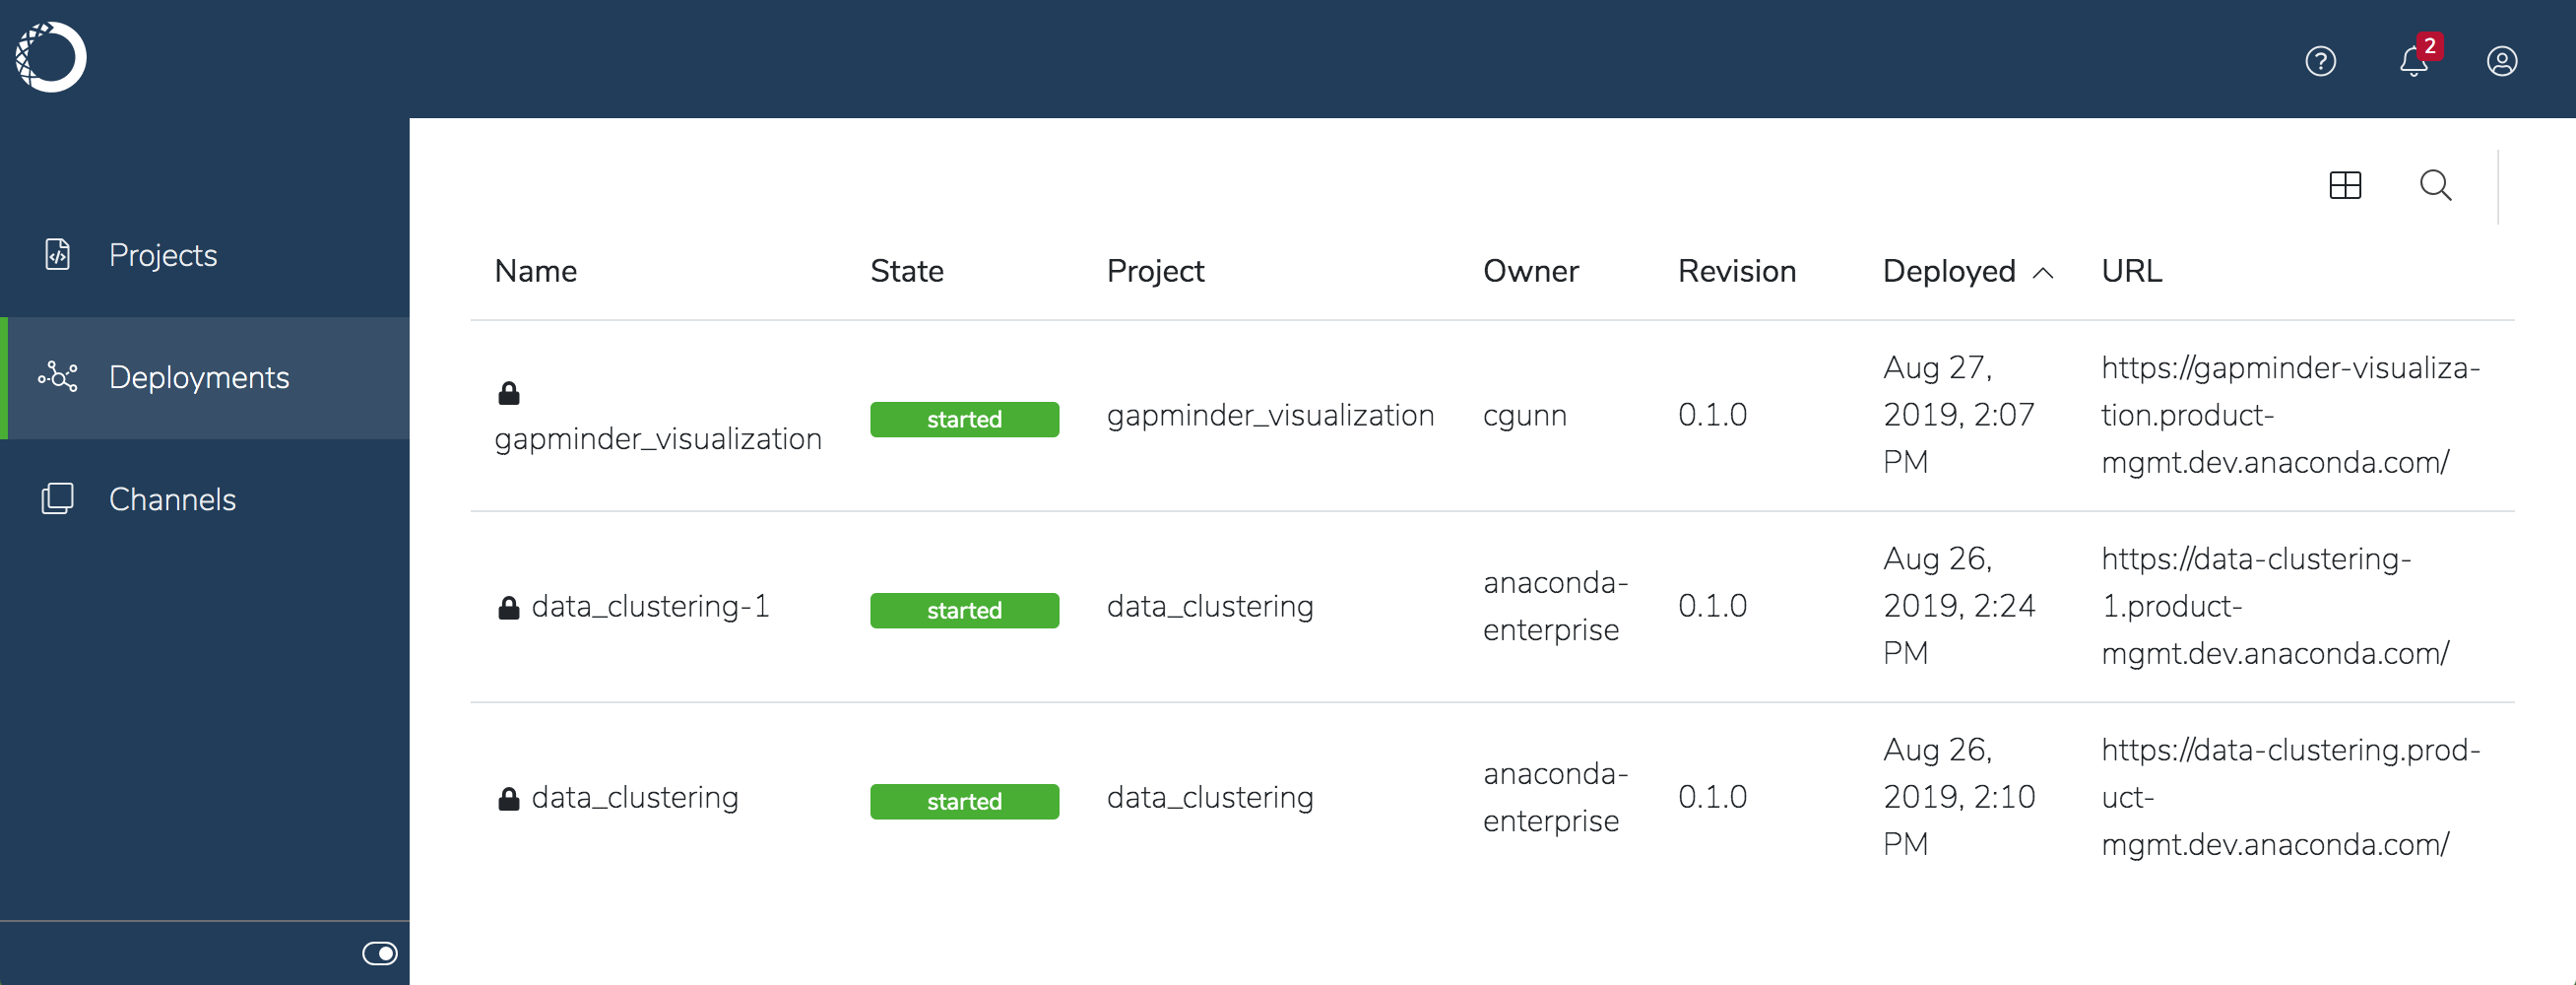
Click Deploy. Anaconda Enterprise displays the status of the deployment, then lists it in the project’s Deployments. Private deployments are displayed with a lock next to their name, to indicate their secure status.
It may take a few minutes to obtain and build all the dependencies for the project deployment.