- Include all the packages used by the project (for example, conda, pip, system).
- Create a custom conda environment.
- Specify the deployment command required to run the project.
- Specify environment variables to use in editor sessions and deployments.
anaconda-project.yml file.
While there are various ways to modify this file—using the user interface or
a command-line interface—any changes to a project’s configuration will
persist for future project sessions and deployments, regardless of the method
you use.
This is different than using
conda install to add a package using the conda environment during a session, as that method impacts the project temporarily, during the current session only.anaconda-project commands only.
You’ll need to run these commands in a terminal.
To open a terminal window within a Jupyter Notebook editor session:
Adding packages to a project
Anaconda Enterprise offers several ways to add packages to a project, so you can choose the method you prefer:- In a JupyterLab editing session, click the Project tab on the far left and click the Edit pencil icon in the PACKAGES field. Add your packages and click Save.
-
In a terminal run
anaconda-project add-packagesfollowed by the package names and optionally the versions. EXAMPLE:anaconda-project add-packages hvplot pandas=0.25
anaconda-project.yml file. If this file is already open, close it and reopen it to see your changes.
To install packages from a specific channel:
EXAMPLE: anaconda-project add-packages -c conda-forge tranquilizer
The default
channel_alias for conda in Anaconda Enterprise is configured to point to the internal package repository, which means that short channel names will refer to channels in the internal package repository.anaconda-project add-packages bokeh -c https://conda.anaconda.org/pyviz in a command or in anaconda-project.yml. The channel_alias can be customized by an administrator, which affects all sessions and deployments.
If you are working in an air-gapped environment (without internet access), your Administrator will need to mirror the packages into your organization’s internal package repository for you to be able to access them.
To install pip packages:
List the packages in thepip: section of anaconda-project.yml. For example:
anaconda-project.yml file to include the pip packages you want to install, run the anaconda-project prepare command to install the packages.
To install system packages:
In a terminal, runsudo yum install followed by the package name.
EXAMPLE: sudo yum install sqlite
Any system packages you install from the command line are available during the current session only. If you want them to persist, add them to the project’s
anaconda-project.yml file. The system package must be available in an Anaconda Enterprise channel for it to be installed correctly via the anaconda-project.yml file.Custom project environment
Each project only supports the use of a single environment.
- In a JupyterLab editing session, click the Project tab on the far left and click the plus sign to the right of the ENVIRONMENTS field. Choose whether you want to Prepare all environments or Add environments. Select an environment and then select Run, Check or Edit. Running an environment opens a terminal window with that environment active. When creating an environment, you may choose to inherit from an existing environment, and choose the environment’s supported platforms, its channels, and its packages.
-
You can use the terminal and command line. For example, to create an environment called
new_envwith notebook, pandas, and bokeh:
You must include the
notebook package for the environment to edit and run notebooks in either the Jupyter Notebook or JupyterLab editors.- Within the Notebook session, open a terminal window:
- Run the following commands to list the contents of the parent directory:
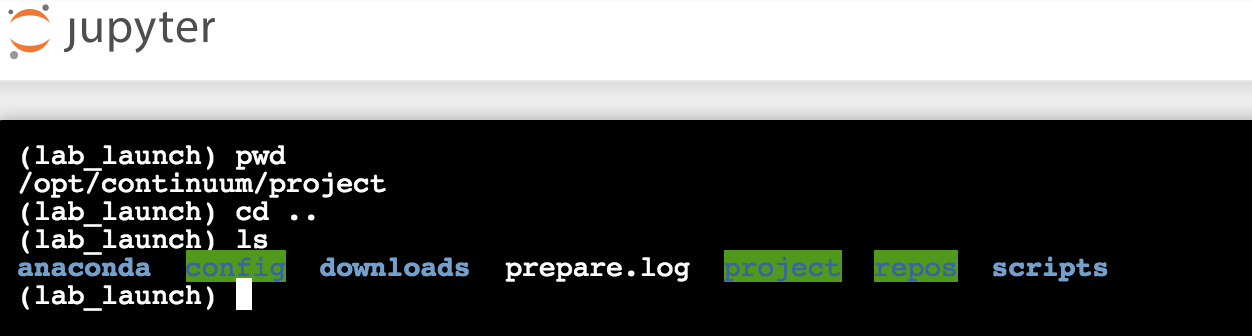
preparing. When the environment has finished initializing, it will be replaced by a file named prepare.log.
Adding deployment commands to a project
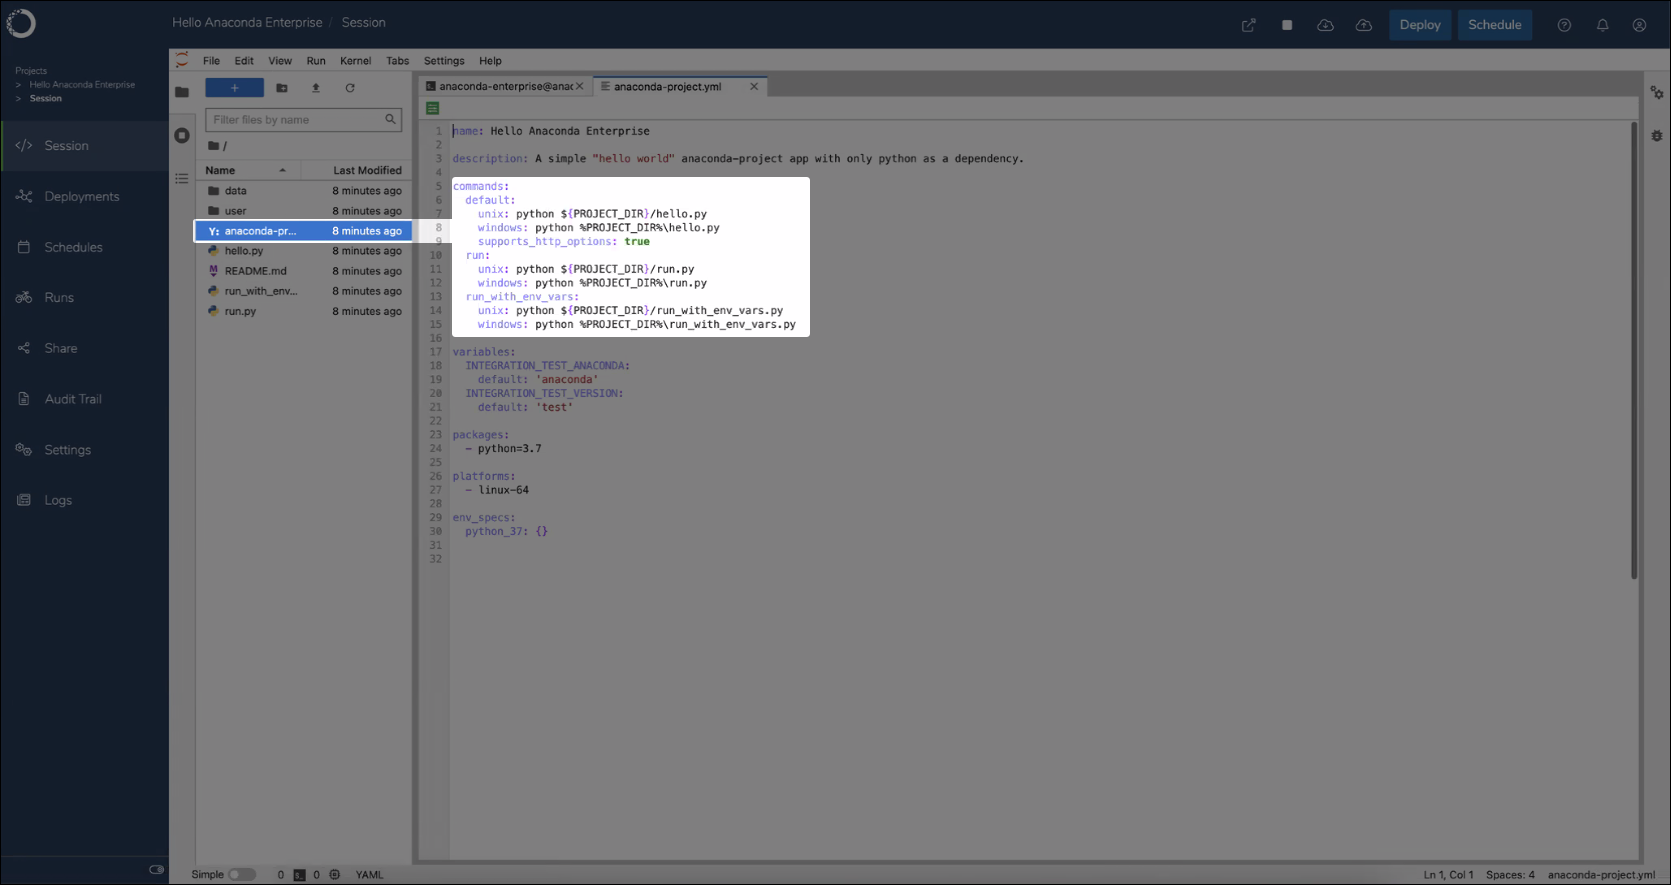
You can use Anaconda Enterprise to deploy projects containing notebooks, Bokeh applications, and generic scripts or web frameworks. Before you can deploy a project, it needs to have an appropriate deployment command associated with it. Each of the following methods can be used to add a deployment command in the project’s config fileanaconda-project.yml:
- In a JupyterLab editing session, click the Project tab on the far left and click the plus sign to the right of the COMMANDS field. Add information about the command and click Save.
This method is available within the JupyterLab editor only, so you’ll need to set that as your default editor—in the project’s Settings—and restart the project session to see this option in the user interface. The two methods described below do not show notifications in the user interface.
- Use the command line interface:
anaconda-project add-command --type notebook default data-science-notebook.ipynb
The following are example deployment commands you can use:
For a Notebook:
main.py file:
For deployment commands that can handle
anaconda-project-- arguments (like Panel) supports_http_options: True must be added to the command.anaconda-project.yml and verify your project will deploy successfully:
- Within the Notebook session, open a terminal window:
- Run the following command, replacing
anaconda44_py35with the name of your environment, if it’s different:

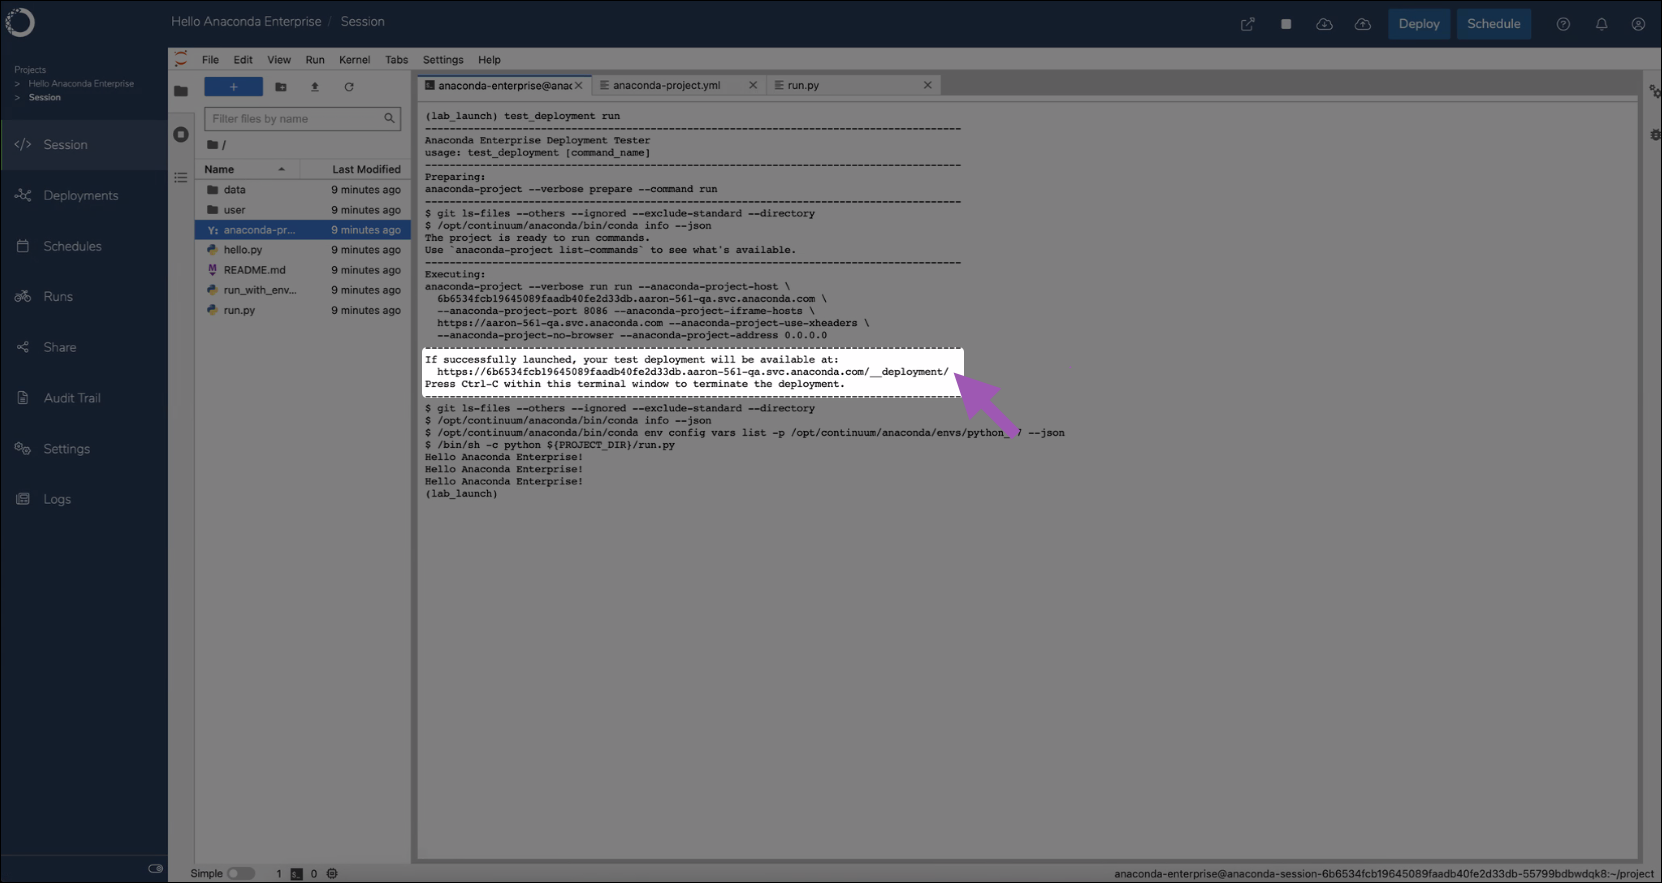
Testing project deployments
Once deployment commands have been added to your project, you can test the deployment using thetest_deployment command. You can view the deployment commands for your project from the projects .yml configuration file.
- Open a project session.
- Open a terminal.
-
Test a deployment command you’ve added to your project by running the following command:
If you do not supply a deployment command to test, the first command listed under the
commands:section of the projects.ymlconfiguration file will be run. - Navigate to the web address returned by the command to verify your project deployed successfully.
Environment variables
You can add environment variables that will be set when you run notebooks in an editor session and at the start of a deployment command.- In a JupyterLab editing session, click the Project tab on the far left and click the
+button next to VARIABLES. Provide the name, description and default value of all variables you require.
-
You can use the terminal and command line. For example, to add an environment variable that sets
MY_VARtohello.: