To successfully install Team Edition in an air-gapped environment, you must have already prepared your environment according to the Air gap environment preparation topic.
- System validation checks
- Installing Anaconda Team Edition
- Installing packages and CVEs in Team Edition
- Restarting and logging in to Team Edition as admin
- Administering Team Edition in Keycloak
- Using Team Edition
System validation checks
Run the following commands to gain information on your system and validate that it is ready for a Team Edition install. Display what type of processor your system is running, including the number of CPUs present:Installing Anaconda Team Edition
Obtain the Team Edition installer and your Team Edition license from your Anaconda representative before proceeding. Download Anaconda Team Edition:Keep an eye out for the admin credentials generated during the install. You’ll need these usernames and passwords later.
Installing packages and CVEs in Team Edition
After downloading the zip files during air gap environment preparation, move them to the preferred location. We have used/repo/airgap/ in the following example:
REPO_CVE_DEFAULT_MIRROR in the .env file to the following:
Restarting and logging in to Team Edition as admin
In your base Team Edition directory, run the following commands:http://<DNS> or http://<your instance public IP address>.
Use the following credentials when logging in:
Username: anaconda
Password: your generated password from when you installed Team Edition
On your very first login, you will be redirected to Keycloak to authenticate your access.
Administering Team Edition in Keycloak
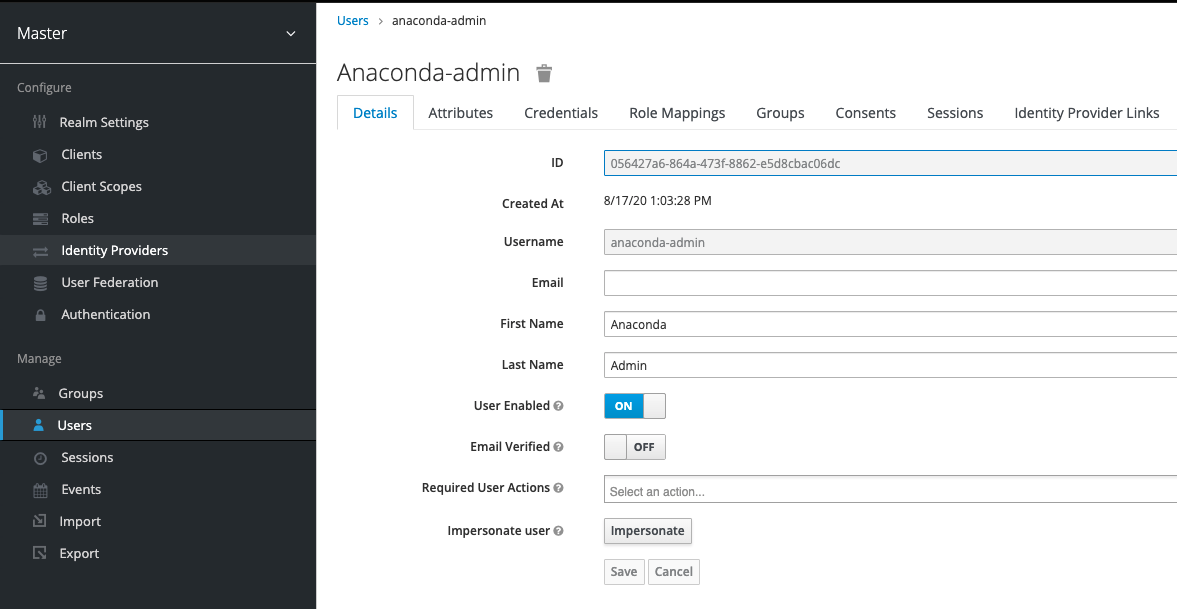
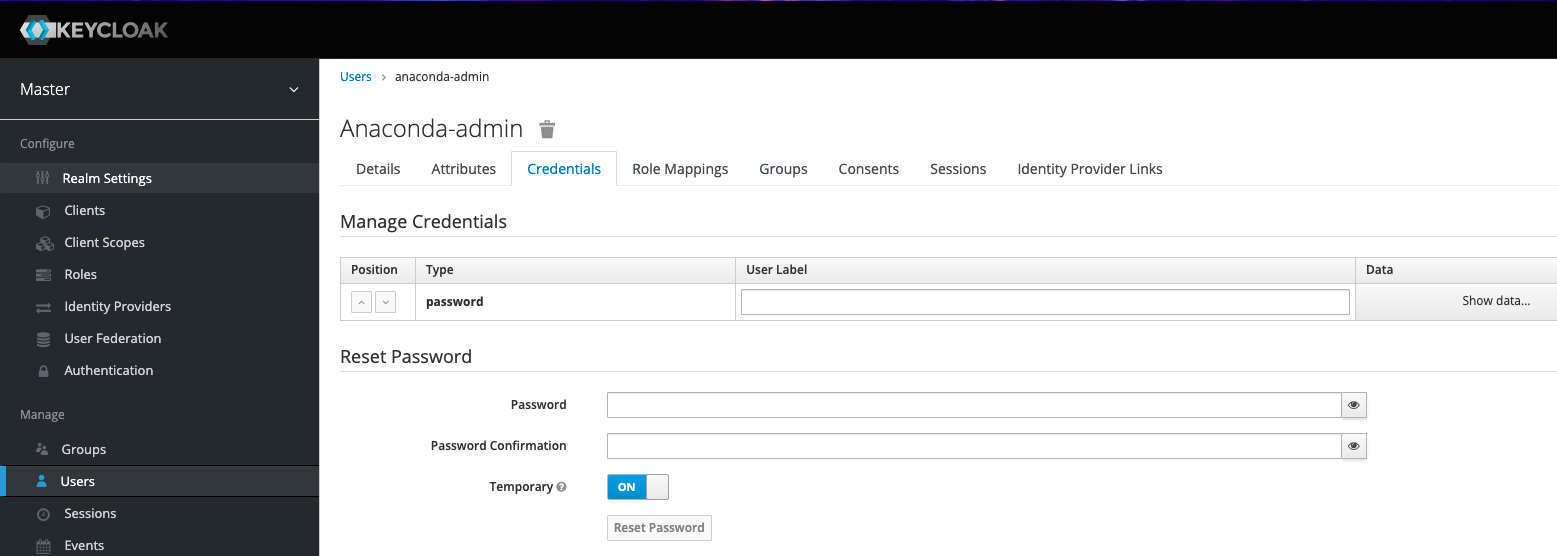
Once you’ve been redirected to Keycloak upon login, you can begin setting up your keycloak. Log in using the following credentials: Username: admin Password: your generated password from when you installed Team Edition Once you have logged in to Keycloak, you will see the main page, as shown below. On the left-hand side, navigate to Users. Click on the blue hyperlink in the ID column to take you to the admin profile.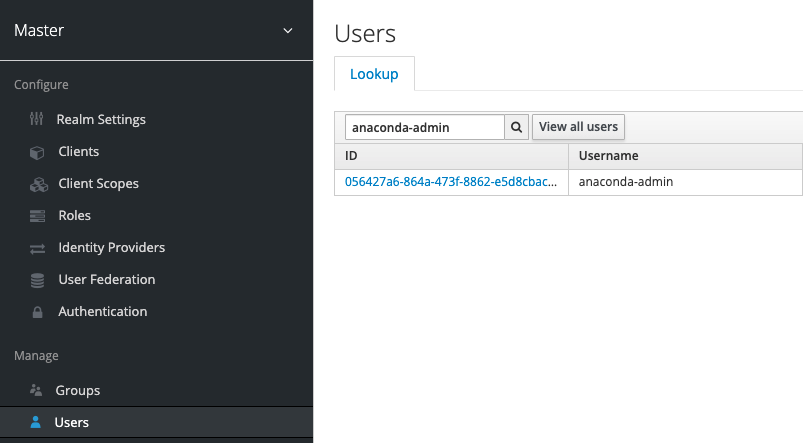

Using Team Edition
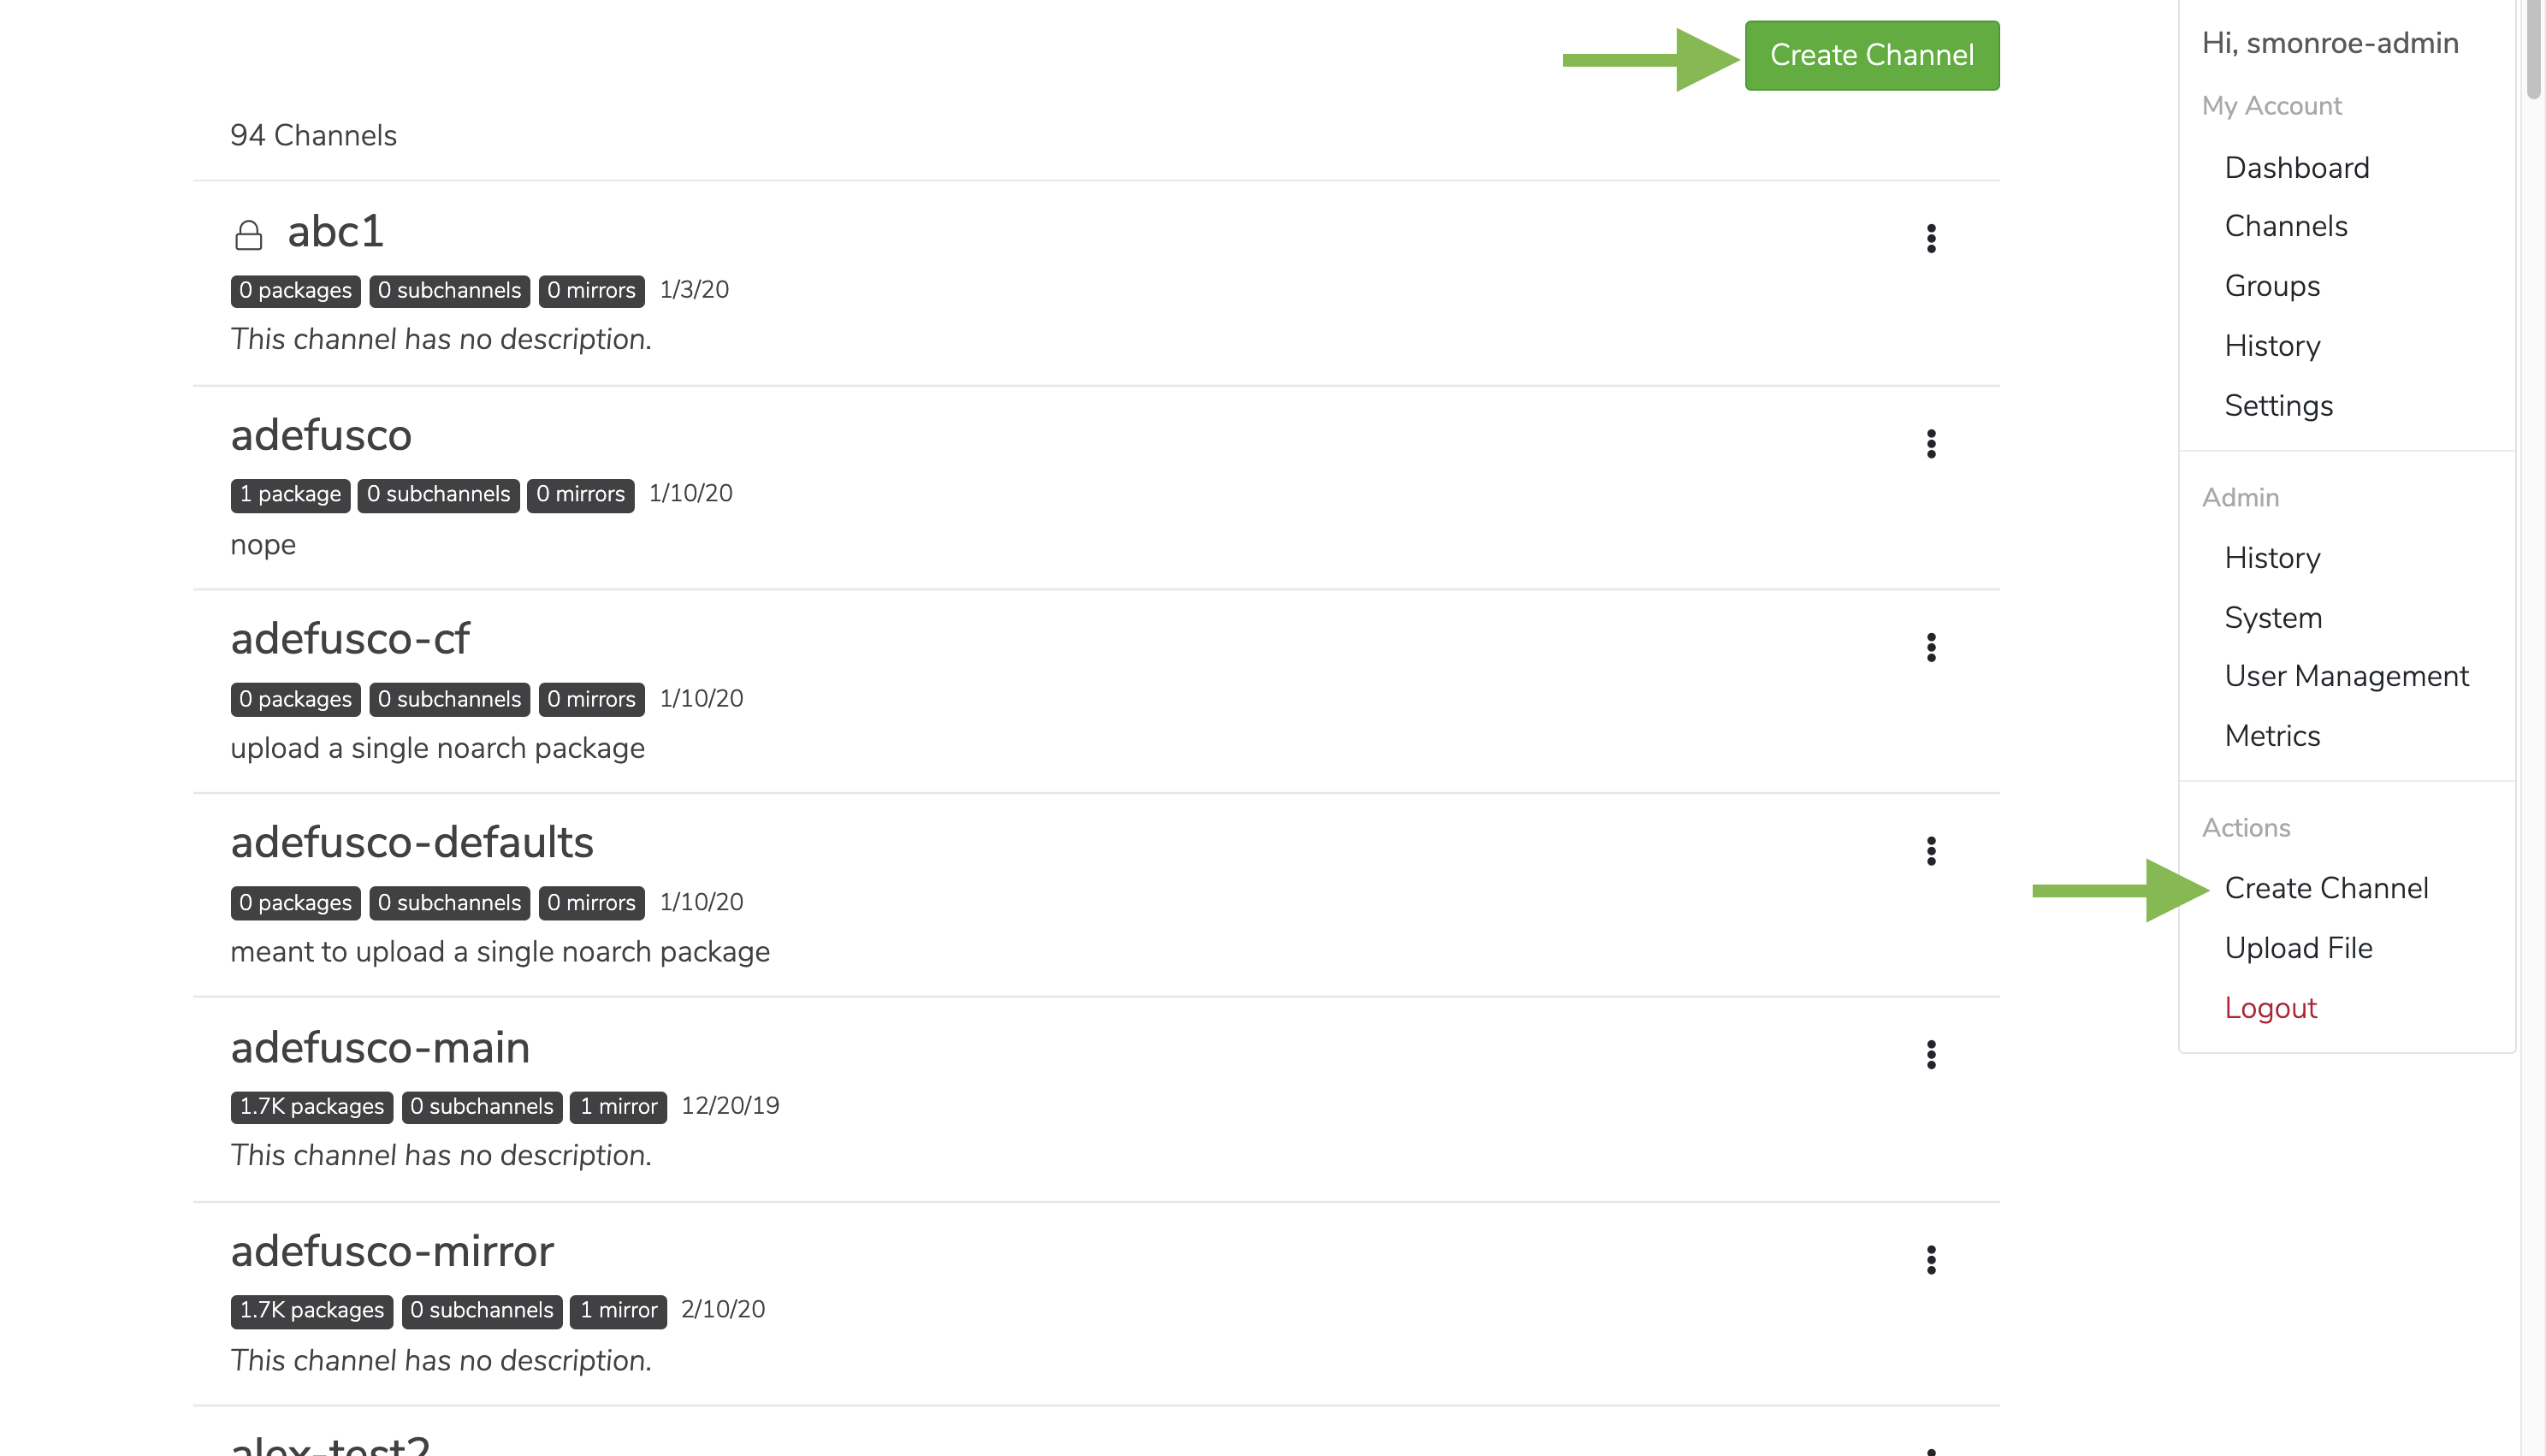
Log in to your Team Edition instance as administrator with the generated ID and password.Creating a channel
There are a few key things to note when creating a channel:- If a channel name is already in use, create a new channel with a different name. That channel can then be set as the default channel on the Settings page under My Account.
- If an email is used as a username, the portion of the email before the ”@” symbol (also known as the “local-part”) will be used as the username. Because channel names are restricted to a limited set of characters (a-z 0-9 - _), some characters may be replaced with
_. For example, if the email address[email protected]is used as a username, the channelannie_anacondawill be created. - If you don’t see any way of creating a channel (as shown in the following section), you might be lacking the permission to do so. Ask your administrator about modifying your permissions to allow you to create channels.
-
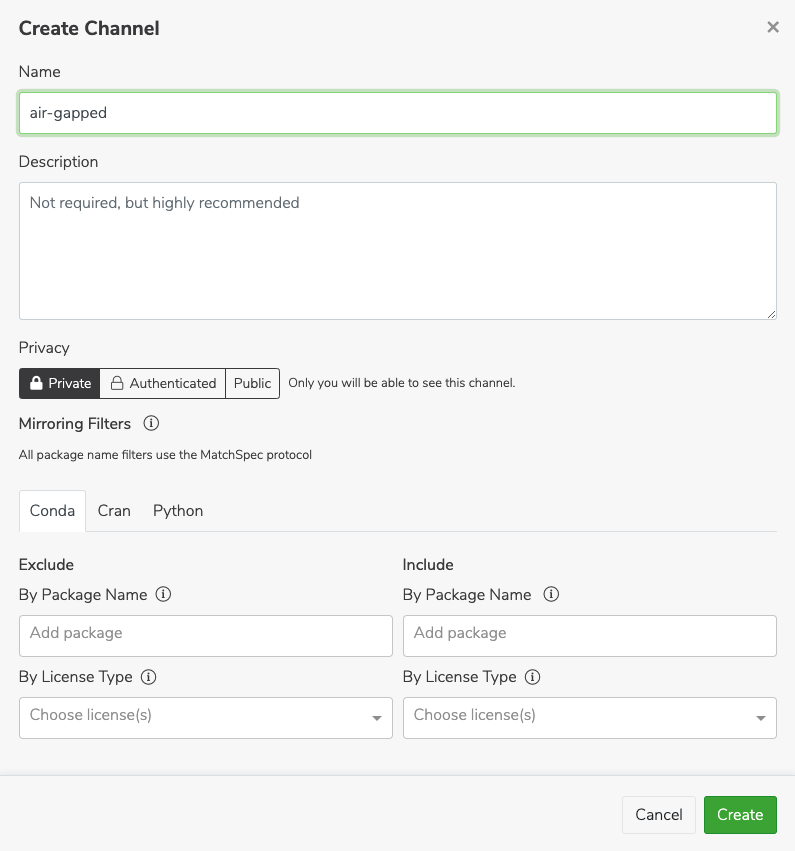
Click on the My account button in the top right, and then click Create a Channel. You can also create a channel by clicking the green Create Channel button from your channel page.
-
Fill in a name and description when prompted.
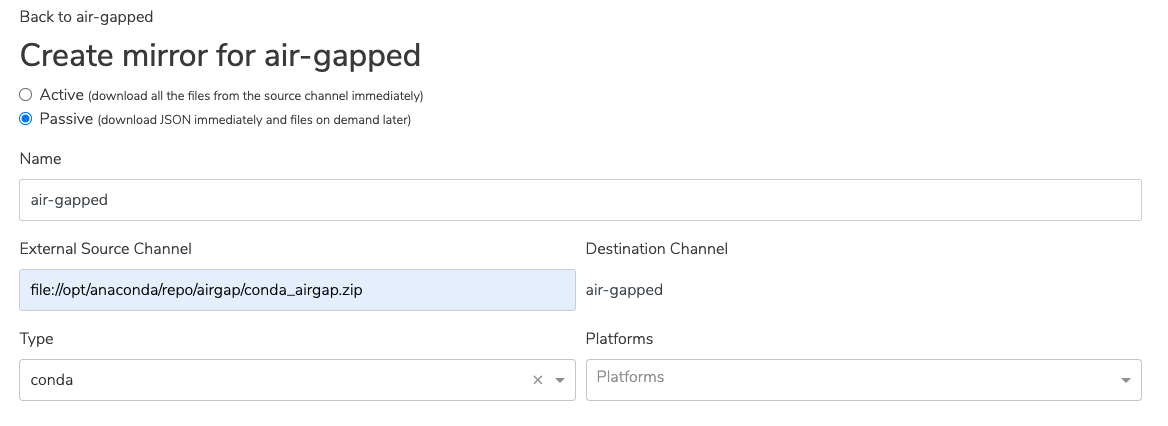
Creating a mirror
In the new channel, create a new mirror by clicking the green Mirror button in the channel. Ensure Passive is selected at the top.Mirroring passively reduces the storage space used. You will still get the packages you need, as they are already stored in the Team Edition instance.
conda_main_airgap.zip file.
Once you have created the mirror, you are all set to use Team Edition!