Environment logging gives you visibility into the security posture of your local . With environment logging enabled, you can view the installed in your environments, identify Common Vulnerabilities and Exposures () associated with them, and proactively address security issues before administrator intervention.Documentation Index
Fetch the complete documentation index at: https://anaconda.com/docs/llms.txt
Use this file to discover all available pages before exploring further.
Enabling environments
If an administrator has enabled environments for your organization, runninganaconda login prompts you to install the anaconda-env-manager metapackage and register your machine with your organization.
After setup, conda automatically logs any environment you create or update.
Plugins provided by the anaconda-env-manager metapackage
Plugins provided by the anaconda-env-manager metapackage
If you belong to multiple organizations, you are prompted to select one from the list before registration completes.
Logging environments
Environments that you created prior to setup can be manually logged with your organization:Viewing your environments
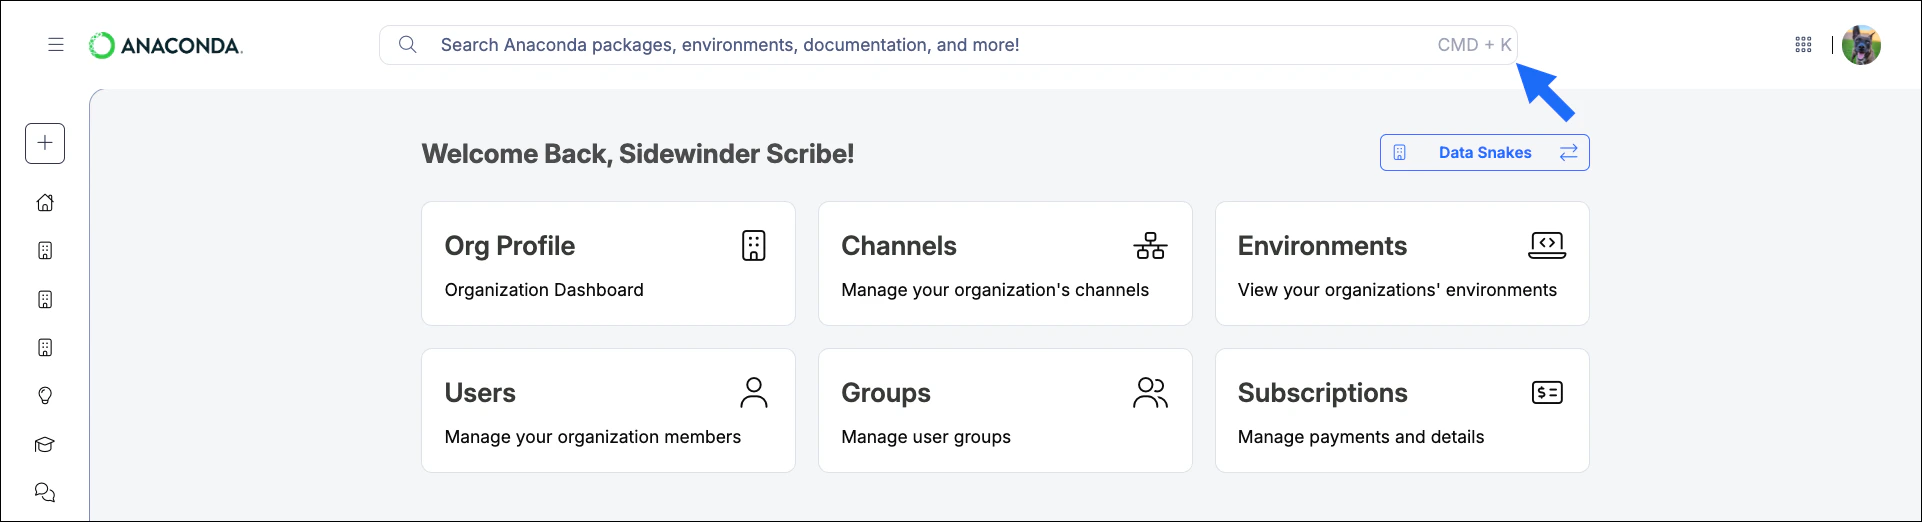
To view environments you’ve logged to your organization, select Environments under Org Management.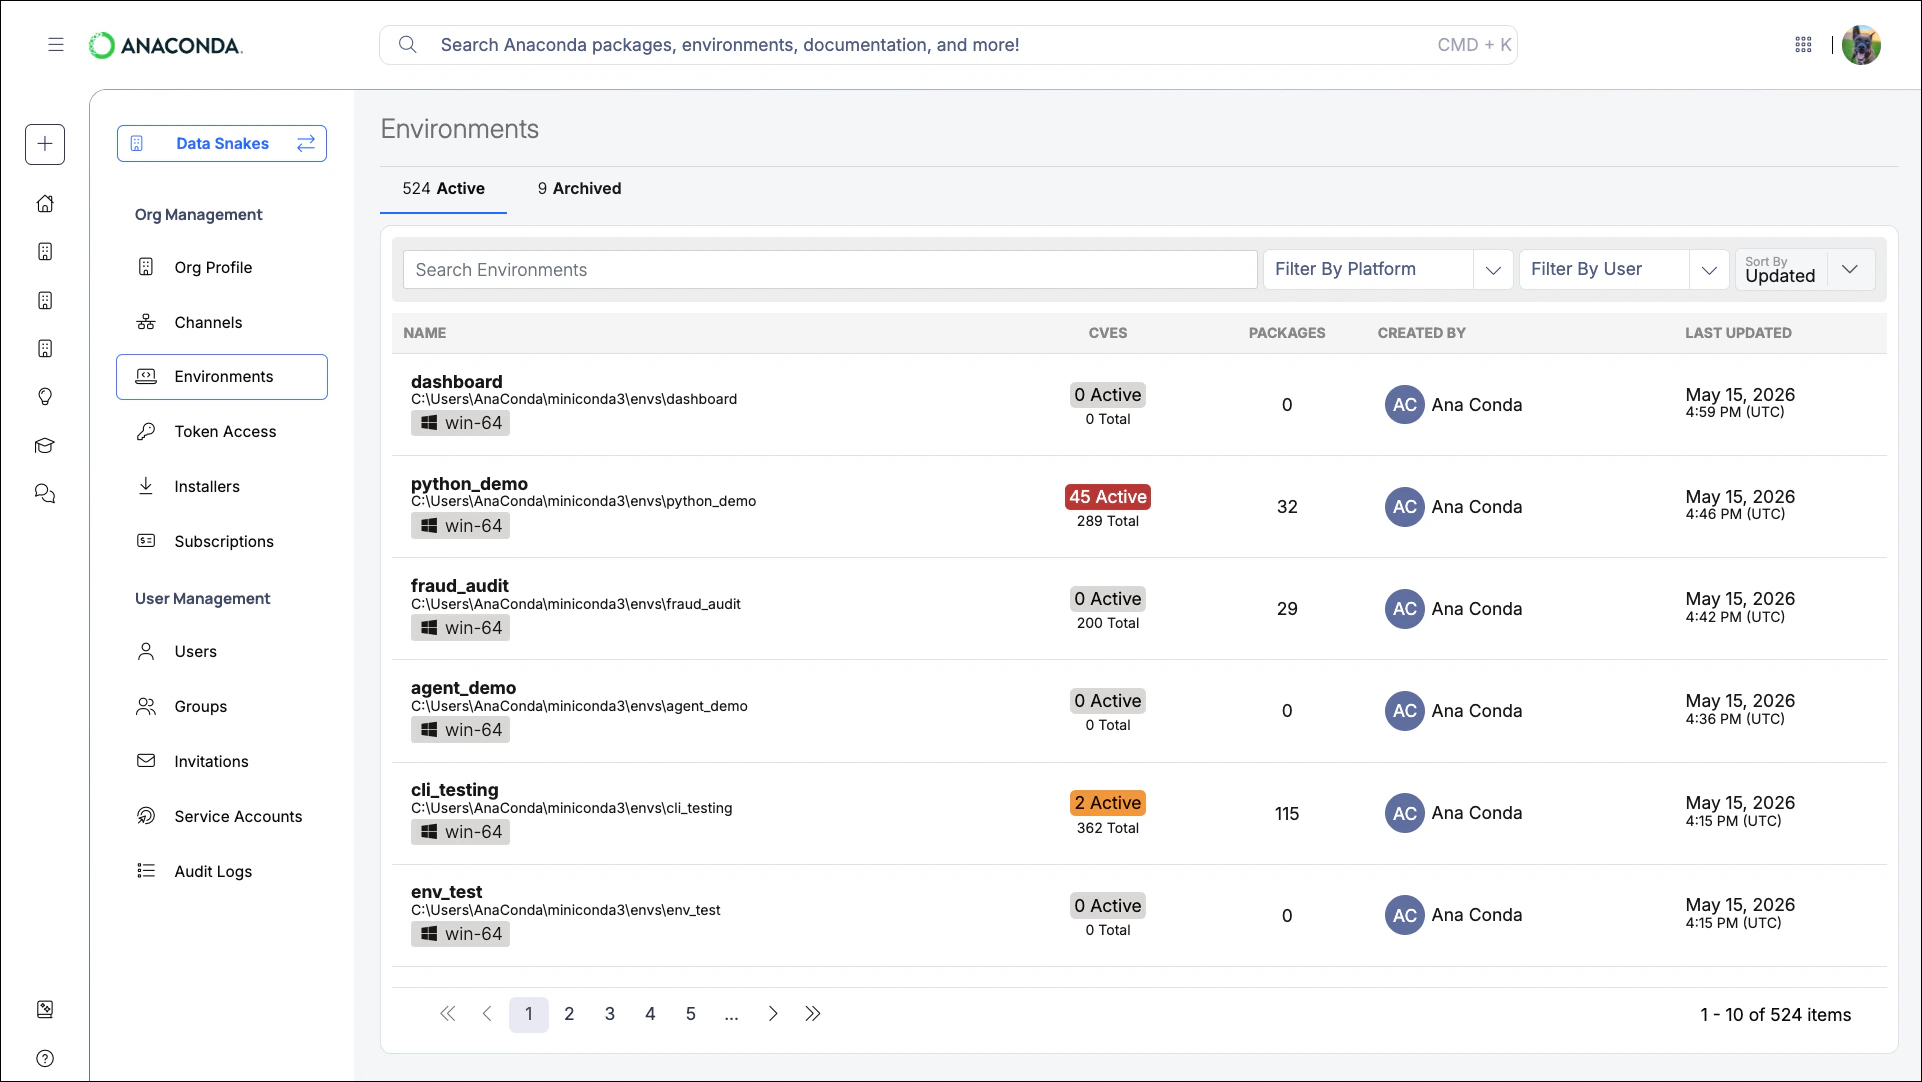
You can only view environments that you’ve logged to your organization.
Searching and filtering
Search for environments by name or path using the search box at the top of the table. You can also filter by platform.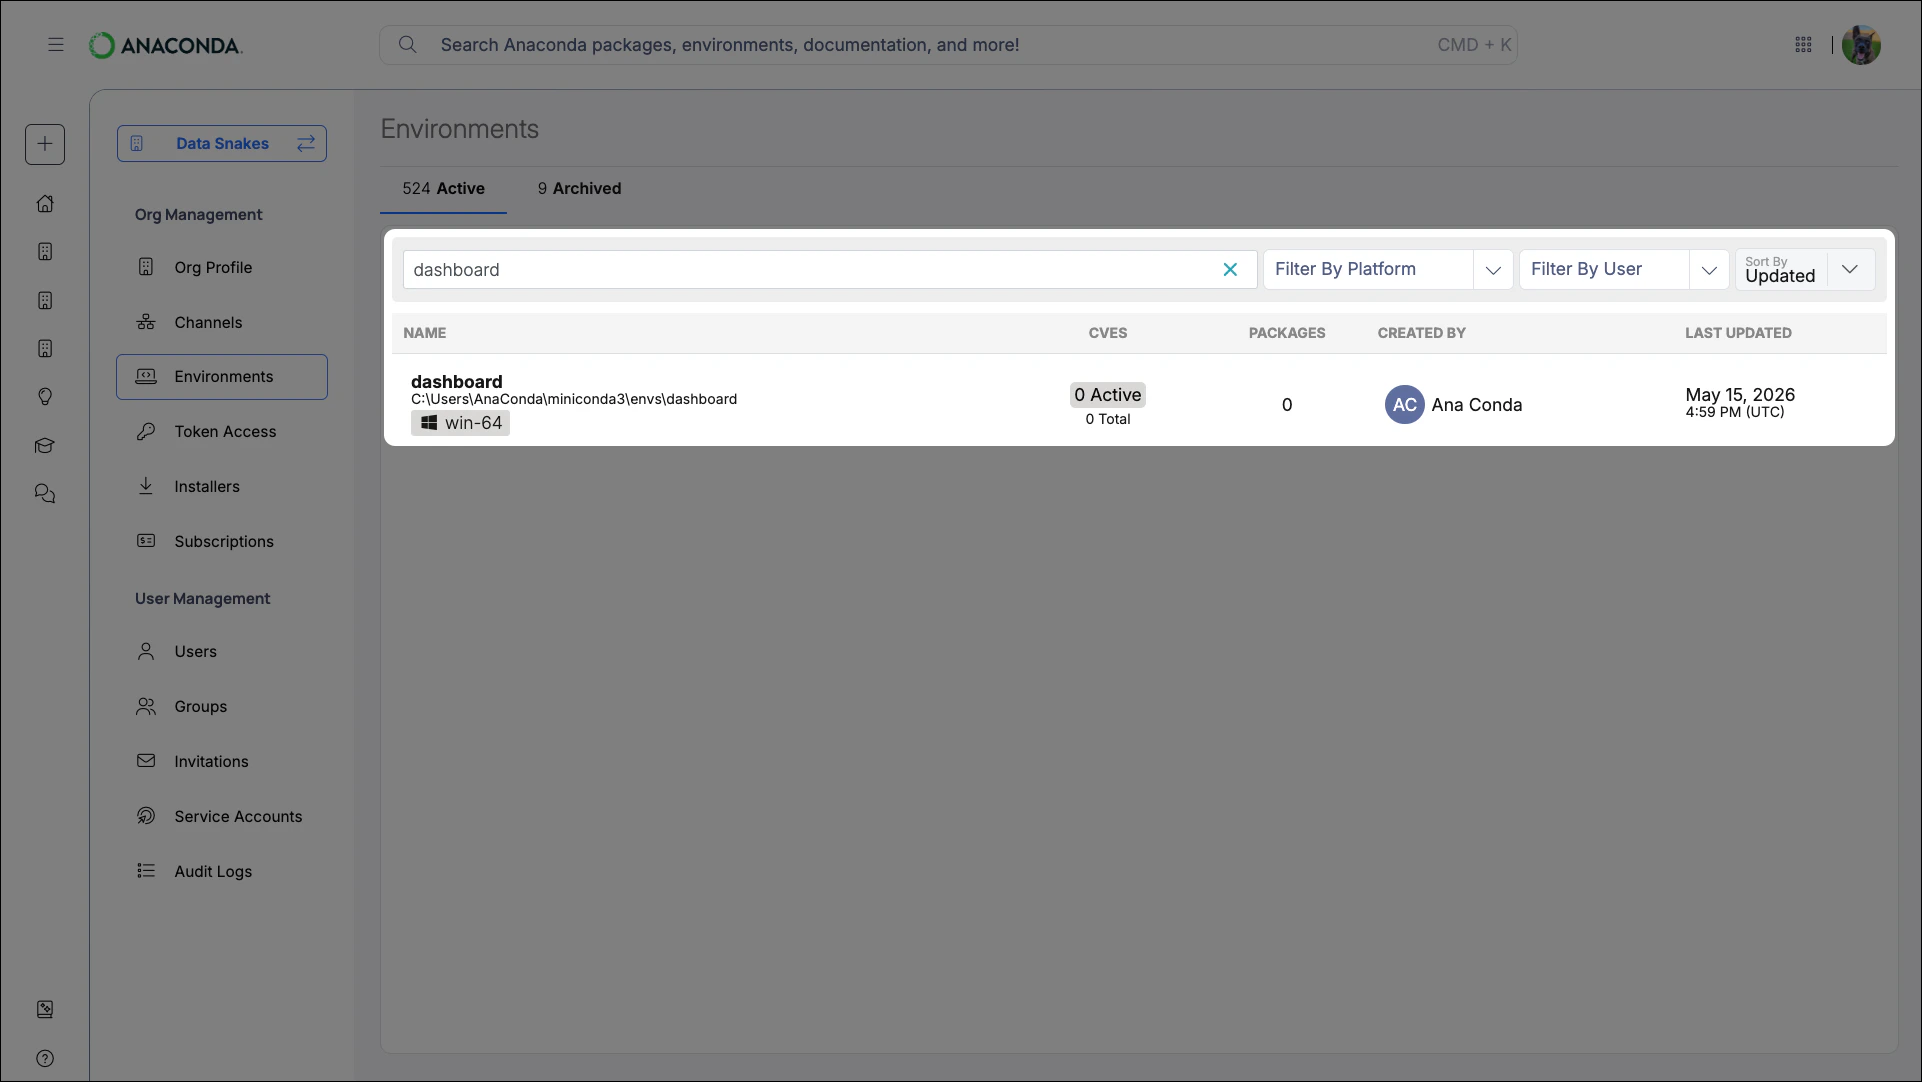
Scanning environments
Scanning checks the most recently saved environment log for CVEs associated with its packages.Environments are automatically scanned when created but not when updated. Perform a scan before investigating an environment to ensure its data is current.
- Scanning locally
- Scanning from your organization
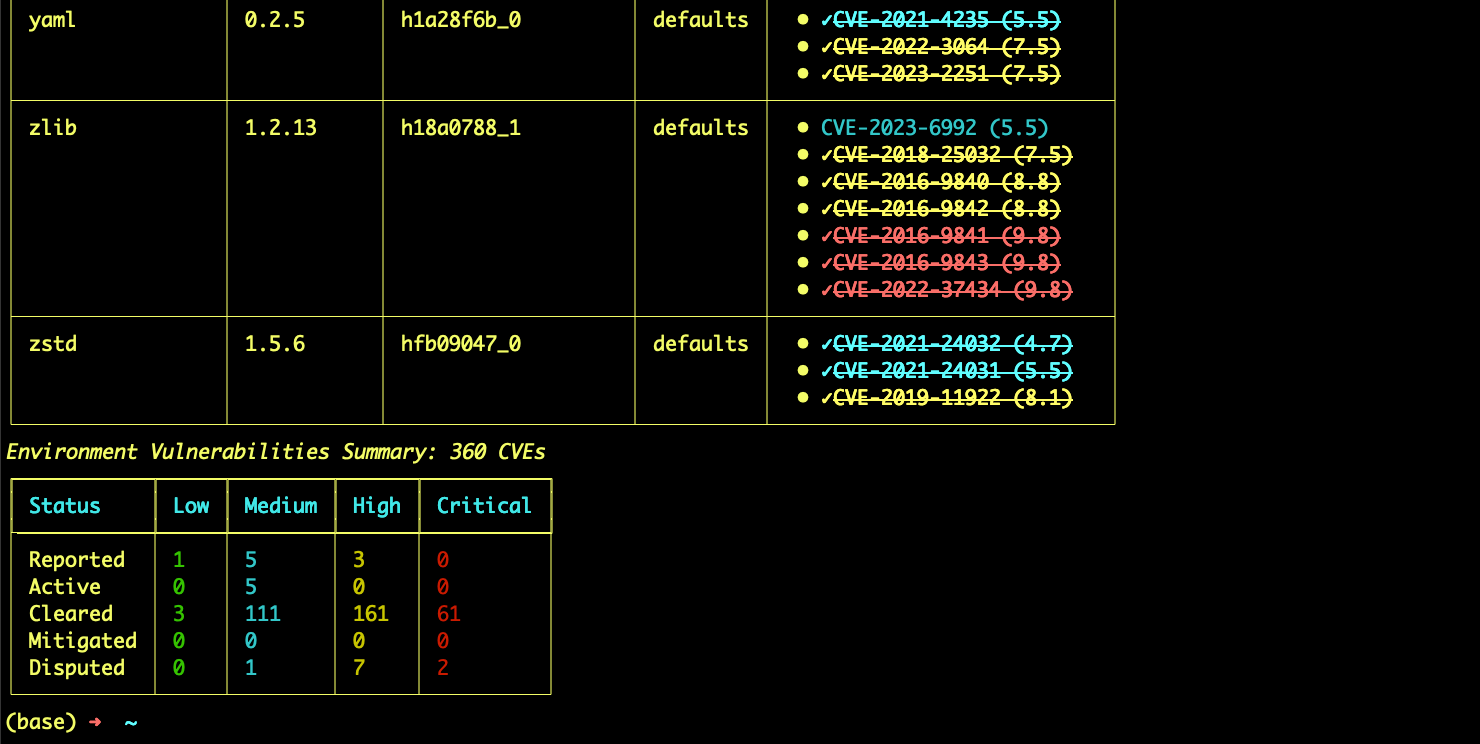
- Color indicates CVE severity
- ✓ indicates the CVE has undergone Anaconda curation
Strikethroughindicates a cleared CVE that is safe to use
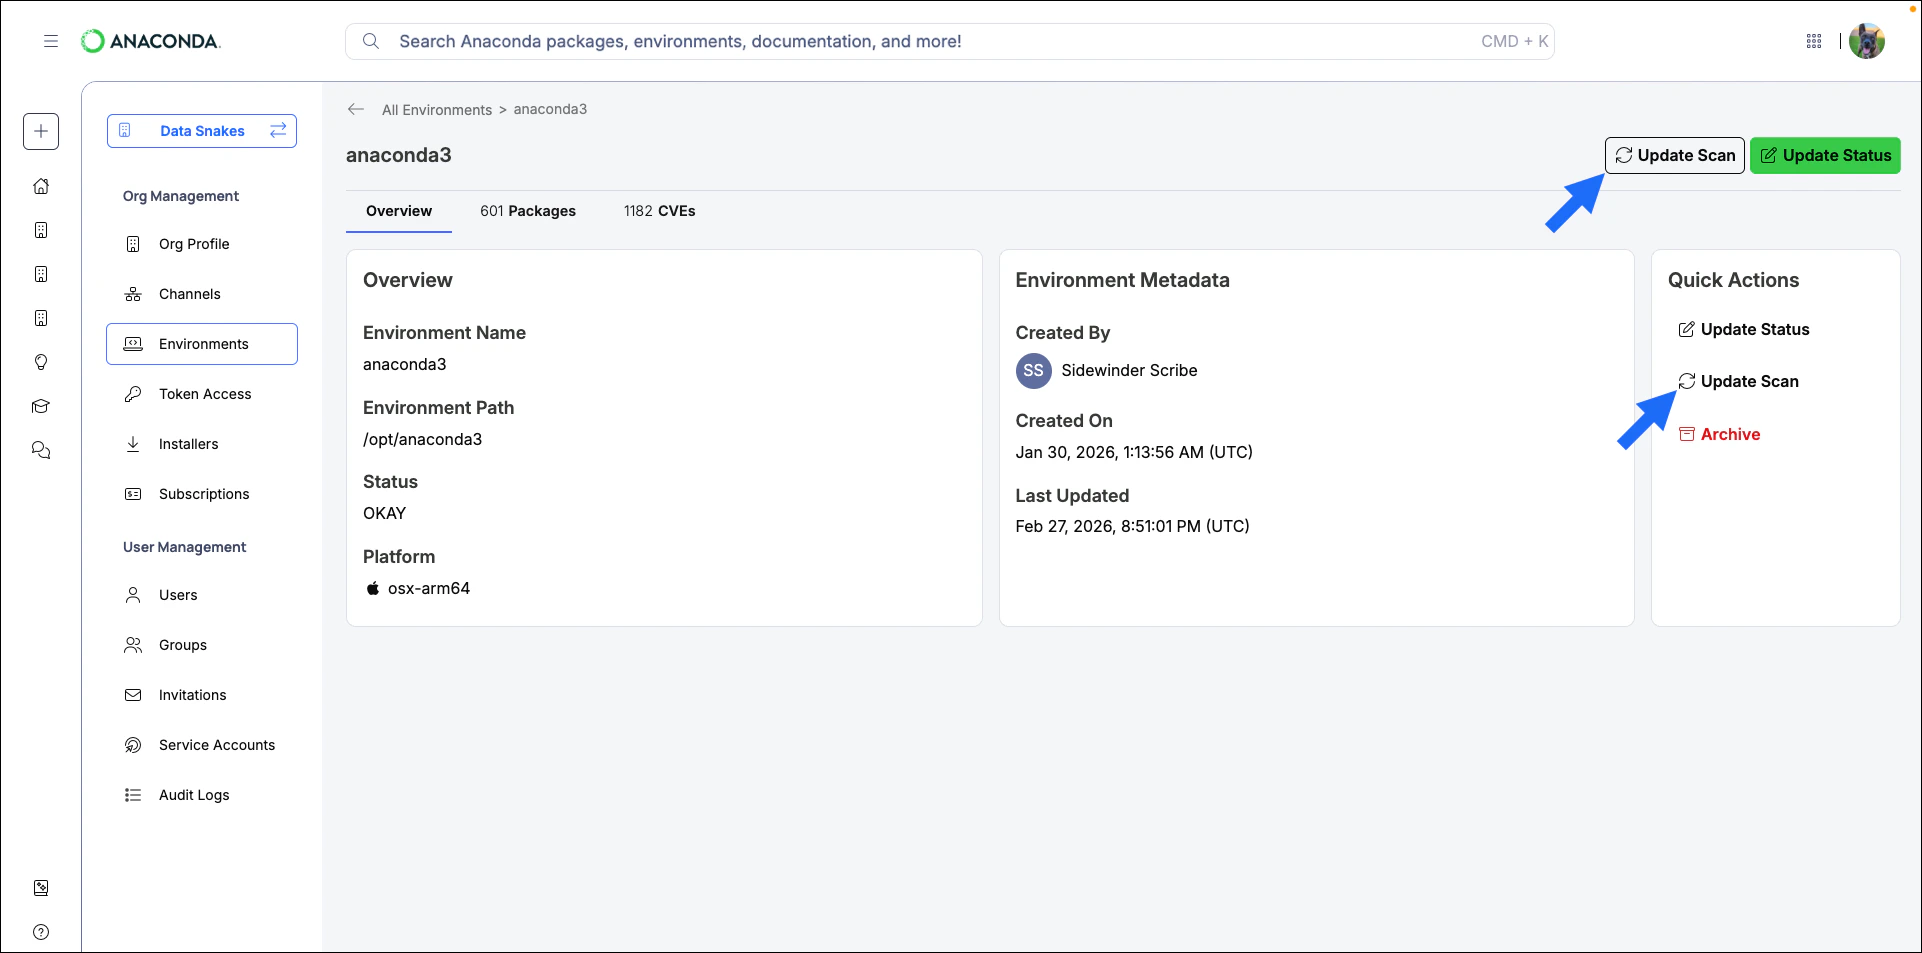
Investigating environments
Viewing packages
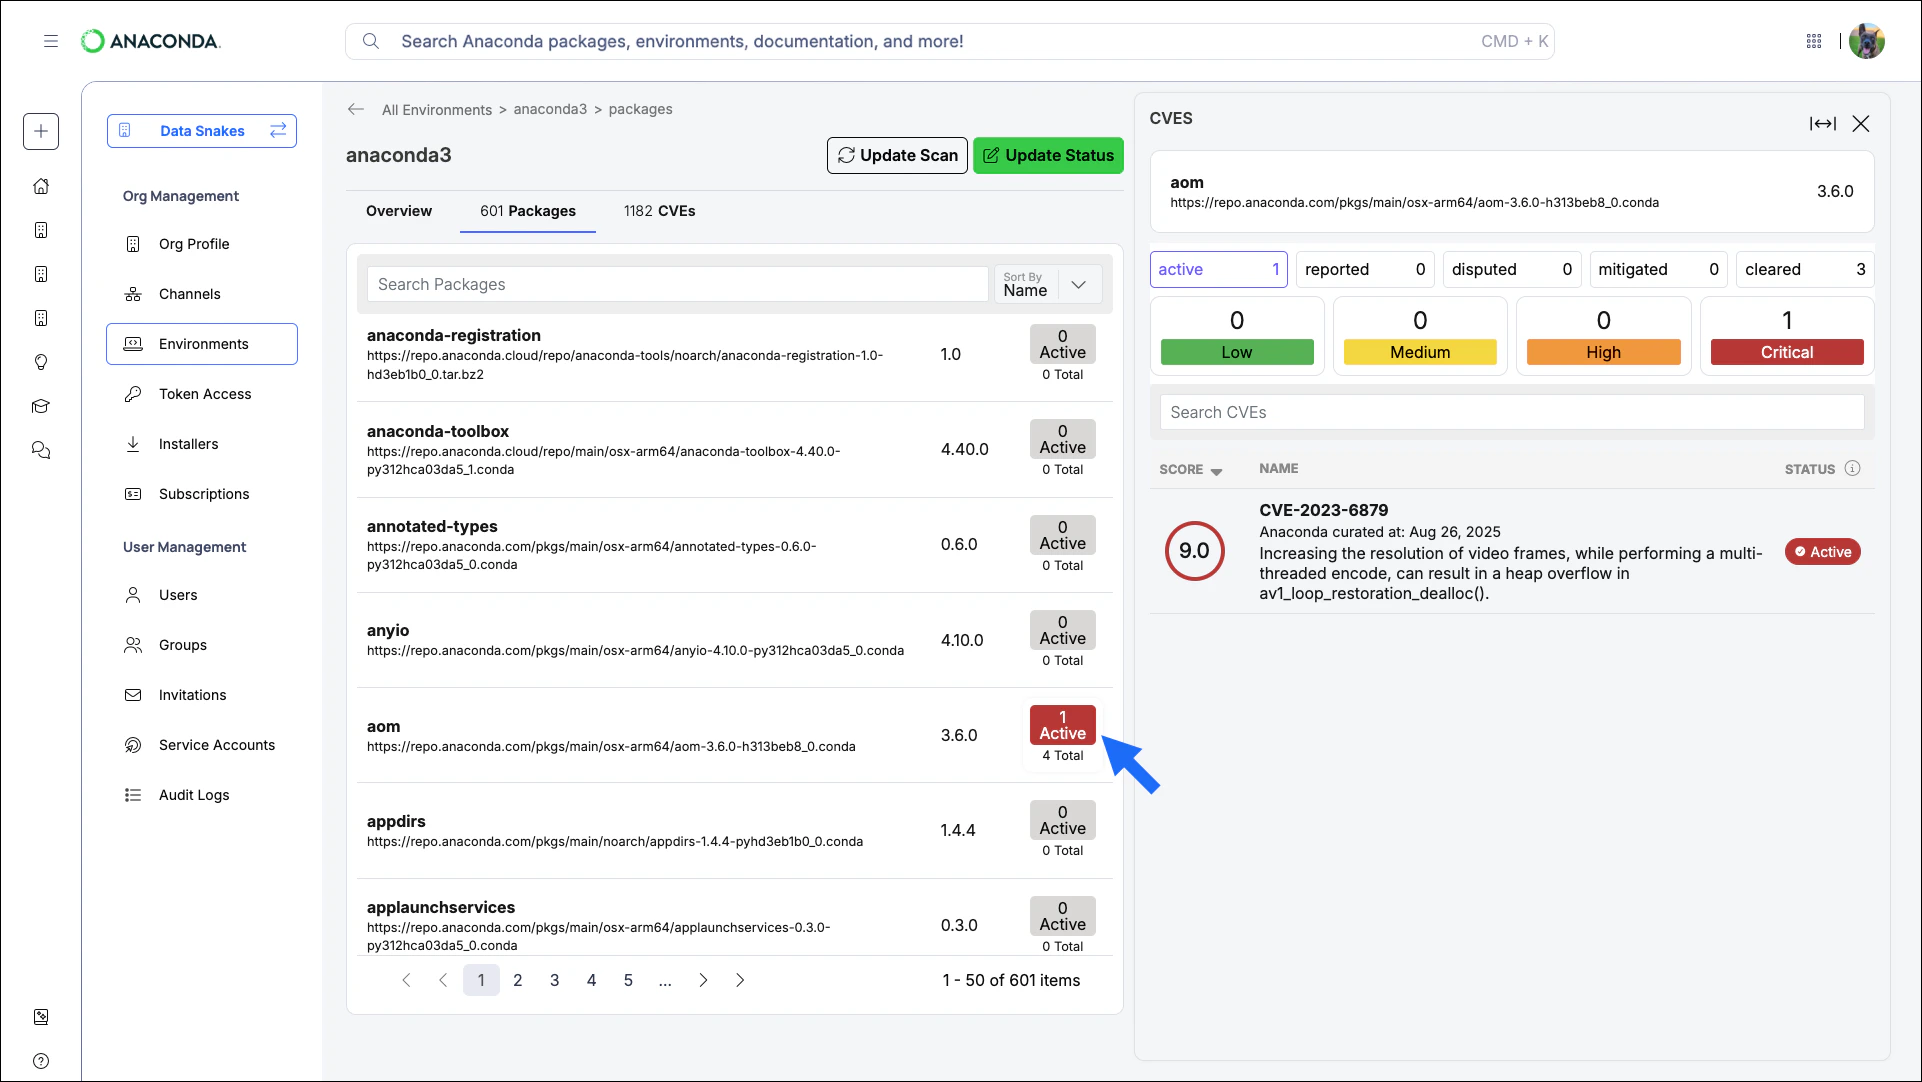
Click the package count under the PACKAGES column to see which packages are installed in an environment and what they were sourced from.
Use the navigation controls at the bottom to browse the environment’s packages.
Viewing CVEs
- Environment CVEs
- Package CVEs
Click the CVE count in the CVES column to view all CVEs associated with an environment. Each entry includes the CVE name, CVSS score, Anaconda curation date, a description, and its current status.Use the filters at the top of the page to locate critical CVEs. Select a CVE from the list to view its details.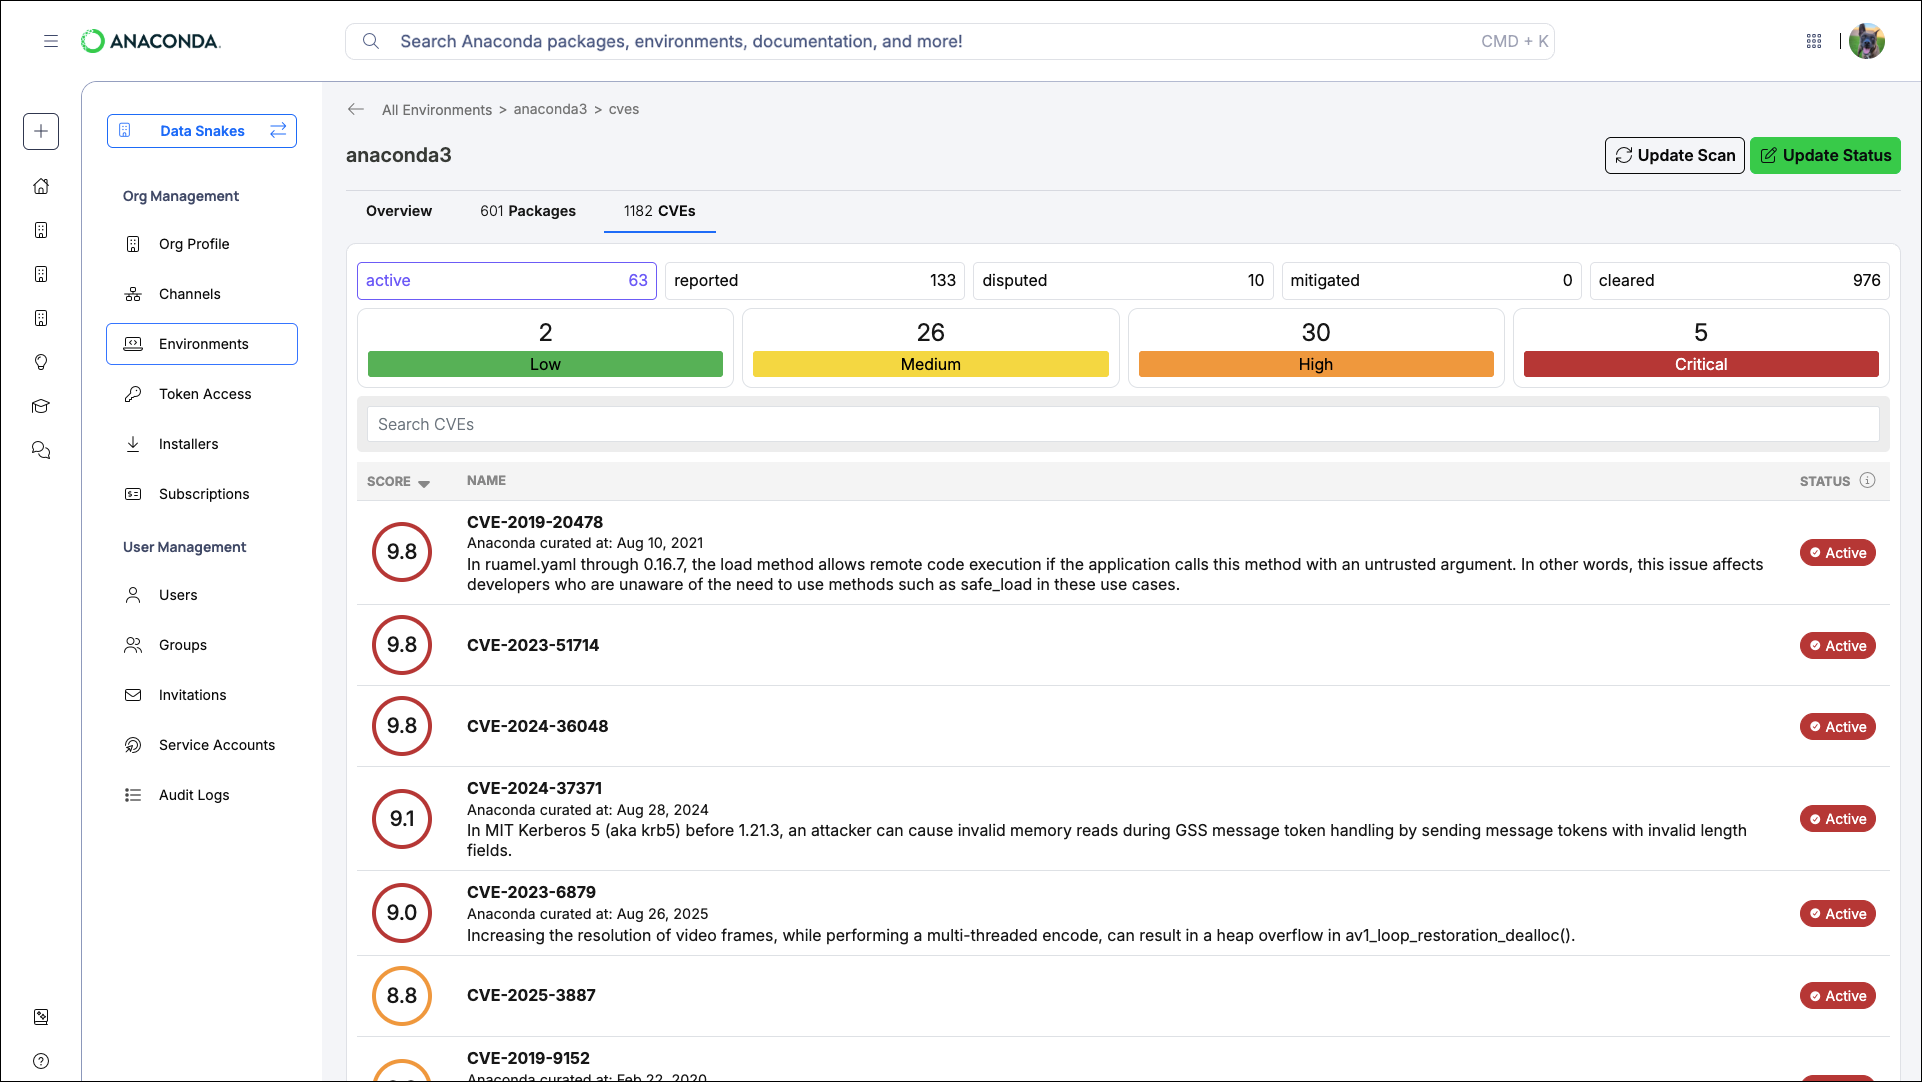
The active filter is applied to CVE results by default.
Checking environments for vulnerabilities
To check if any of your environments are affected by a specific vulnerability, search by CVE ID using the unified search bar at the top of the page. Results include environments you’ve logged that contain packages associated with the CVE you’re searching for.