

Using Miniconda in a commercial setting?
Using Miniconda in a commercial setting?
- You might need to purchase a license to stay compliant with our Terms of Service.
- If your company security policies do not allow admin privileges for end users, your IT admin can deploy the MSI installer through an endpoint management tool (such as Microsoft Intune, SCCM, or Group Policy). See Enterprise deployment for details.
The MSI installer is in beta. For information about differences from the standard EXE installer, see MSI Windows installer. If you encounter issues or have feedback, post to the Community Forum or contact Anaconda Support.
Installation steps
- Navigate to anaconda.com/download.
- Scroll down and click Download Miniconda.
-
Select one of the following MSI installers under Miniconda:
- 64-bit (x86_64) .msi installer: For standard Windows PCs with Intel or AMD processors. Choose this if you are unsure which installer to use.
- 64-bit (Arm64) .msi installer: For Windows PCs with Arm-based processors, such as devices with Qualcomm Snapdragon X chips or other Windows on Arm hardware.
-
Go to your Downloads folder and double-click the
.msifile to launch the installer. - Click Next to begin the installation.
- Read through Miniconda’s End User License Agreement (EULA) and accept the terms.
-
Click Next and select an installation scope:
- Install just for you (Recommended)
- Install Miniconda for the current user account. Does not require Administrator privileges.
- Install for all users of this machine
- Install Miniconda for all user accounts on the computer (requires Administrator privileges).
-
Click Next and select a destination folder. The default installation path is
C:\Users\<username>\AppData\Local\Programs\Miniconda3-PBE <CONDA-VERSION>, where<CONDA-VERSION>is the version of conda installed. You can change the destination folder by clicking Change and selecting a different folder. -
Click Next and customize your installation options:
- Create shortcuts
- Selected by default. Creates Start Menu shortcuts for the Anaconda Prompt packages. Deselecting this option skips creating these shortcuts.
- Add installation to my PATH environment variable (single-user installs only)
- Adds conda to your PATH environment variable.
- Register as my default Python
- Registers the Python package in this install as the default Python for programs like VSCode, PyCharm, and so on.
- Clear the package cache upon completion
- Cleans up downloaded package files after installation to save disk space.
- Click Next, then Install to begin the installation. The installation might take a few minutes to complete.
- When the installation finishes, click Finish to close the installer.
Verify your install
Verify your installation was successful by opening , a command-line shell application that is included with conda installations for Windows. To open Anaconda Prompt, type “Anaconda Prompt” in the Windows search bar, then select the application.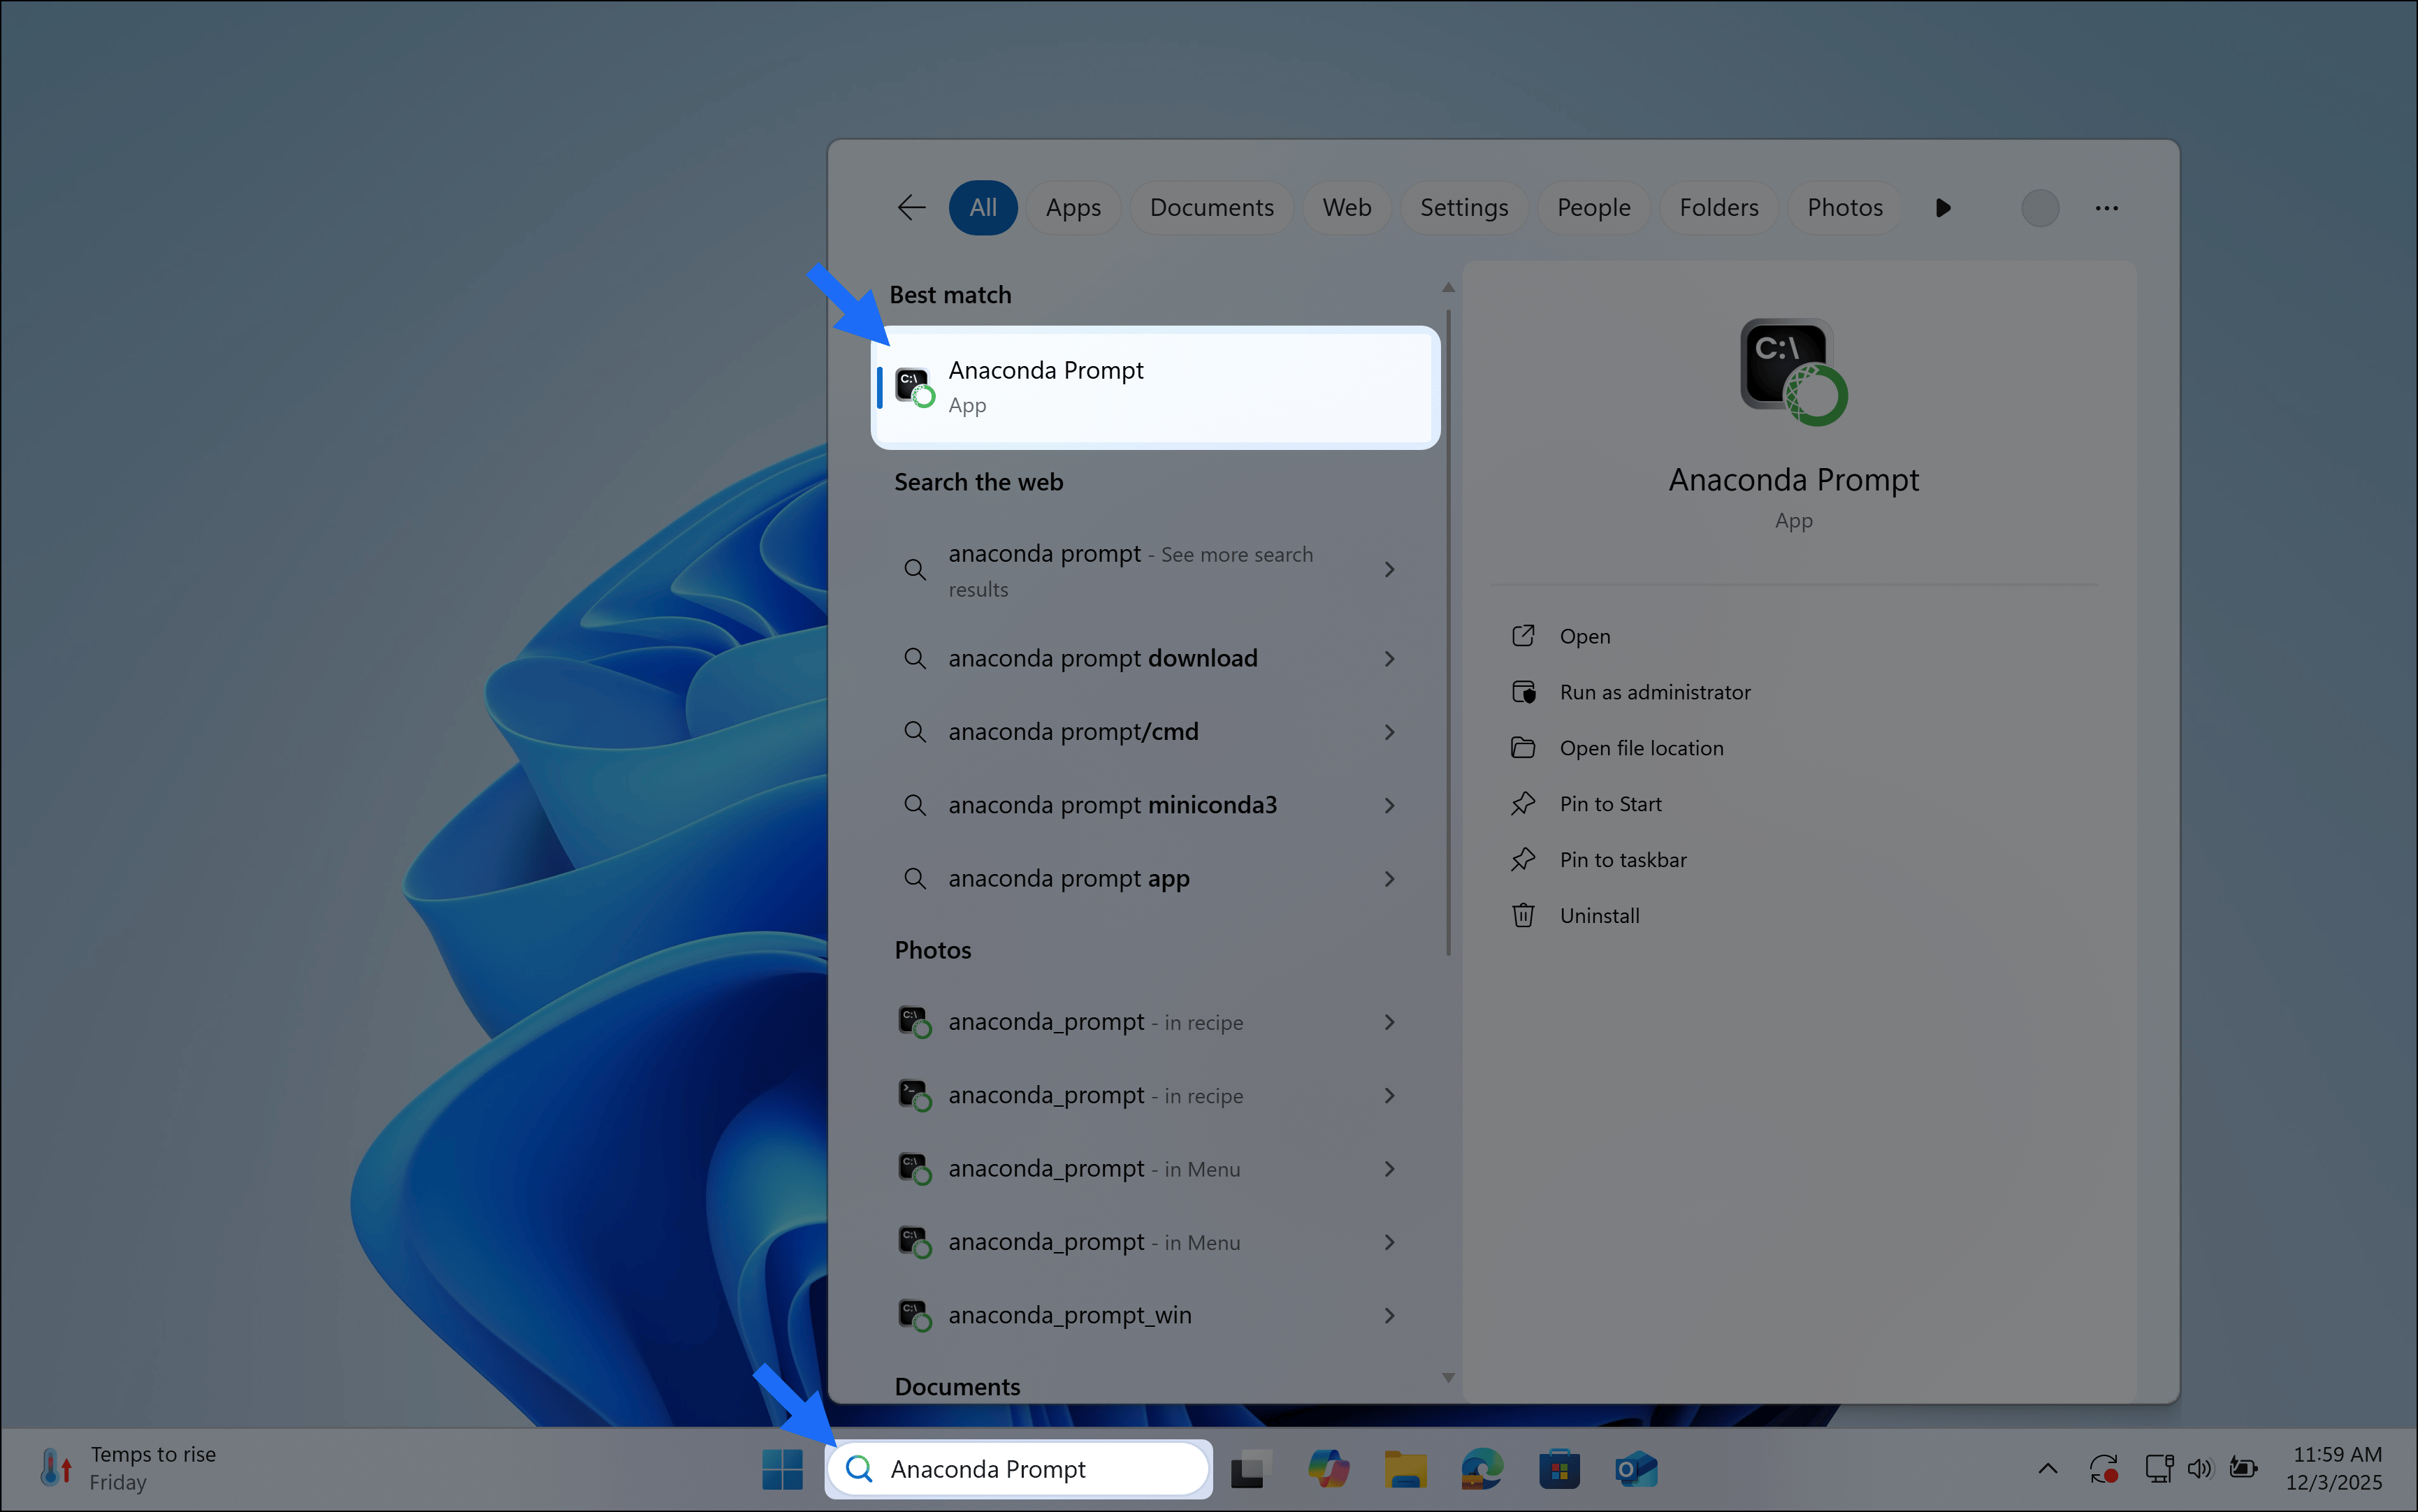
Choose how you want to work with conda
Anaconda Navigator provides a graphical user interface (GUI) to interface with , without using the command line. If you prefer working at the command line, you can interface with conda directly through (Windows) or your system’s terminal (macOS and Linux) after you complete your installation.Anaconda Navigator is not included with Miniconda. Follow the instructions on Installing Navigator to manually install Navigator onto your computer.
Get started with Navigator
Manage packages and environments with a desktop application
Work with conda
Use command-line tools for package and environment management