Using Miniconda in a commercial setting?
Using Miniconda in a commercial setting?
- You might need to purchase a license to stay compliant with our Terms of Service.
- If your company security policies do not allow admin privileges for end users, you will be unable to install Miniconda manually. Consider requesting that your IT admin add Miniconda to a software delivery or fleet management system (such as Kandji or Jamf).
Installation steps
-
Download the latest installer by using your preferred command-line interface:
- Command Prompt
- PowerShell
Open a Command Prompt window and run the following command:For instructions on downloading an older installer version, see Using older installer versions. -
(Optional) Anaconda recommends verifying the integrity of the installer after downloading it.
How do I verify my installer's integrity?
To ensure that your downloaded installer has not been tampered with or corrupted, generate its SHA-256 hash value and compare that hash to the official hash provided in the archive.-
Open your preferred command-line interface and run the following command:
- Note the generated SHA-256 hash value from the output.
- Visit repo.anaconda.com/miniconda to find the official SHA-256 hash for your installer.
- Compare the hash values. If they match, the installer is safe to use.
-
Open your preferred command-line interface and run the following command:
-
Go to your Home folder and double-click the installer to launch.
If you encounter issues during installation, temporarily disable your anti-virus software during install, then re-enable it after the installation concludes. If you installed for All Users, uninstall Miniconda and re-install it for Just Me only.
- Read through Miniconda’s End User License Agreement (EULA) and select I Agree to agree to the terms. You can view Anaconda’s Terms of Service (TOS) at https://www.anaconda.com/legal.
- Select an installation option:
- Select Next.
- Select a destination folder to install Miniconda, then select Next.
- Customize your installation options:
- Select Install. The installation might take a few minutes to complete. Select Show details to view the packages being installed.
- Select Next twice, then select Finish to close the installer.
Verify your install
Verify your installation was successful by opening Anaconda Prompt, a command-line shell application that is included with conda installations for Windows. To open Anaconda Prompt, type “Anaconda Prompt” in the Windows search bar, then select the application.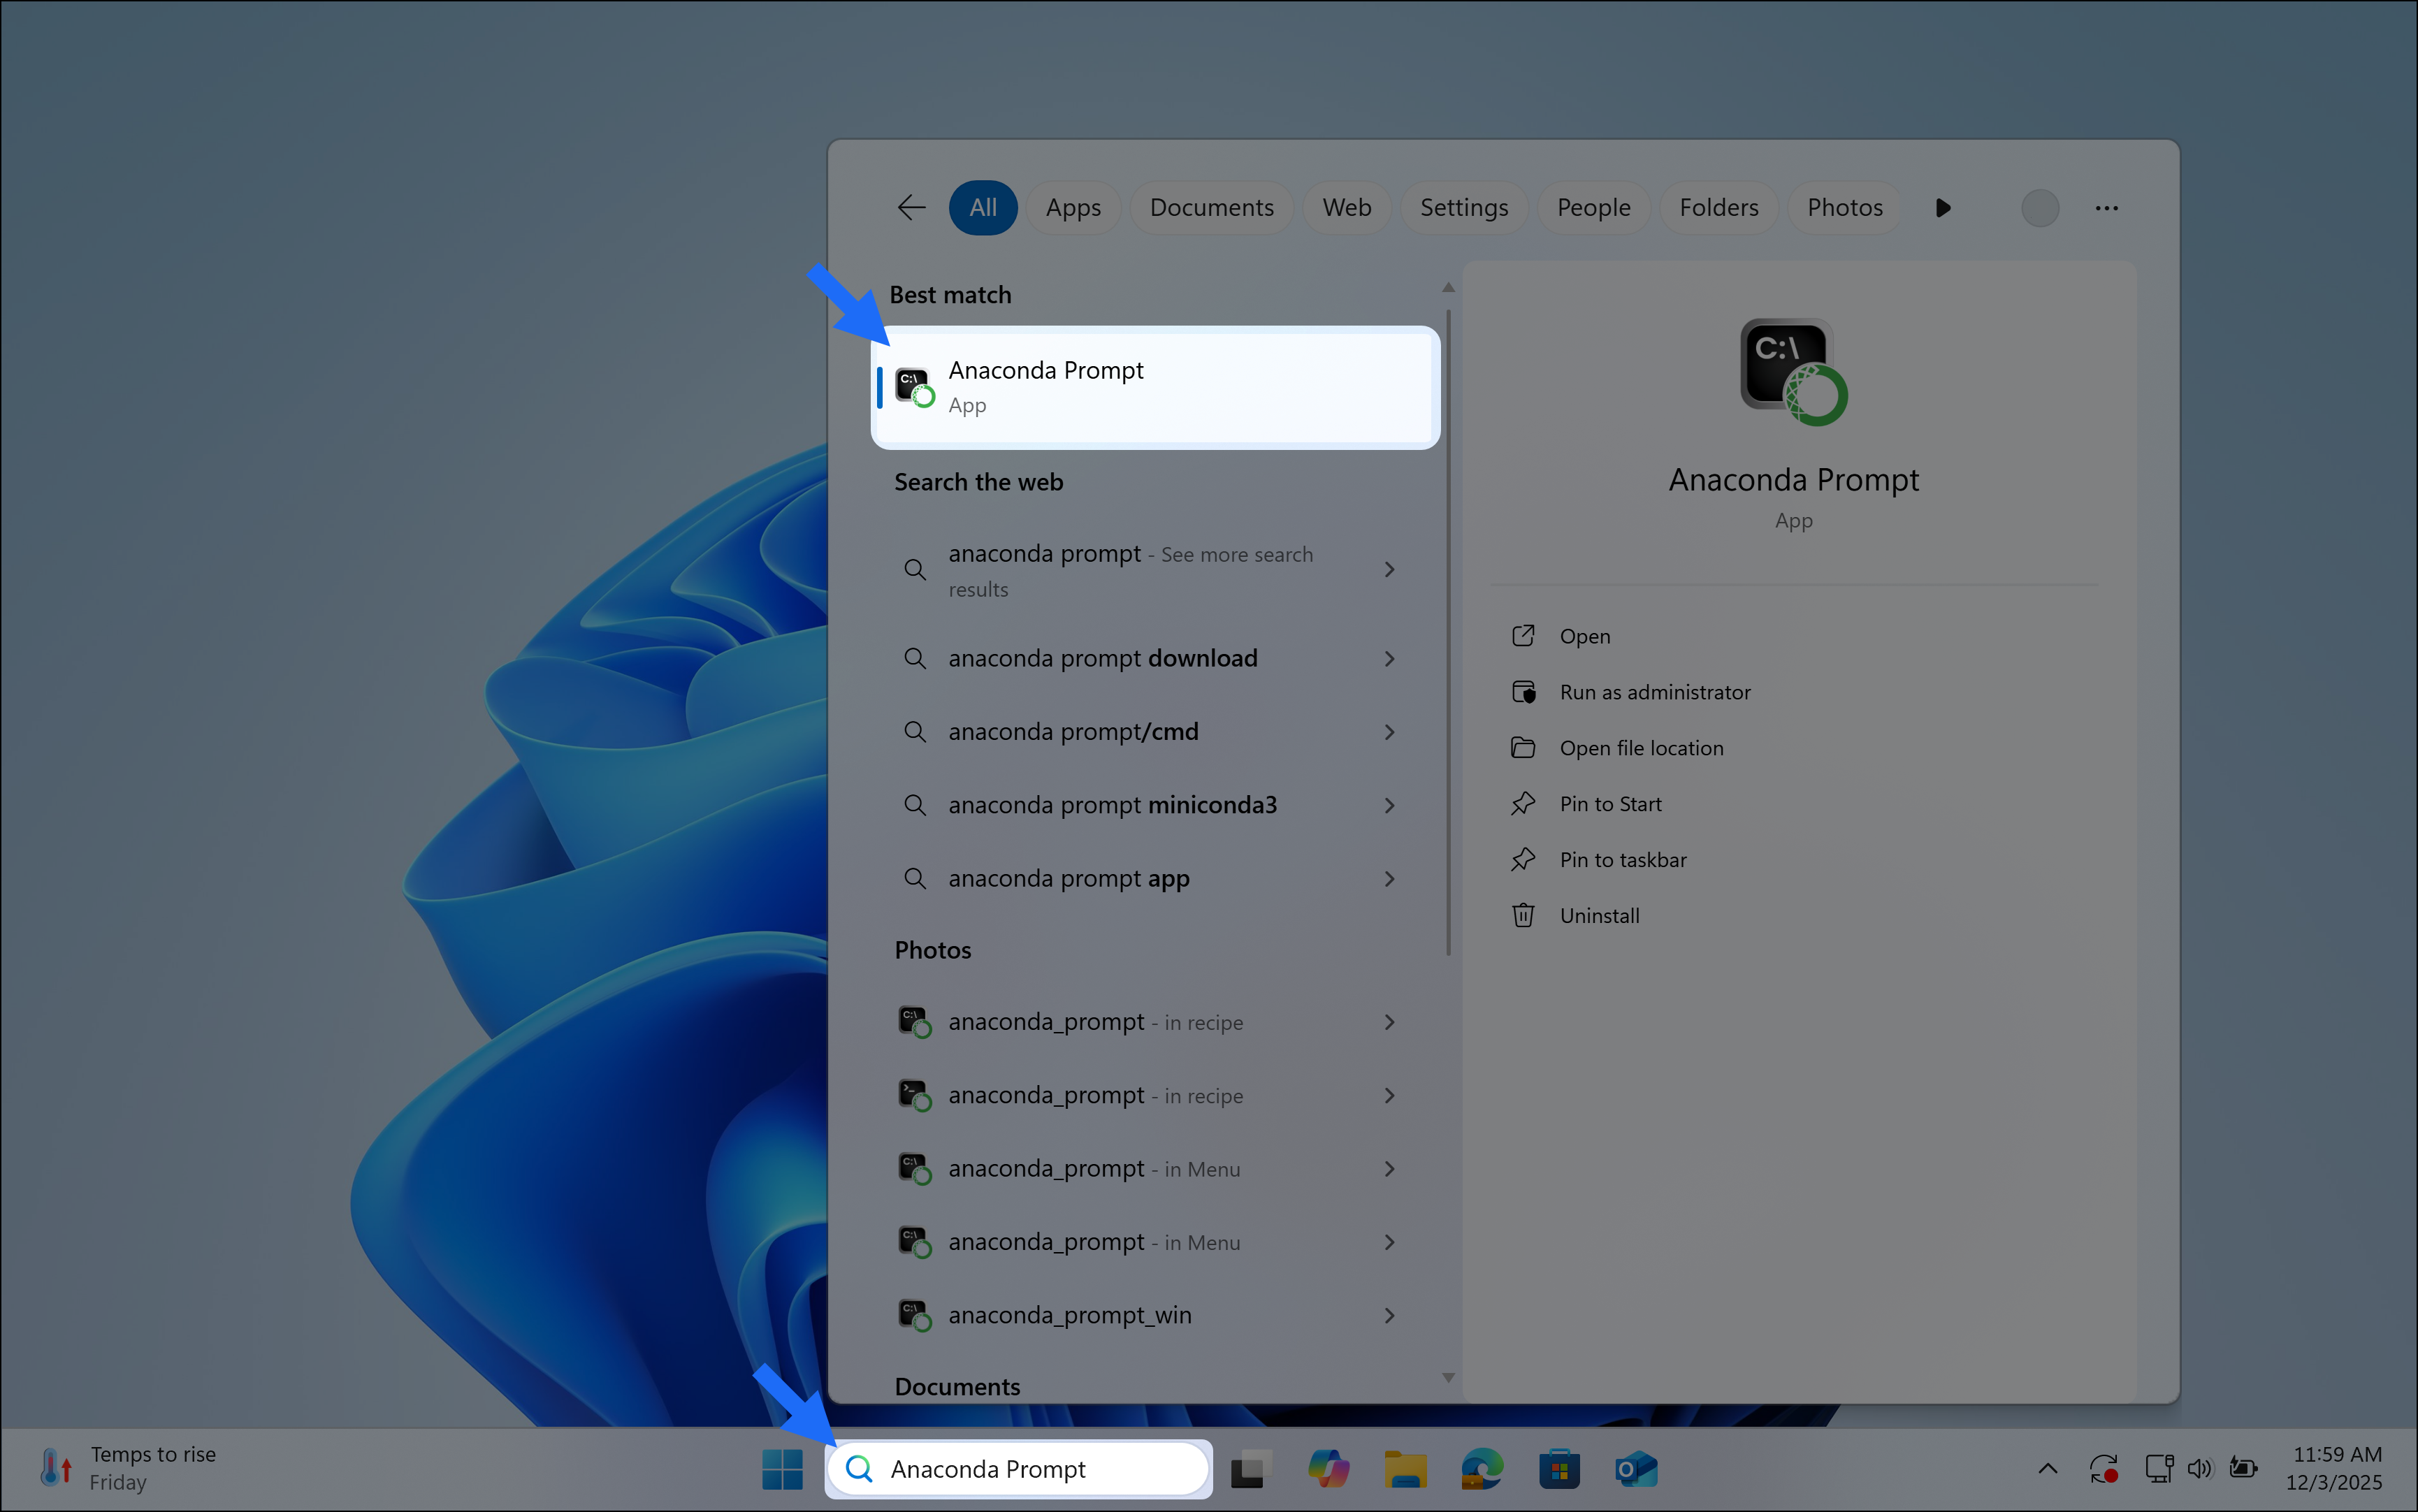
Choose how you want to work with conda
Anaconda Navigator provides a graphical user interface (GUI) to interface with , without using the command line. If you prefer working at the command line, you can interface with conda directly through Anaconda Prompt (Windows) or your system’s terminal (macOS and Linux) after you complete your installation.Anaconda Navigator is not included with Miniconda. Follow the instructions on Installing Navigator to manually install Navigator onto your computer.
Get started with Navigator
Manage packages and environments with a desktop application
Work with conda
Use command-line tools for package and environment management