- Reduce the number of users that need to be mapped into Anaconda Enterprise (by mapping a functional role—AE5 User—to an LDAP group). This also simplifies license management through a single group membership.
- Reduce the number of groups that are mapped into Anaconda Enterprise (by filtering groups to include only relevant functional roles and team memberships).
- Automate the import of new groups for team memberships based on filters.
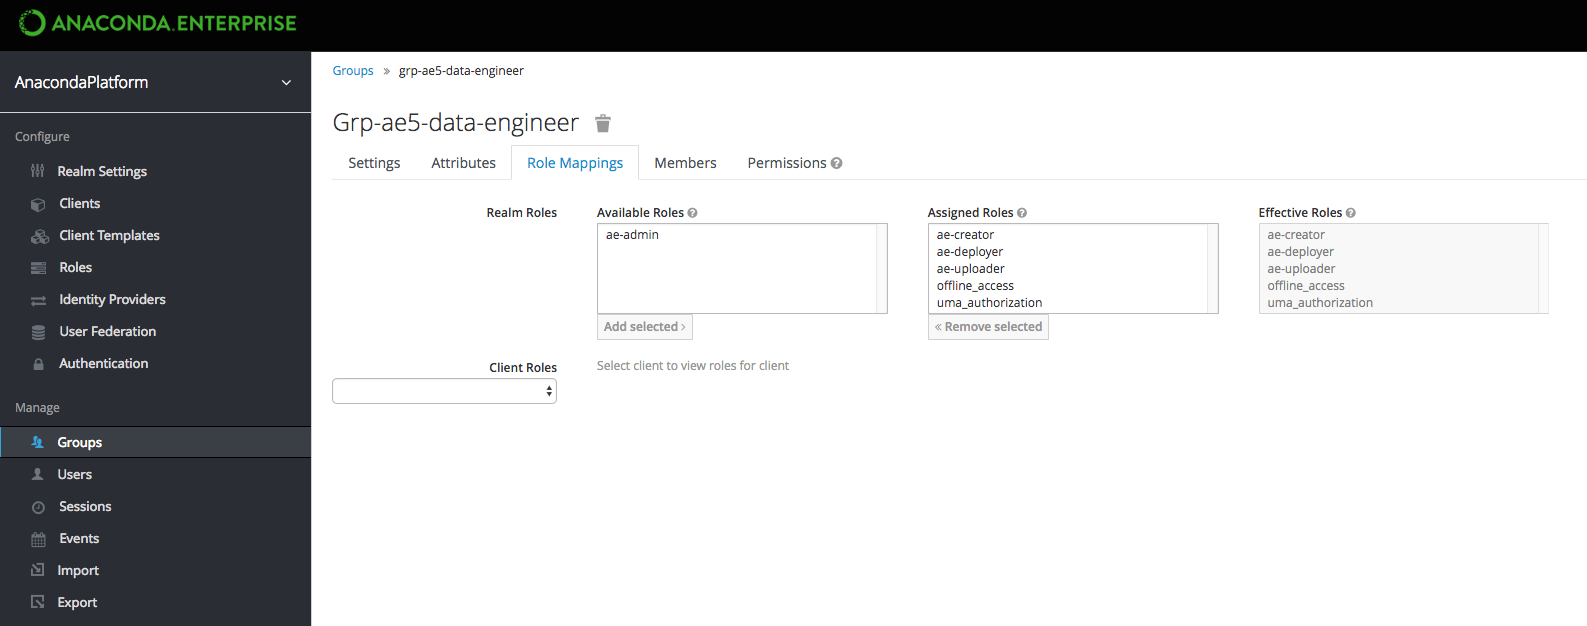
- Automate the provision of AE5 roles to users based on group membership of functional roles.
- Business Analyst
- Data Scientist
- Data Engineer
- DevOps
- Administrator
- Retrieving directory structures and user attributes
- Setting up user federation
- Testing your identity provider setup
- Configuring group mappers
- Mapping group roles
Retrieving directory structures and user attributes
The organizational structure of your enterprise is represented in LDAP by a directory structure or tree. You’ll need to request the bind user credentials from your Security Administrator. While you can make assumptions about the directory structure based on the bind user credentials, it’s extremely difficult to setup an identity provider without the complete structure. For example, if the bind user credentials areuid=binduser,cn=users,cn=accounts,dc=tools,dc=continuum,dc=io, we can deduce that the root or base of the tree is dc=tools,dc=continuum,dc=io.
Tools are available to help you visualize your organization’s directory structure. For example, phpldapadmin generated the following view:

cn=accounts > cn=users, and groups live under cn=accounts > cn=groups
Now that you know the directory structure, you can gather information about the user and group entries that you’ll need later.
You can use the ldapsearch tool—along with the binduser credentials—to learn details about an individual user based on their uid. Here’s a sample command for the user gandalf:
Setting up LDAP user federation
You’ll use the Anaconda Enterprise Administrative Console’s Authentication Center to add LDAP as your identity provider:- Login to Anaconda Enterprise, click the Menu icon in the top right corner, then click the Administrative Console link in the bottom of the slideout menu.
-
Click Manage Users and login to the Authentication Center using the Administrator credentials configured after installation.
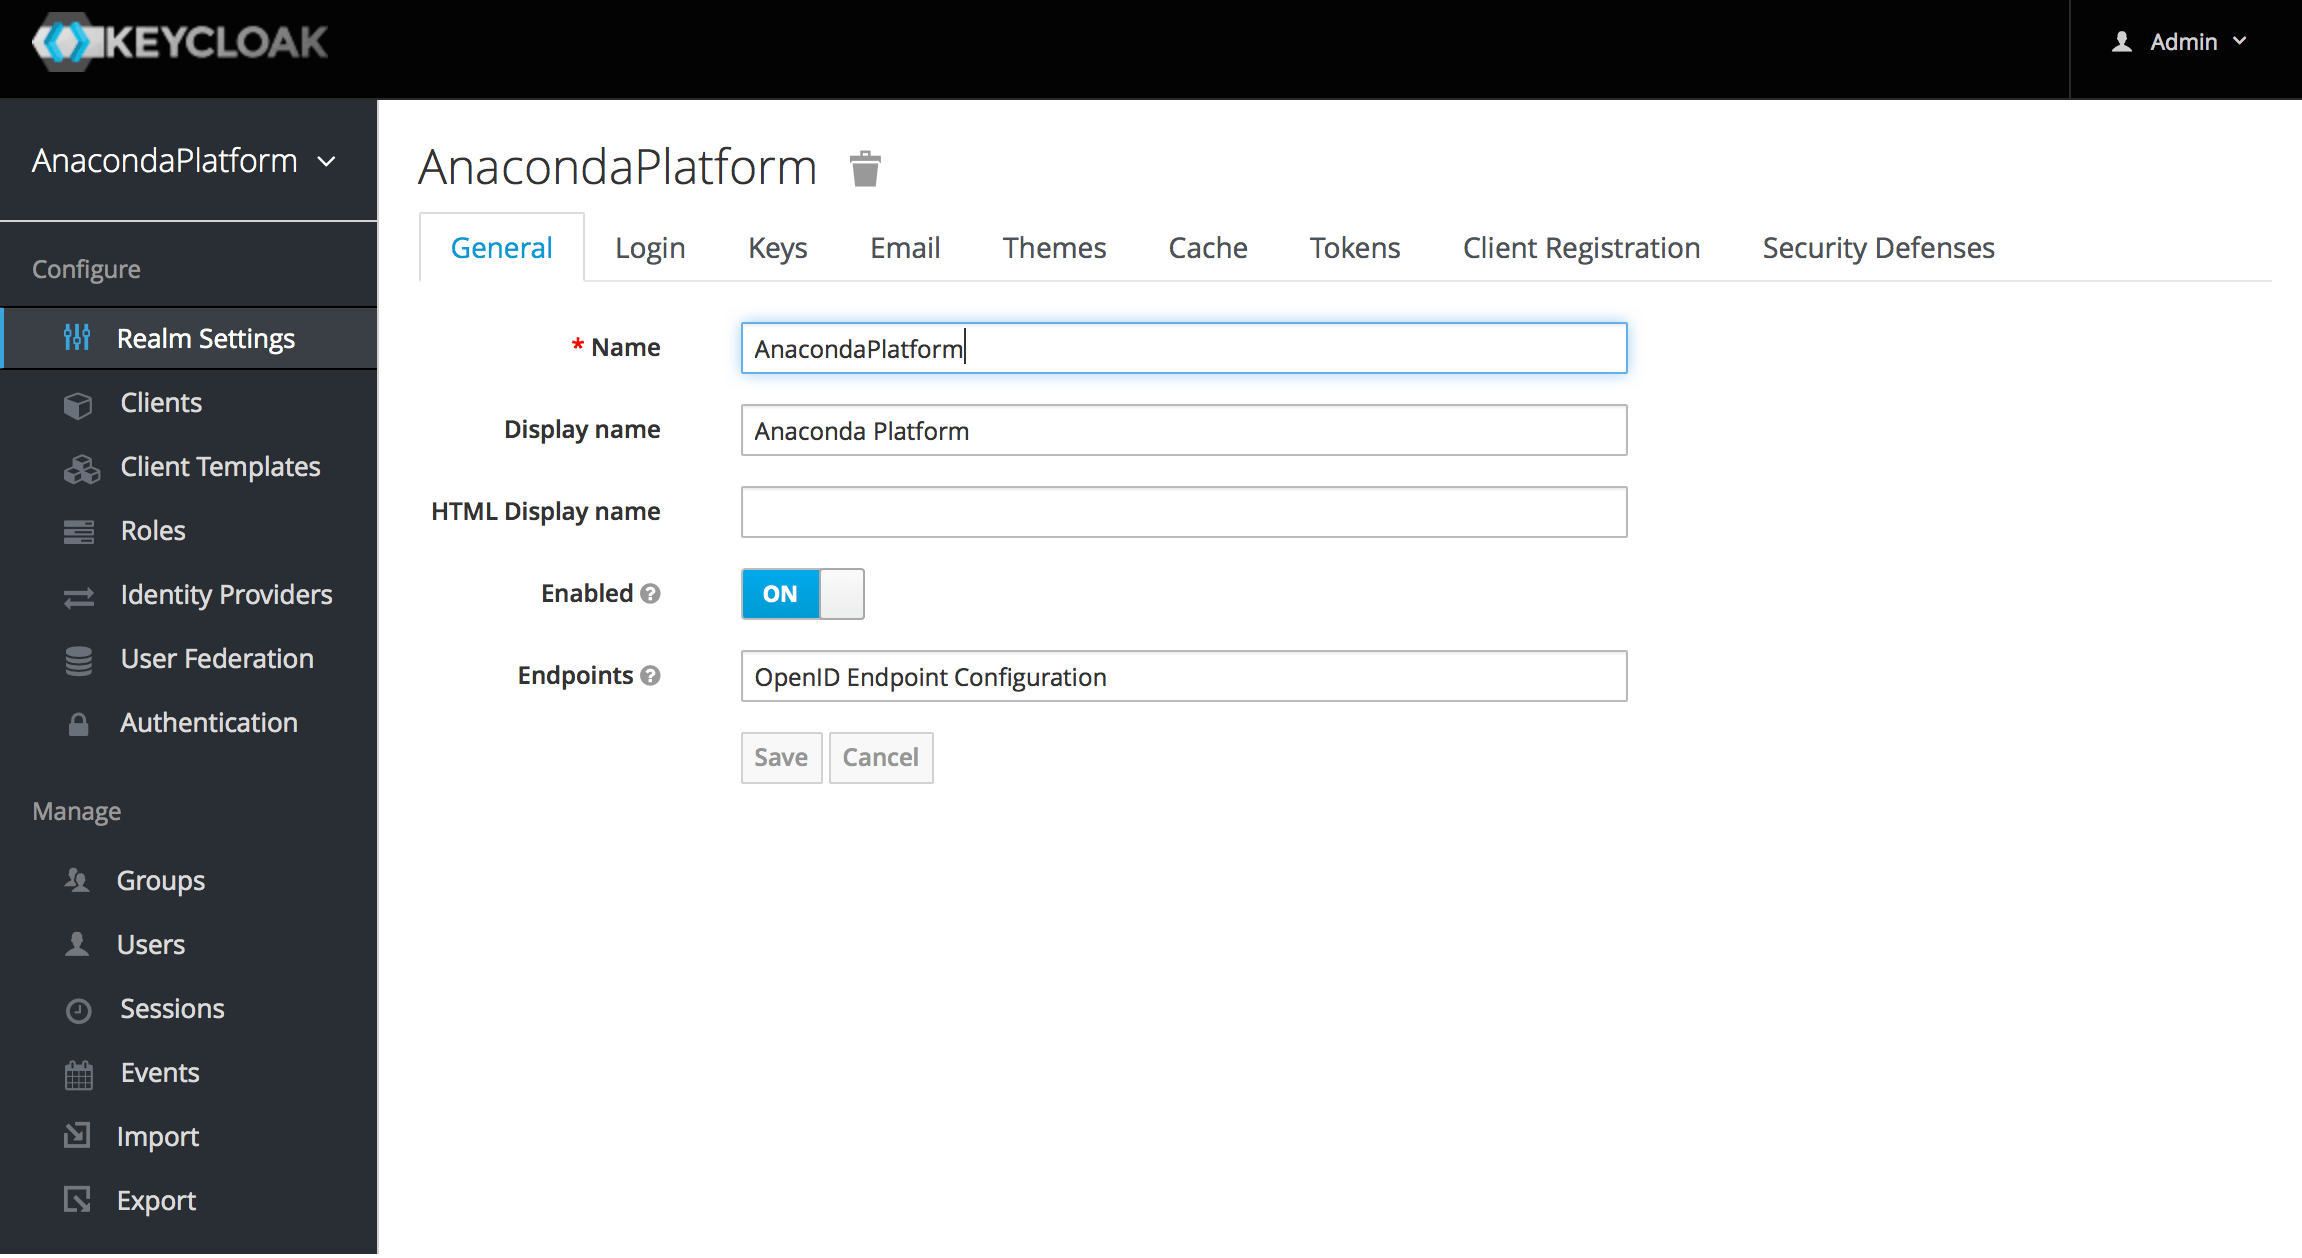
- In the Configure menu on the left, select User Federation.
-
Select
ldapfrom the Add provider selector to display the Add user federation provider Required Settings. - Configure the fields as follows: (Bold items are described in more detail below the table.)
Vendor
When you select a vendor from the drop-down list, defaut values for the the most commonly used attributes will be prefilled. Be sure to select the correct one, and note that the default values may not match the way your organization has set up their application. Our example uses Red Hat Directory Server, which is based on Free IPA.
Username, RDN, UUID, User Object Classes, Users DN and Bind DN
Locate the values for these fields in the results of the
ldapsearch command you ran previously. The following table outlines how the fields map to the relevant values from our gandalf user example:
Custom User LDAP Filter
You can use a custom filter to restrict which users are returned from LDAP. In this case, we want only those persons (
objectClass=person) with any uid (uid=*) that are a member of group grp-ae5-user (memberOf=cn=grp-ae5-user,cn=groups,cn=accounts,dc=tools,dc=continuum,dc=io). No other users will be able to log in, thereby preventing unauthorized access. This is also useful for managing licences, as users will have to be explicitly added to this group to be able to access the platform.
Filters also limit the need to synchronize a large number of objects from LDAP, which will help prevent out of memory errors in the auth pod.
Avoid the temptation to add new groups into the Custom User LDAP Filter. LDAP
search criteria are notorious for their complexity, and if it’s implemented
incorrectly, all user access could be suspended or functionality disabled.
Testing your provider setup
Use the Test connection and Test authentication buttons to verify that the platform can connect to the provider with the credentials provided. You’ll need to resolve any errors before continuing. By default, users will not be synced from LDAP until they log in. To test whether the Custom User LDAP Filter is working correctly, you can add or remove users in LDAP, then enable the sync settings to see if your changes are picked up and user authentication works as expected. After you save the Required Settings, the provider is listed under User Federation:
Configuring group mappers
After you have sucessfully set up user federation, set up a group mapper for your identify provider using the Mappers tab. For example, you can create one calledldap-group-mapper and configure it based on the results generated by the ldapsearch command. In this case, we ran the command against a known group to retrieve additional information needed:
Avoid the temptation to add new groups into the LDAP Filter in the Group
Mapper. LDAP search criteria are notorious for their complexity, and if it’s
implemented incorrectly all user access could be suspended or functionality
disabled.
ldapsearch field: dn: cn=grp-ae5-user,**cn=groups,cn=accounts,dc=tools,dc=continuum,dc=io**
Group Name LDAP Attribute
Derived from the ldapsearch field: cn: grp-ae5-user
Group Object Classes
A default should have been selected. In this case it is objectClass: groupofnames.
LDAP Filter
All relevant groups—whether they are based on functional role or team membership—have been set up with the prefix grp-ae5-. This prefix is used to filter the relevant groups from the User Federation provider, preventing any unnecessary groups from being pulled into the AE platform.
For example, the user Gandalf is a member of the following groups:
memberOf: cn=ipausers,cn=groups,cn=accounts,dc=tools,dc=continuum,dc=io
memberOf: cn=grp-ae5-user,cn=groups,cn=accounts,dc=tools,dc=continuum,dc=io
memberOf: cn=grp-ae5-wizards,cn=groups,cn=accounts,dc=tools,dc=continuum,dc=io
memberOf: cn=grp-lord-of-the-rings,cn=groups,cn=accounts,dc=tools,dc=continuum
If you perform a group synchronisation, only the groups in bold will be imported. Additionally, when Gandalf logs in, only the grp-ae5-prefixed groups from his profile will be imported. You can test this by deleting the grp-ae5-wizards group, then login as the user gandalf. His team membership group grp-ae5-wizards will be visible in the Auth Center, but the group grp-lord-of-the-rings will be filtered out and therefore not imported.
Mapping group roles
As a final step, you can map Anaconda Enterprise roles to the LDAP groups that are imported into the platform. In this example, we’ll assign functional role groups the default roles that will allow them to interact with the platform in a way that makes sense for the business. You can also create custom roles, if needed.Functional role groups should be setup once and left alone.