> ## Documentation Index
> Fetch the complete documentation index at: https://anaconda.com/docs/llms.txt
> Use this file to discover all available pages before exploring further.
# Deployments
Deployments are methods for sharing parts of your data science projects and machine learning models with other users. You can create deployments for microservices such as interactive dashboard visualizations, web applications, REST APIs, or Jupyter Notebooks.
When you deploy a project, Data Science & AI Workbench finds and builds all of the software dependencies (the packages and libraries the project needs to operate properly) and encapsulates them into a self-contained artifact.
You can create multiple deployments from a single project. Each deployment can be a different version and can be [shared with others](./share).
## Deployment commands
Deployments are defined as commands in your `anaconda-project.yml` file. Each project in Workbench can define any number of deployable commands. See [Adding deployment commands to a project](../projects/project-config#configuring-project-commands) for more information.
## Viewing all deployments
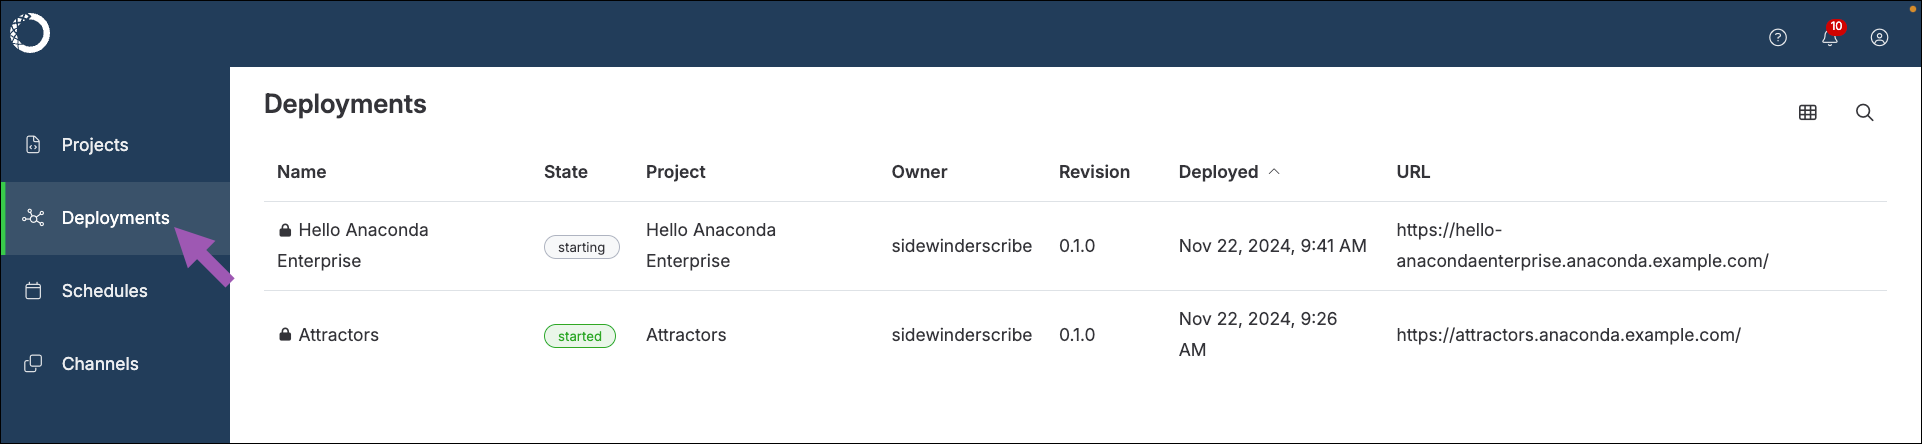
Select **Deployments** from the left-hand navigation to view a list of deployments across all projects you own or that have been shared with you.
 ## Viewing a project’s deployments
To view the deployments specific to a project:
1. From the **Projects** page select your project.
2. Select **Deployments** from the left-hand navigation.
## Deploying a project
Deployments are run independently of development sessions for projects, and can be deployed to different hardware resource profiles.
1. From the **Projects** page, select the project you want to deploy.
2. Select **Deployments** from the left-hand menu.
3. Click **Deploy**.
4. Enter a name for your deployment.
5. Select a resource profile to run your deployment.
The configurations present in this dropdown are controlled by your Administrator. Check with them if you are unsure which profile to choose.
6. Select the project version associated with the deployment command you are running.
7. Select a deployment command.
If there is no deployment command listed, you cannot deploy your project.
8. Set the URL for your deployment.
This is the URL you’ll use to access your deployment from a web browser, and therefore *it must be unique*. Toggle **Static URL** `OFF` if you want Workbench to automatically generate a URL for your deployment.
9. Share your deployment with any other users or groups.
10. Set your deployment to private or public access:
* **Private access**: Restricts access to authenticated platform users only. Private deployments display a lock to indicate their secure status.
* **Public access**: Opens access to non-authenticated users.
11. Click **Deploy**.
It can take several minutes to obtain and build all the dependencies for the project deployment.
You can also schedule a project to be deployed on a regular basis or at a specific time. For more information, see [Schedules](../schedules).
## Interacting with deployments
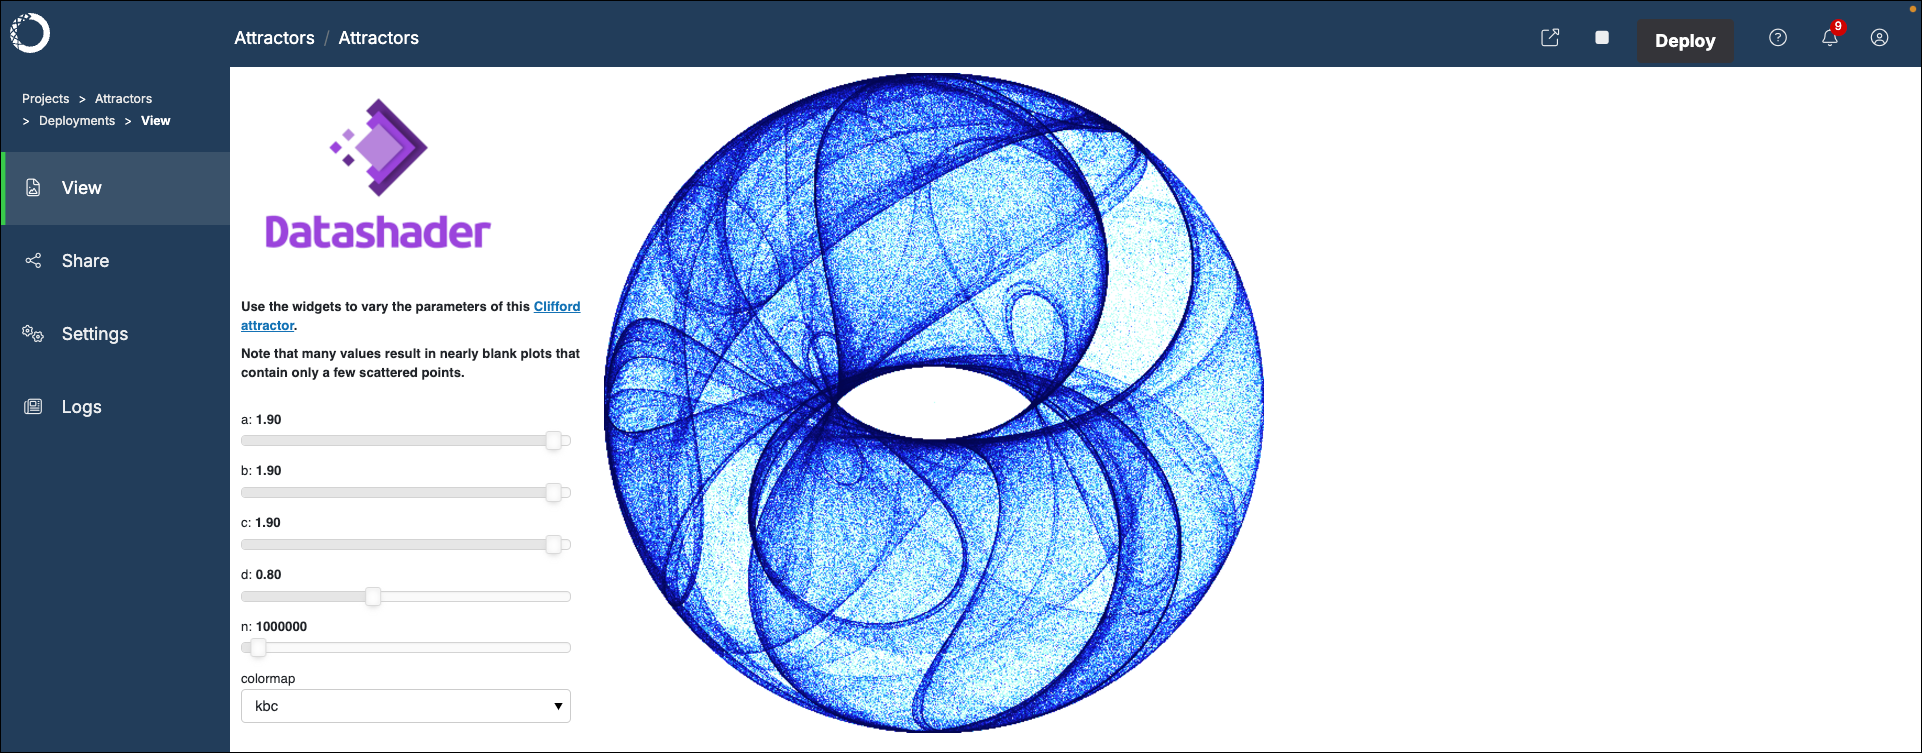
To interact with your deployment, select it from the list of project deployments, or navigate to its URL in a web browser.
## Viewing a project’s deployments
To view the deployments specific to a project:
1. From the **Projects** page select your project.
2. Select **Deployments** from the left-hand navigation.
## Deploying a project
Deployments are run independently of development sessions for projects, and can be deployed to different hardware resource profiles.
1. From the **Projects** page, select the project you want to deploy.
2. Select **Deployments** from the left-hand menu.
3. Click **Deploy**.
4. Enter a name for your deployment.
5. Select a resource profile to run your deployment.
The configurations present in this dropdown are controlled by your Administrator. Check with them if you are unsure which profile to choose.
6. Select the project version associated with the deployment command you are running.
7. Select a deployment command.
If there is no deployment command listed, you cannot deploy your project.
8. Set the URL for your deployment.
This is the URL you’ll use to access your deployment from a web browser, and therefore *it must be unique*. Toggle **Static URL** `OFF` if you want Workbench to automatically generate a URL for your deployment.
9. Share your deployment with any other users or groups.
10. Set your deployment to private or public access:
* **Private access**: Restricts access to authenticated platform users only. Private deployments display a lock to indicate their secure status.
* **Public access**: Opens access to non-authenticated users.
11. Click **Deploy**.
It can take several minutes to obtain and build all the dependencies for the project deployment.
You can also schedule a project to be deployed on a regular basis or at a specific time. For more information, see [Schedules](../schedules).
## Interacting with deployments
To interact with your deployment, select it from the list of project deployments, or navigate to its URL in a web browser.
 ## Terminating a deployment
Deployments that are no longer needed should be terminated to remove them from the server and free up cluster resources. Terminating a deployment does not affect the project that was used to create the deployment.
Terminating a deployment makes it unavailable to [any users you shared it with](./share).
To terminate a deployment:
1. From the **Projects** page, select **Deployments** from the left-hand navigation.
2. Select the deployment you want to terminate.
3. Click **Stop deployment** at the top of the page.
4. Click **Terminate** to confirm that you want to terminate the deployment.
You can also terminate a deployment from its **Settings** page.
## Terminating a deployment
Deployments that are no longer needed should be terminated to remove them from the server and free up cluster resources. Terminating a deployment does not affect the project that was used to create the deployment.
Terminating a deployment makes it unavailable to [any users you shared it with](./share).
To terminate a deployment:
1. From the **Projects** page, select **Deployments** from the left-hand navigation.
2. Select the deployment you want to terminate.
3. Click **Stop deployment** at the top of the page.
4. Click **Terminate** to confirm that you want to terminate the deployment.
You can also terminate a deployment from its **Settings** page.