> ## Documentation Index
> Fetch the complete documentation index at: https://anaconda.com/docs/llms.txt
> Use this file to discover all available pages before exploring further.
# Wizard installation (deprecated)
The Gravity installer system offers an “installation wizard”
that guides the user through the installation process with a
web-based interface. Prior versions of this documentation
recommended this wizard, but our experience has shown that the
[command-line approach](./on-prem) is, in practice, *less* complex, more reliable,
and enables a wider range of configuration options. For example:
* Command-line installation can be performed with
a single terminal window, whereas the wizard requires *two*
terminals and a browser to complete.
* Managed persistence can be fully configured upon installation
using the command-line approach, but requires a separate
installation step after the wizard installation is complete.
That said, some of our customers may be accustomed to using the
wizard, so we still support its use, and offer the instruction guide below.
If you haven’t already, please complete our [pre-install checklist](./checklist) to ensure that you have accounted for all implementation prerequisites before you begin.
Additional installation notes:
* These instructions should be executed by a *non-root* user, configured
with `sudo` access. You might want to create a separate account for
this purpose, as the instructions below configure Gravity to execute
its system processes under this UID.
* The installer uses the directory that is specified by the environment
variable `TMPDIR` on the master node to store working files. **Be sure
this directory contains sufficient space**, or
create an alternate directory (with sufficient space) for the installer to
use. If you choose to use an alternate directory, ensure it has the correct
permissions enabled (`drwxrwxrwx`), and either add it to
`/etc/environment` or explicitly specify the directory during installation.
## Wizard installation
1. Open two terminals, *both logged into the service account*
on the master node.
2. Download and decompress the installer, replacing `` with the location of the installer, and `` with your installer version:
```
curl -O .tar.gz
tar xvf anaconda-enterprise-.tar.gz
cd anaconda-enterprise-
```
If you are in an airgapped environment, deliver the installer to the
master node in an alternate manner, and proceed with the `tar`/`cd`
steps in the same fashion.
3. Run the Gravity pre-installation system check for the master node:
```
sudo ./gravity check --profile ae-master
```
If the system checks pass and all requirements are met, the output
from the above commands will be empty. If the system checks fail and some
requirements are not met, the output will indicate which system checks failed.
These checks are not fully comprehensive, and are not intended to serve as a substitute for completing our [pre-install checklist](./checklist) and otherwise verifying that your nodes meet the [installation requirements](./reqs).
4. Once these checks pass, run the installer on the master node:
```
sudo ./gravity wizard --service-uid=$(id -u)
```
If you’re using an alternate `TMPDIR`, prepend the command above with the corrected value. For example, `sudo TMPDIR=/mytmp ./gravity wizard`
The output will look something like this:
```
Sat Jan 22 21:11:21 UTC Starting enterprise installer
To abort the installation and clean up the system,
press Ctrl+C two times in a row.
If you get disconnected from the terminal, you can reconnect to the installer
agent by issuing 'gravity resume' command.
If the installation fails, use 'gravity plan' to inspect the state and
'gravity resume' to continue the operation.
See https://gravitational.com/gravity/docs/cluster/#managing-an-ongoing-operation for details.
Sat Jan 22 21:11:21 UTC Connecting to installer
Sat Jan 22 21:11:33 UTC Connected to installer
Sat Jan 22 21:11:33 UTC Starting web UI install wizard
Sat Jan 22 21:11:33 UTC Open this URL in browser: https://167.172.143.144:61009/web/installer/new/gravitational.io/AnacondaEnterprise/ 5.5.2-6+g71caffde5?install_token=304dcf19090bb70562b00af0689933ec
Sat Jan 22 21:11:33 UTC Waiting for the operation to start
```
5. Copy the full URL that is generated into your browser.
If the IP address given in the URL is a the private network, change it to the public IP address—the one accessible from your browser.
If you are unable to connect to the URL due to security measures in place at
your organization, select **File > New Incognito Window** to launch the
installer.
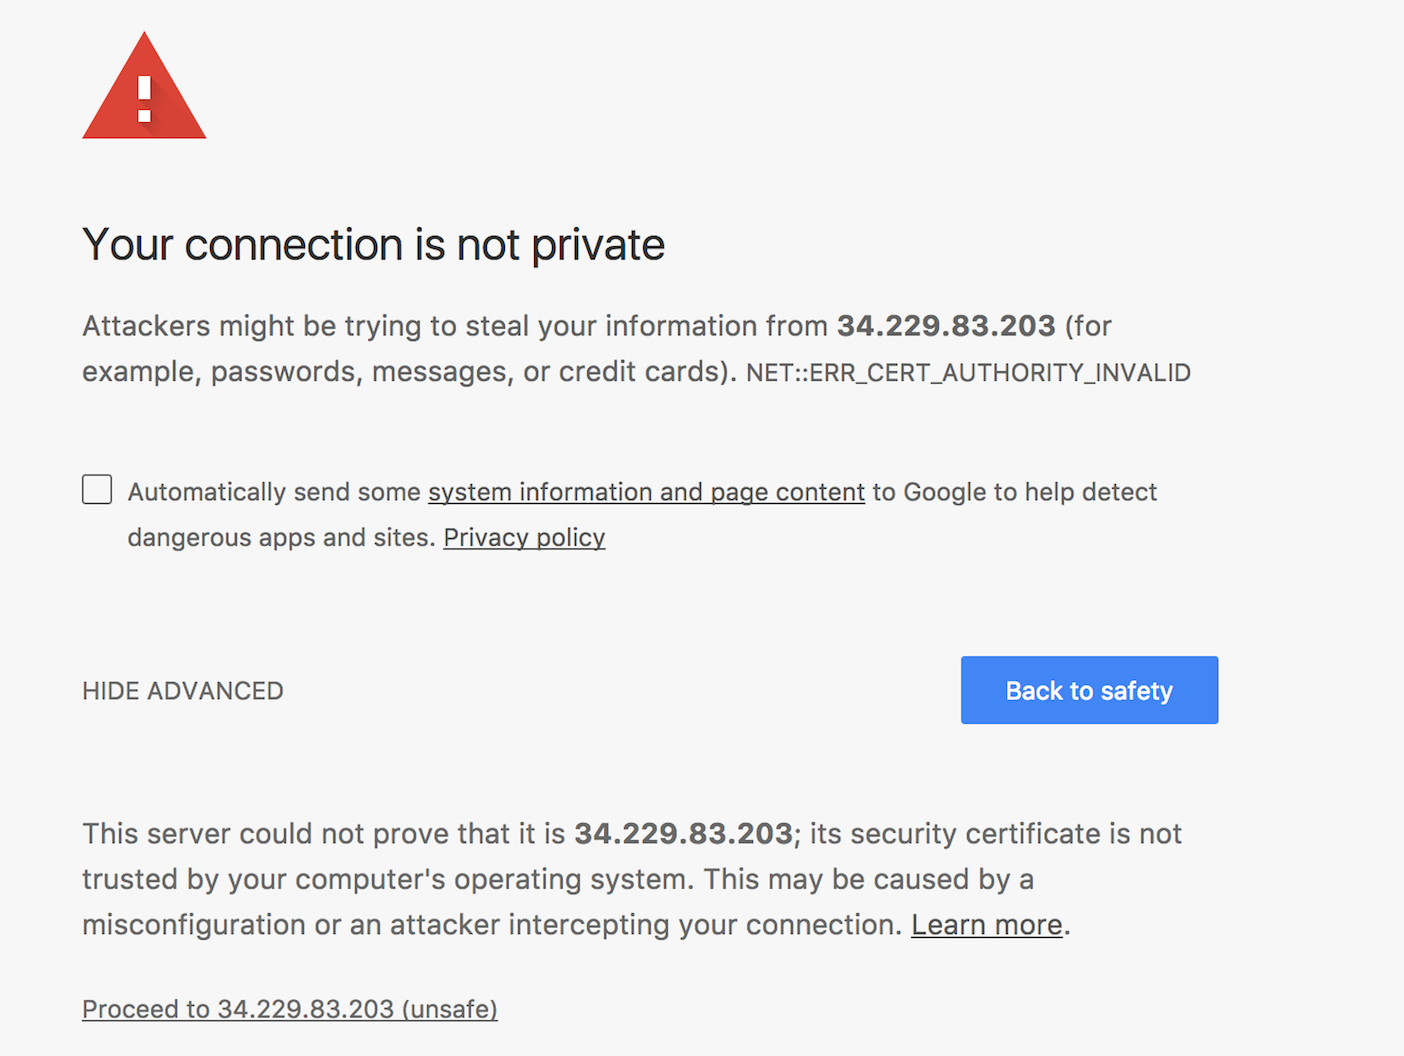
6. The installer uses a self-signed TLS/SSL certificate. For this reason, browsers typically
throw up a warning message like the one below. If you see this, click the “Advanced” button
and click the link to proceed to the site. On Chrome, no such link may be provided, but you
can also type `thisisunsafe` within the browser window to proceed:
 7. After reviewing the License Agreement, check **I Agree To The Terms** and click **Accept**.
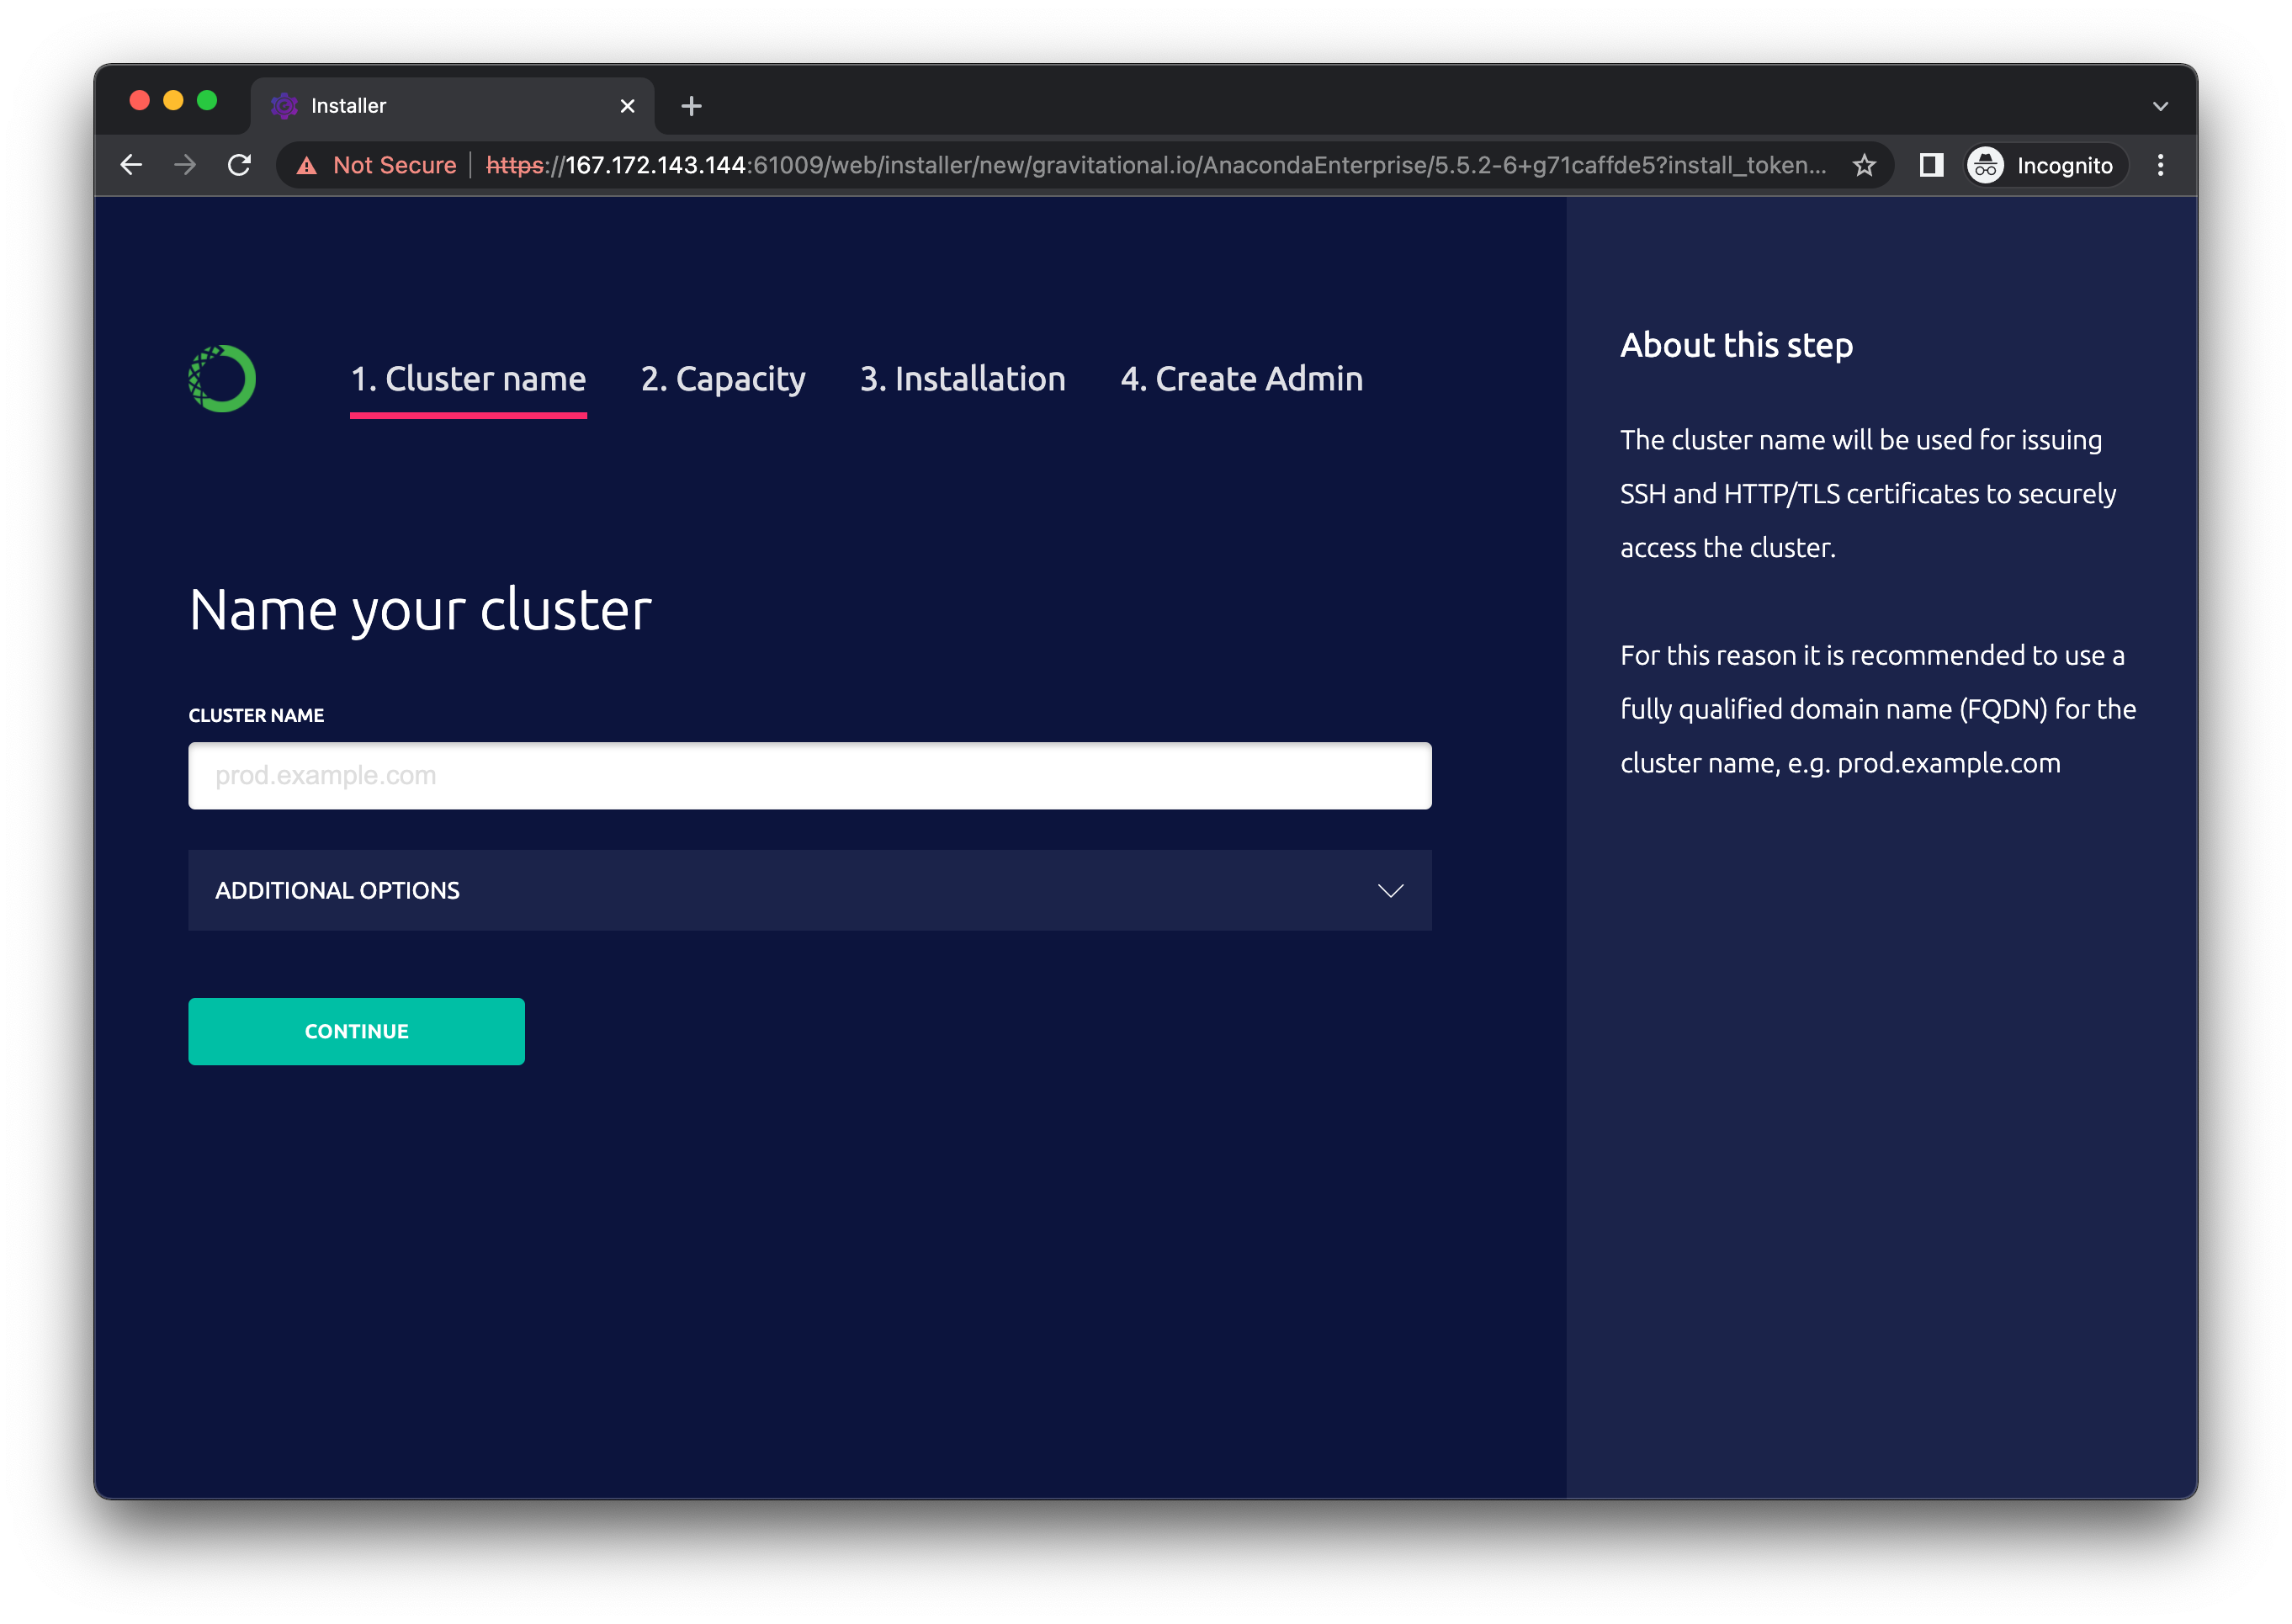
8. Enter the name to use for your deployment in the **Cluster Name** field, and click **Continue**.
7. After reviewing the License Agreement, check **I Agree To The Terms** and click **Accept**.
8. Enter the name to use for your deployment in the **Cluster Name** field, and click **Continue**.
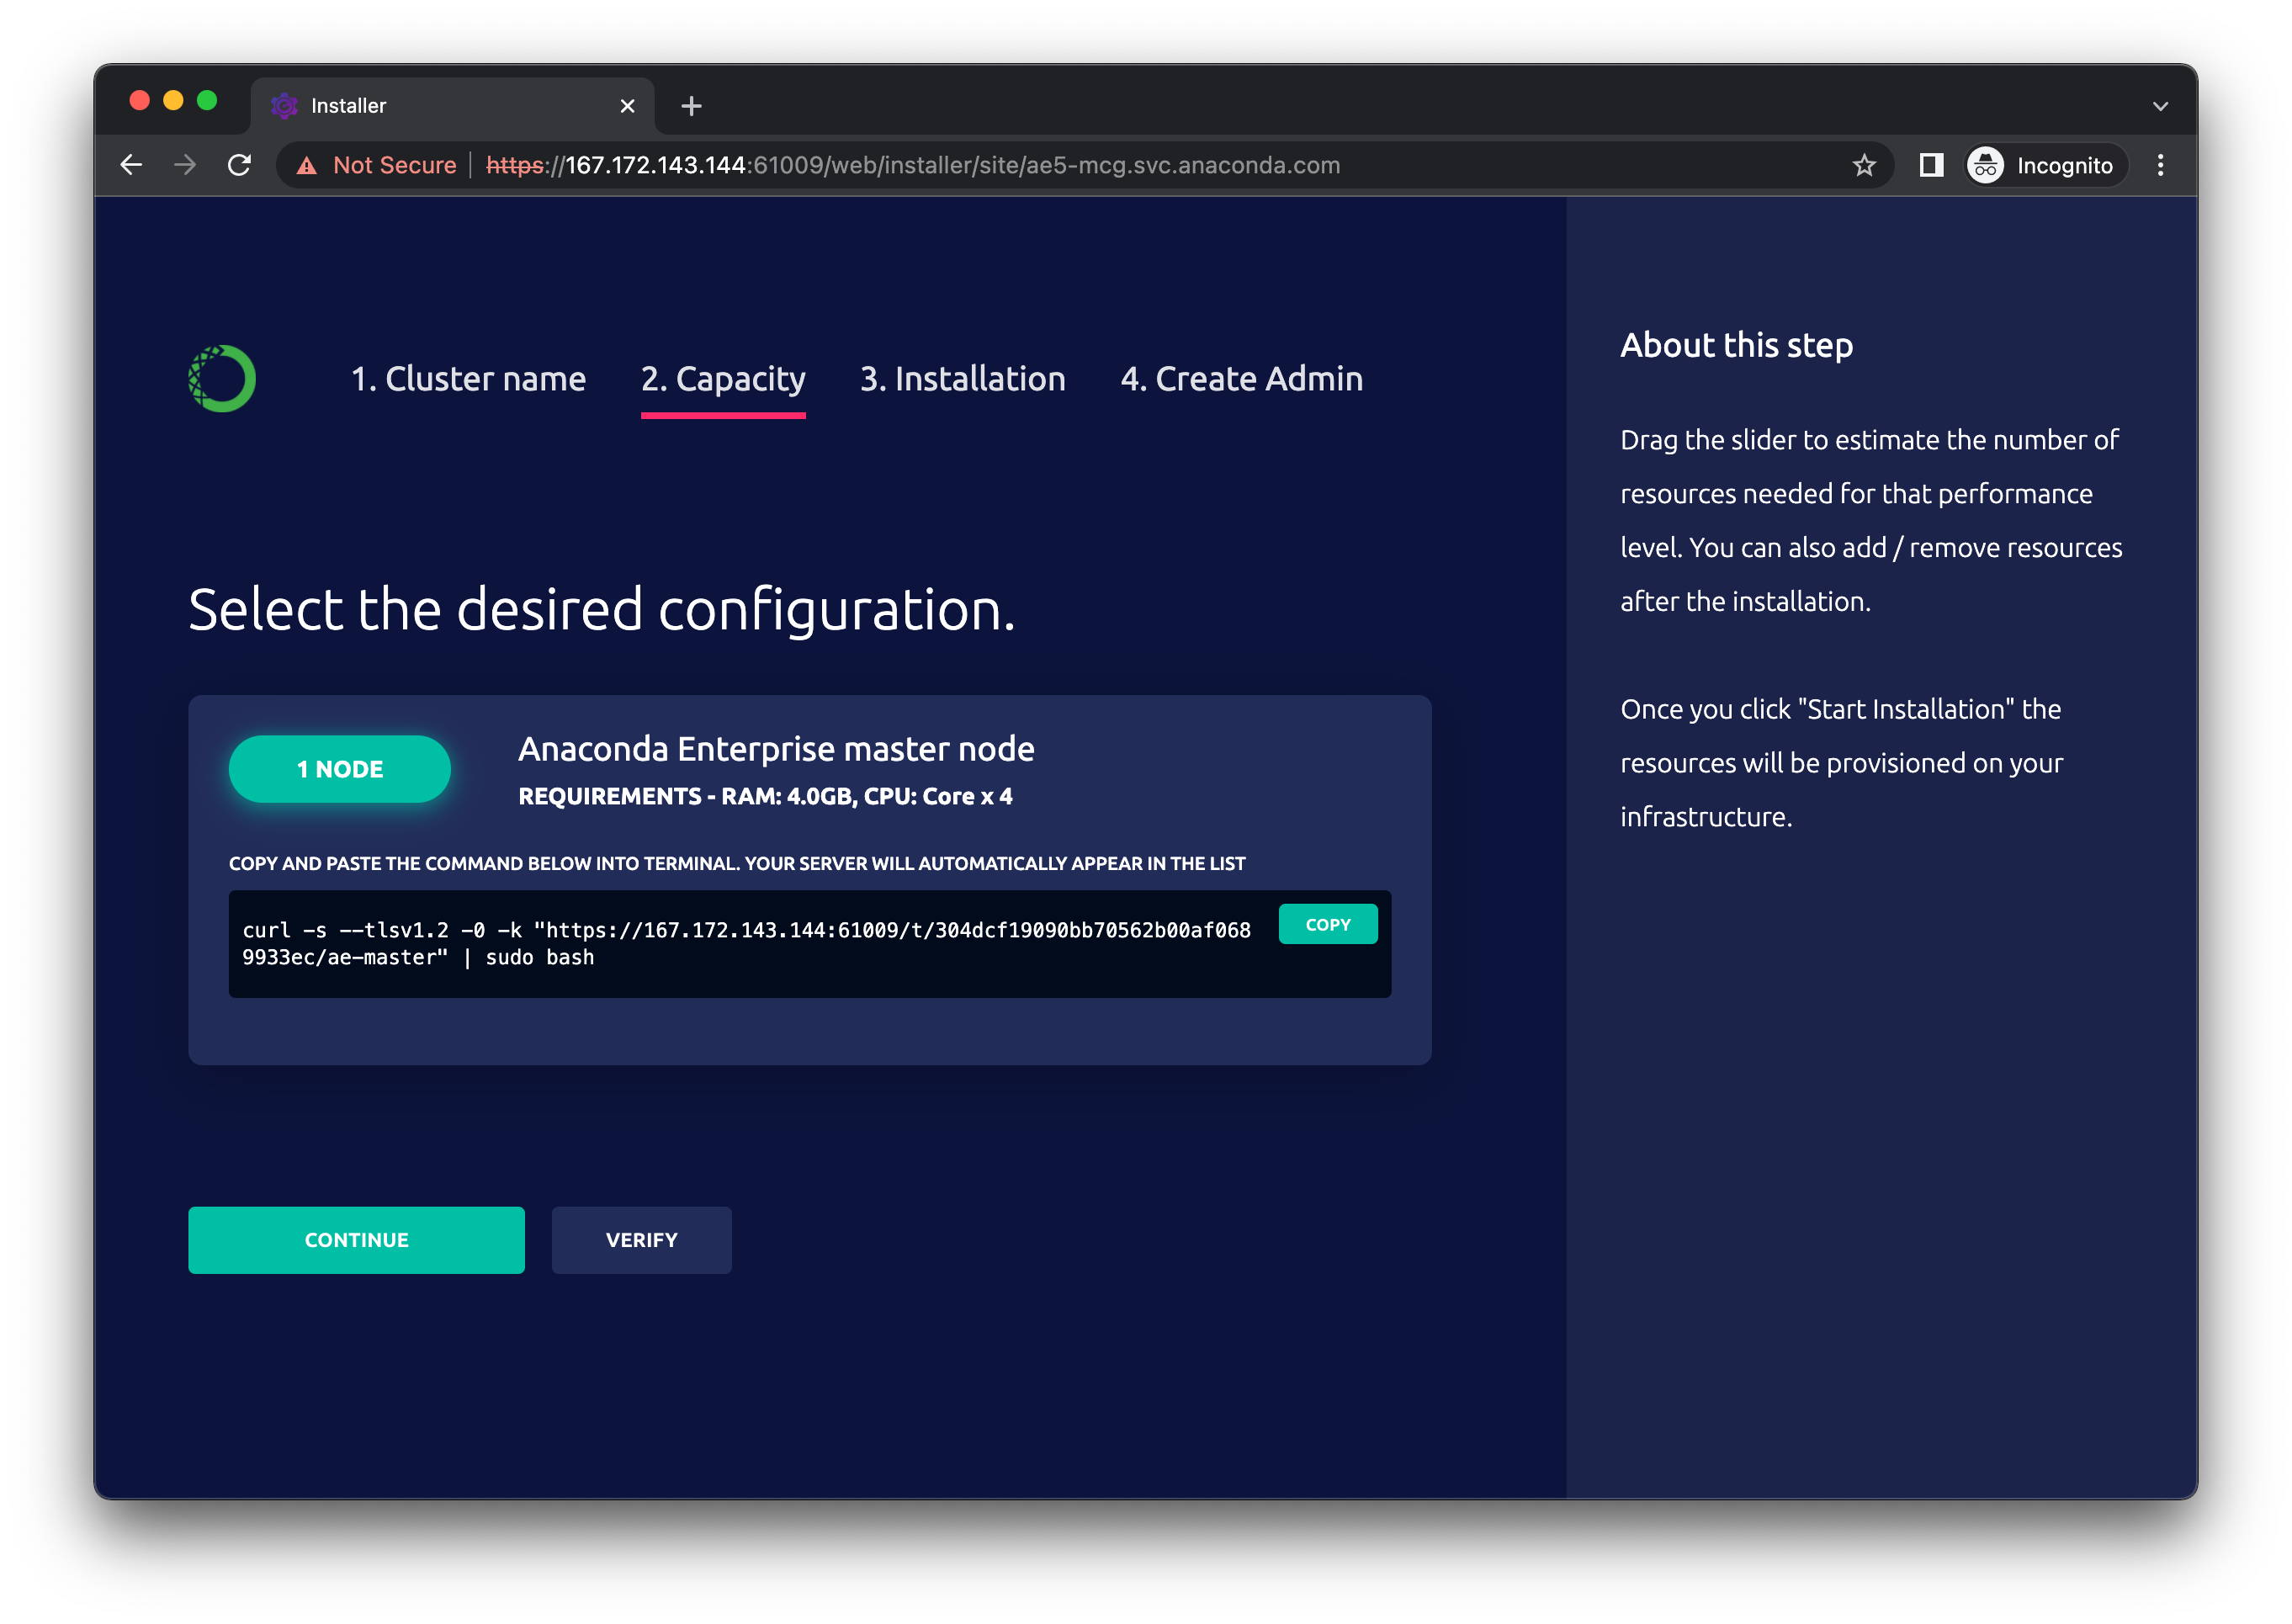
 9. On this page, you are asked to select the configuration. There is only one option here, which creates a single-node cluster. The worker nodes can be added as an [additional step](../admin/resources/add-remove-node) once this basic installation is complete.
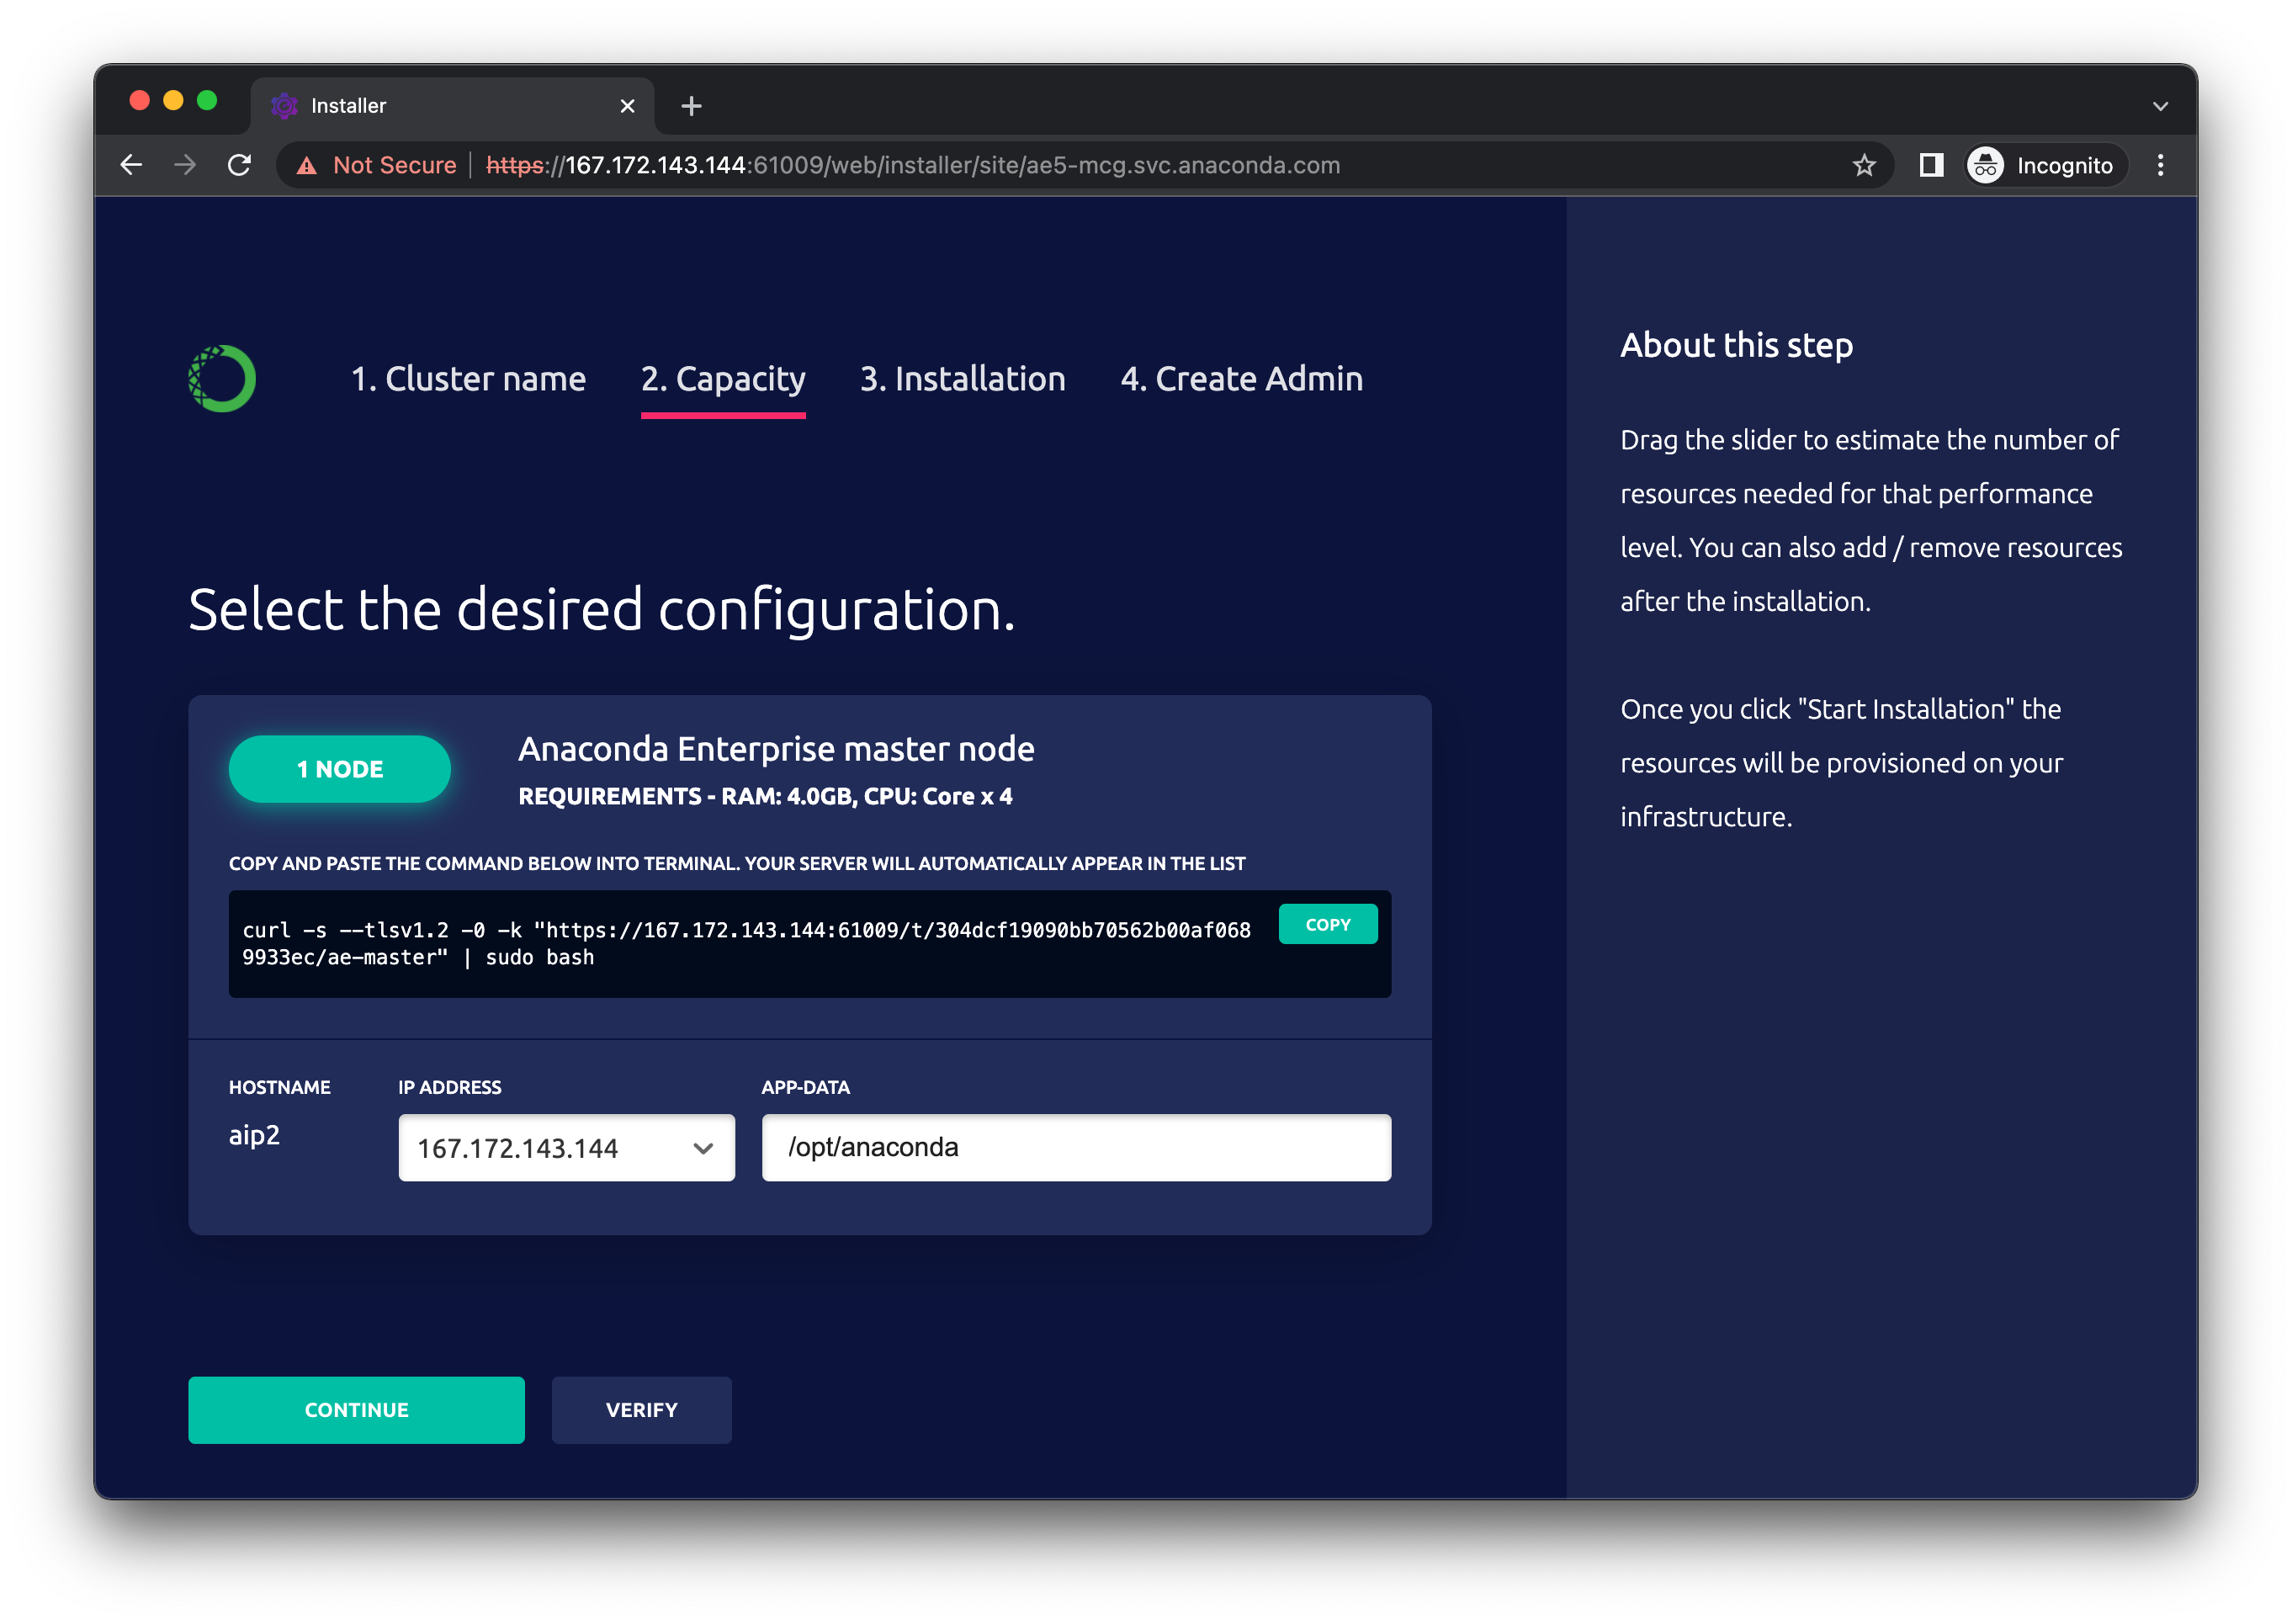
 10. In a separate terminal connected to the master node, copy, paste, and run the command provided in the browser. Once it successfully begins, the name of the node will appear in the web browser. Use the **IP Address** drop-down to select the IP address for each node. If multiple addresses are offered, make sure that the one you select is the same as the one provided in Step 5. Once the proper address is selected, click **Continue**.
 11. The installation will begin. The process can take approximately 20-30 minutes to complete.
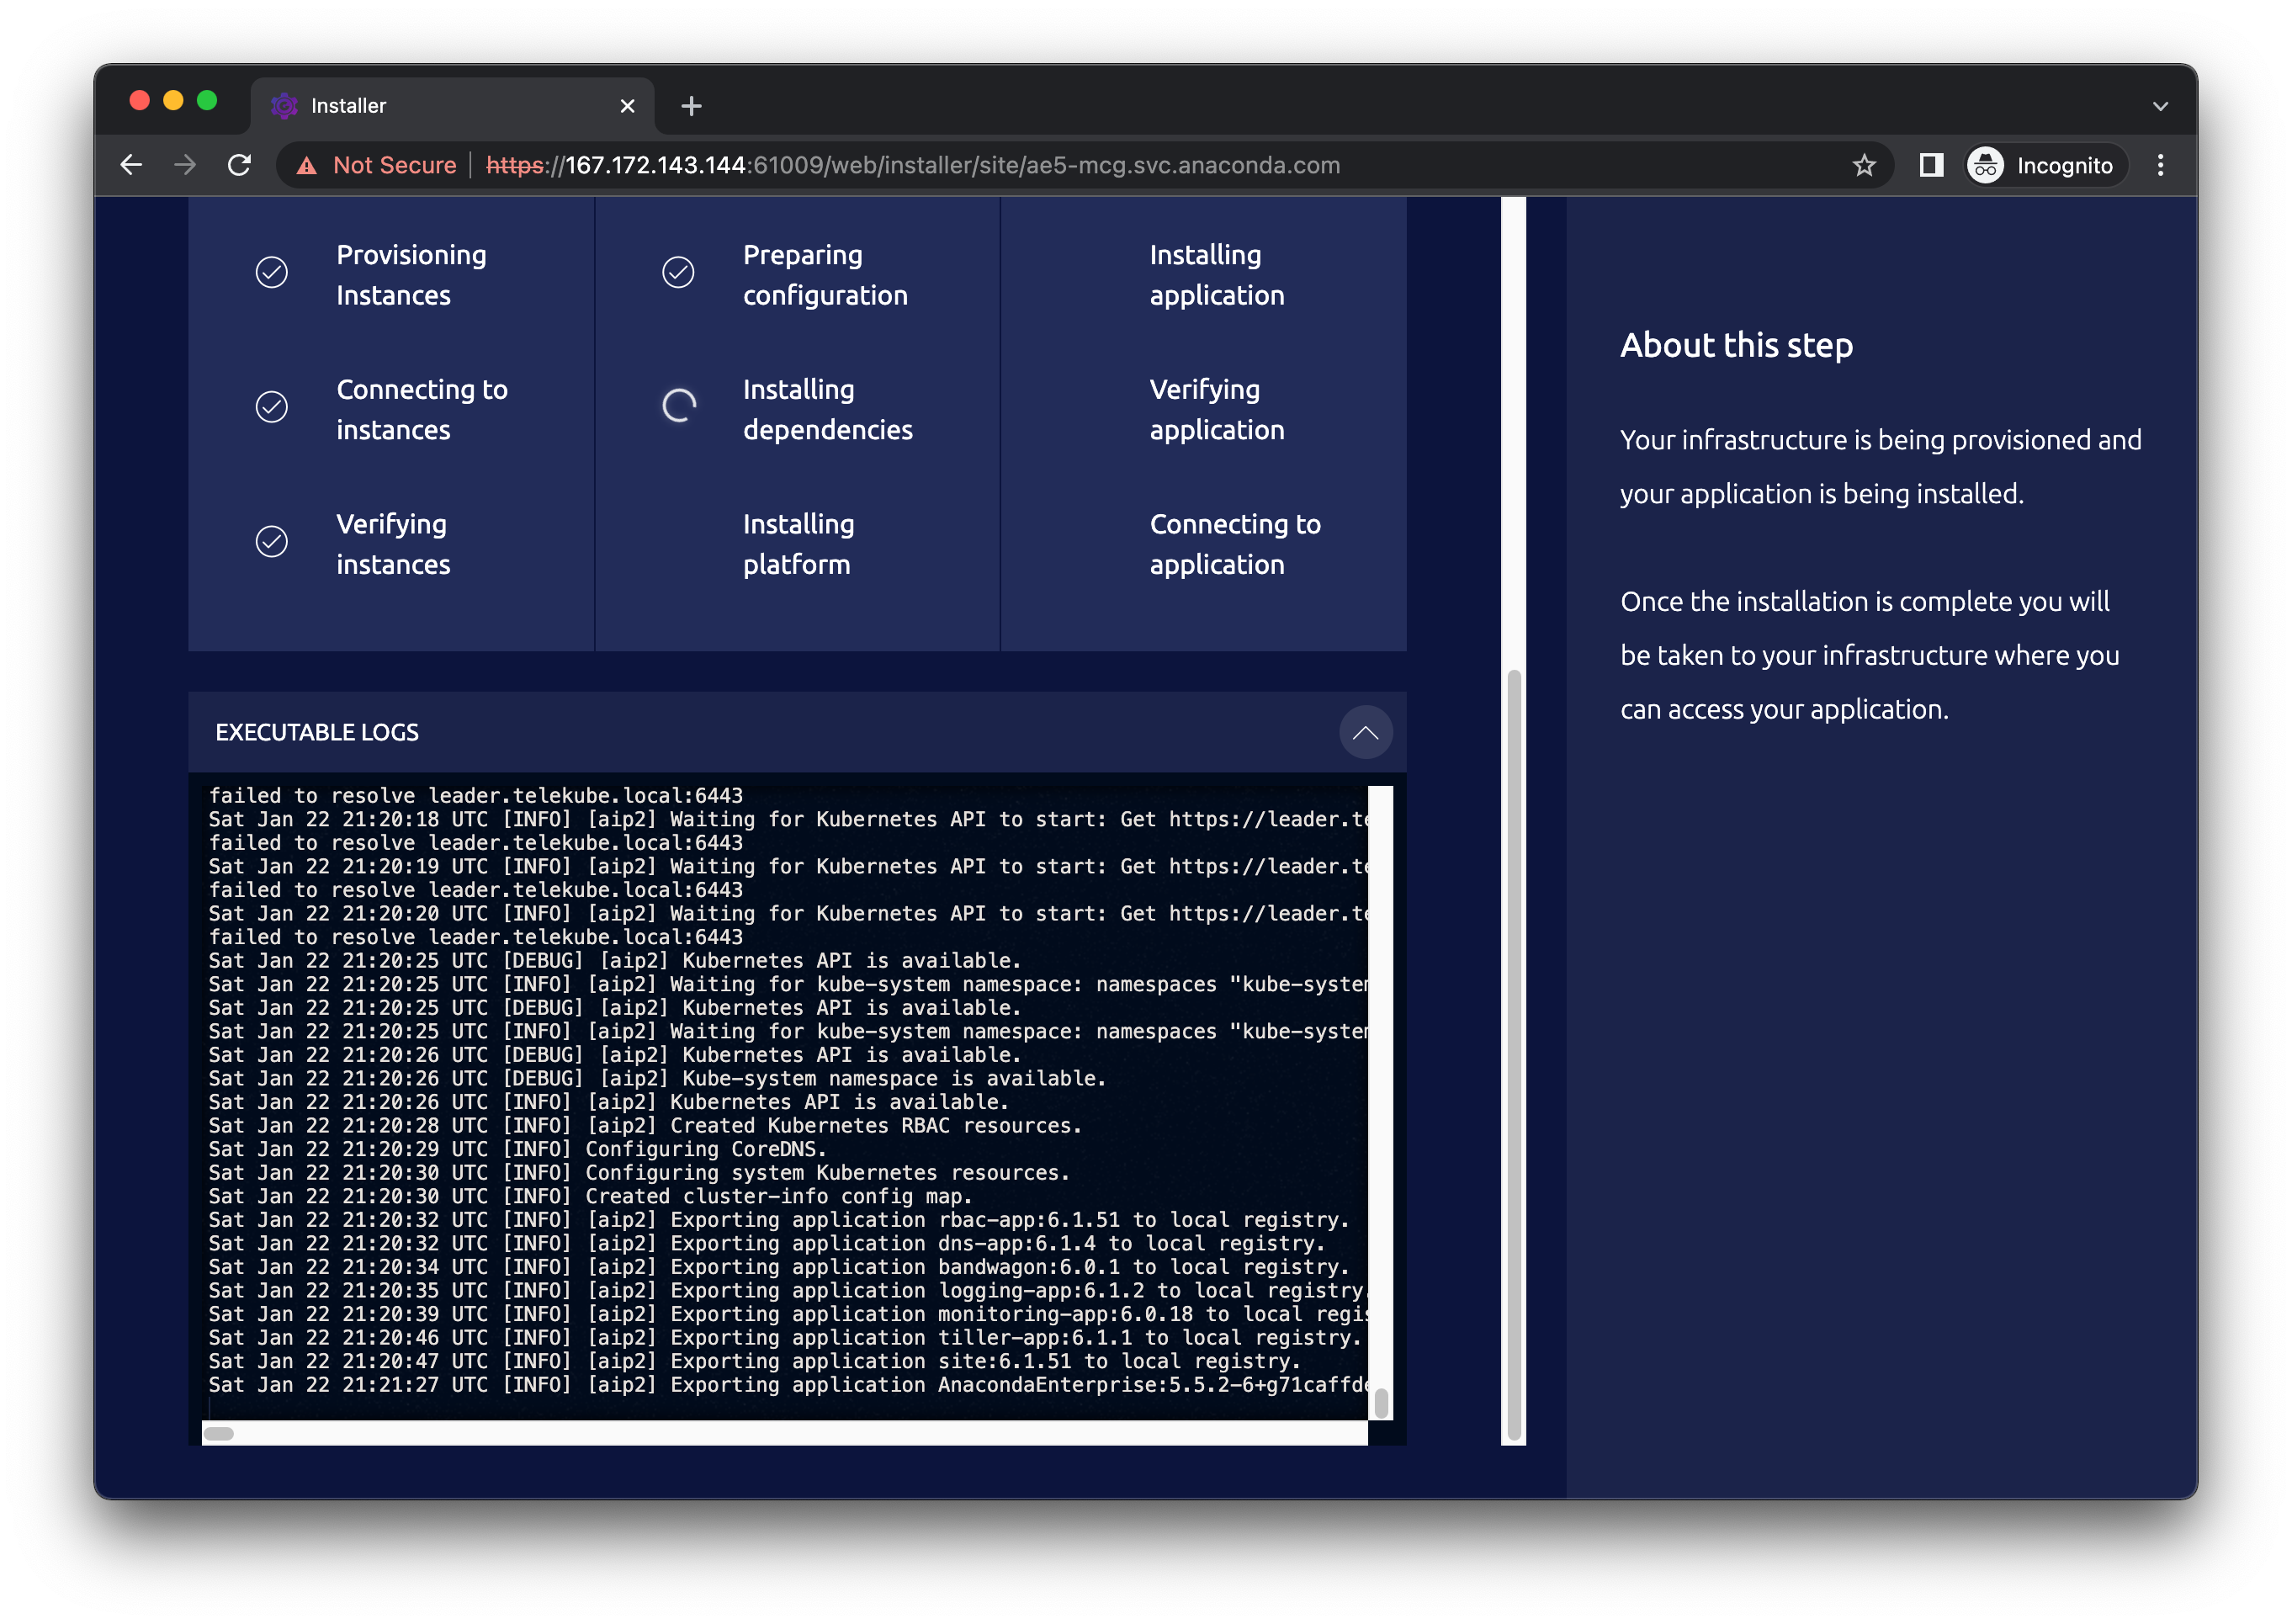
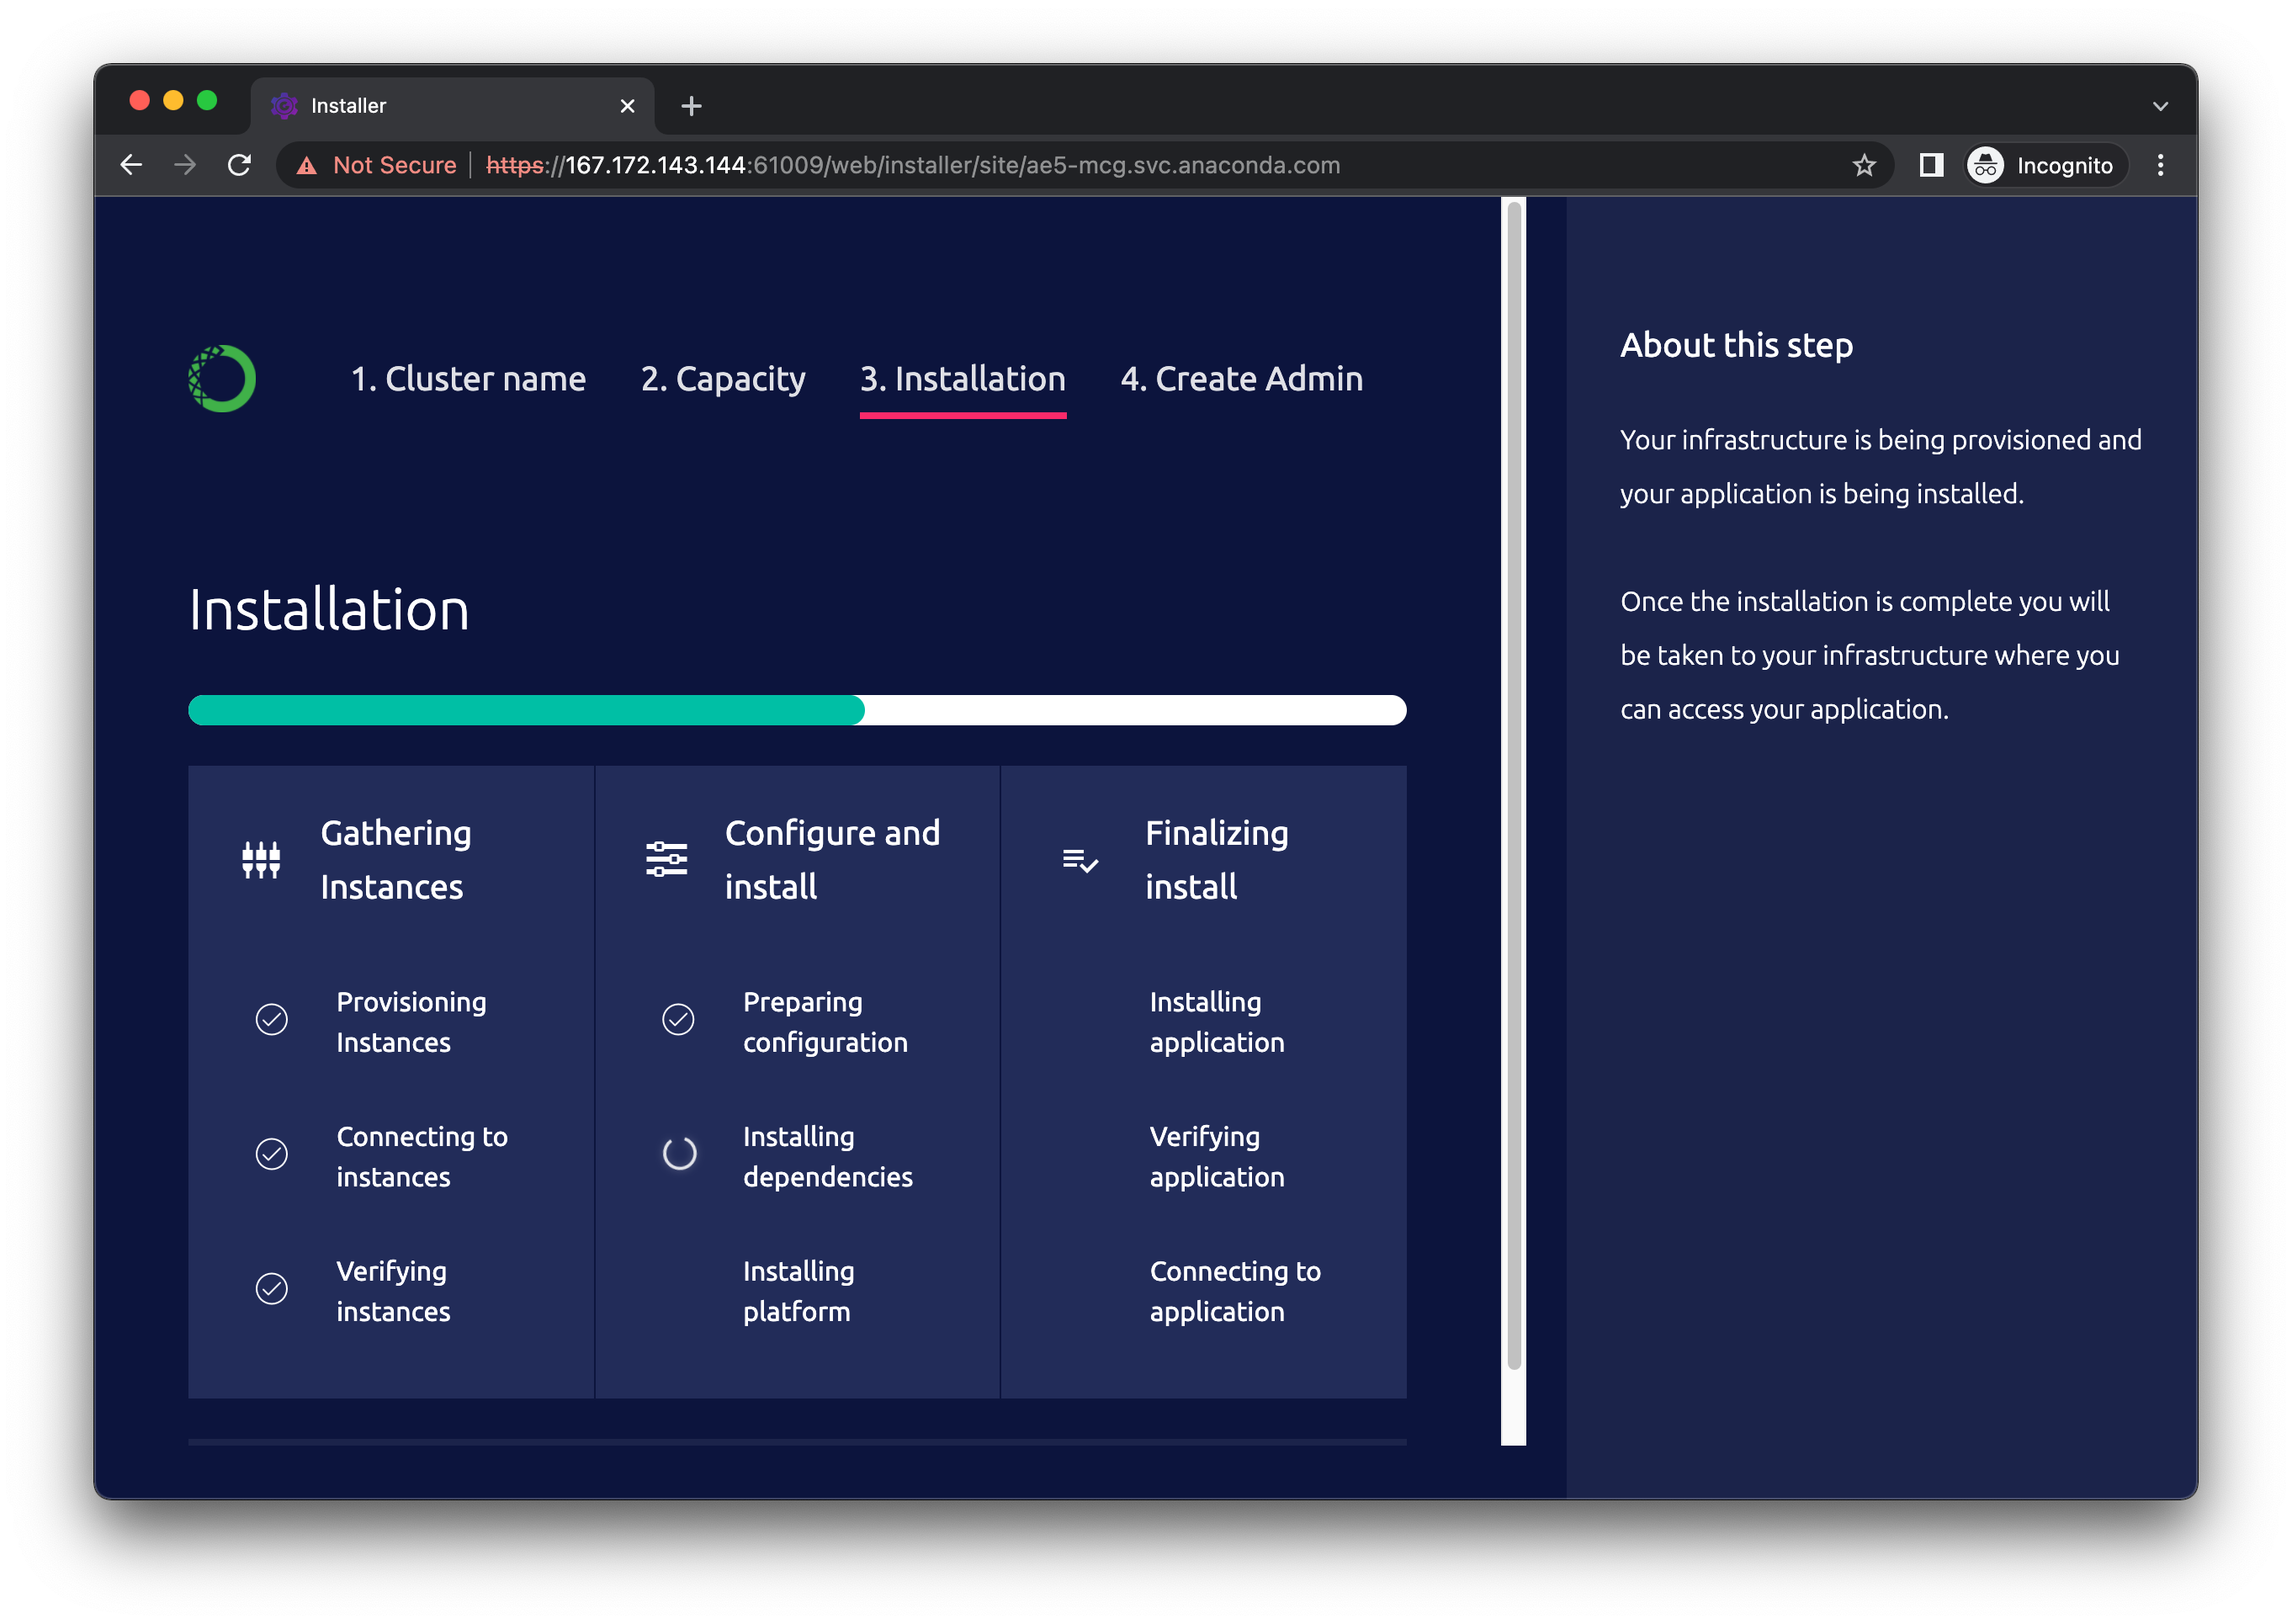 To monitor the progress more closely, click on `EXECUTABLE LOGS` at the bottom of the panel to reveal the log window.
 12. When the installation is complete, the following screen is displayed:
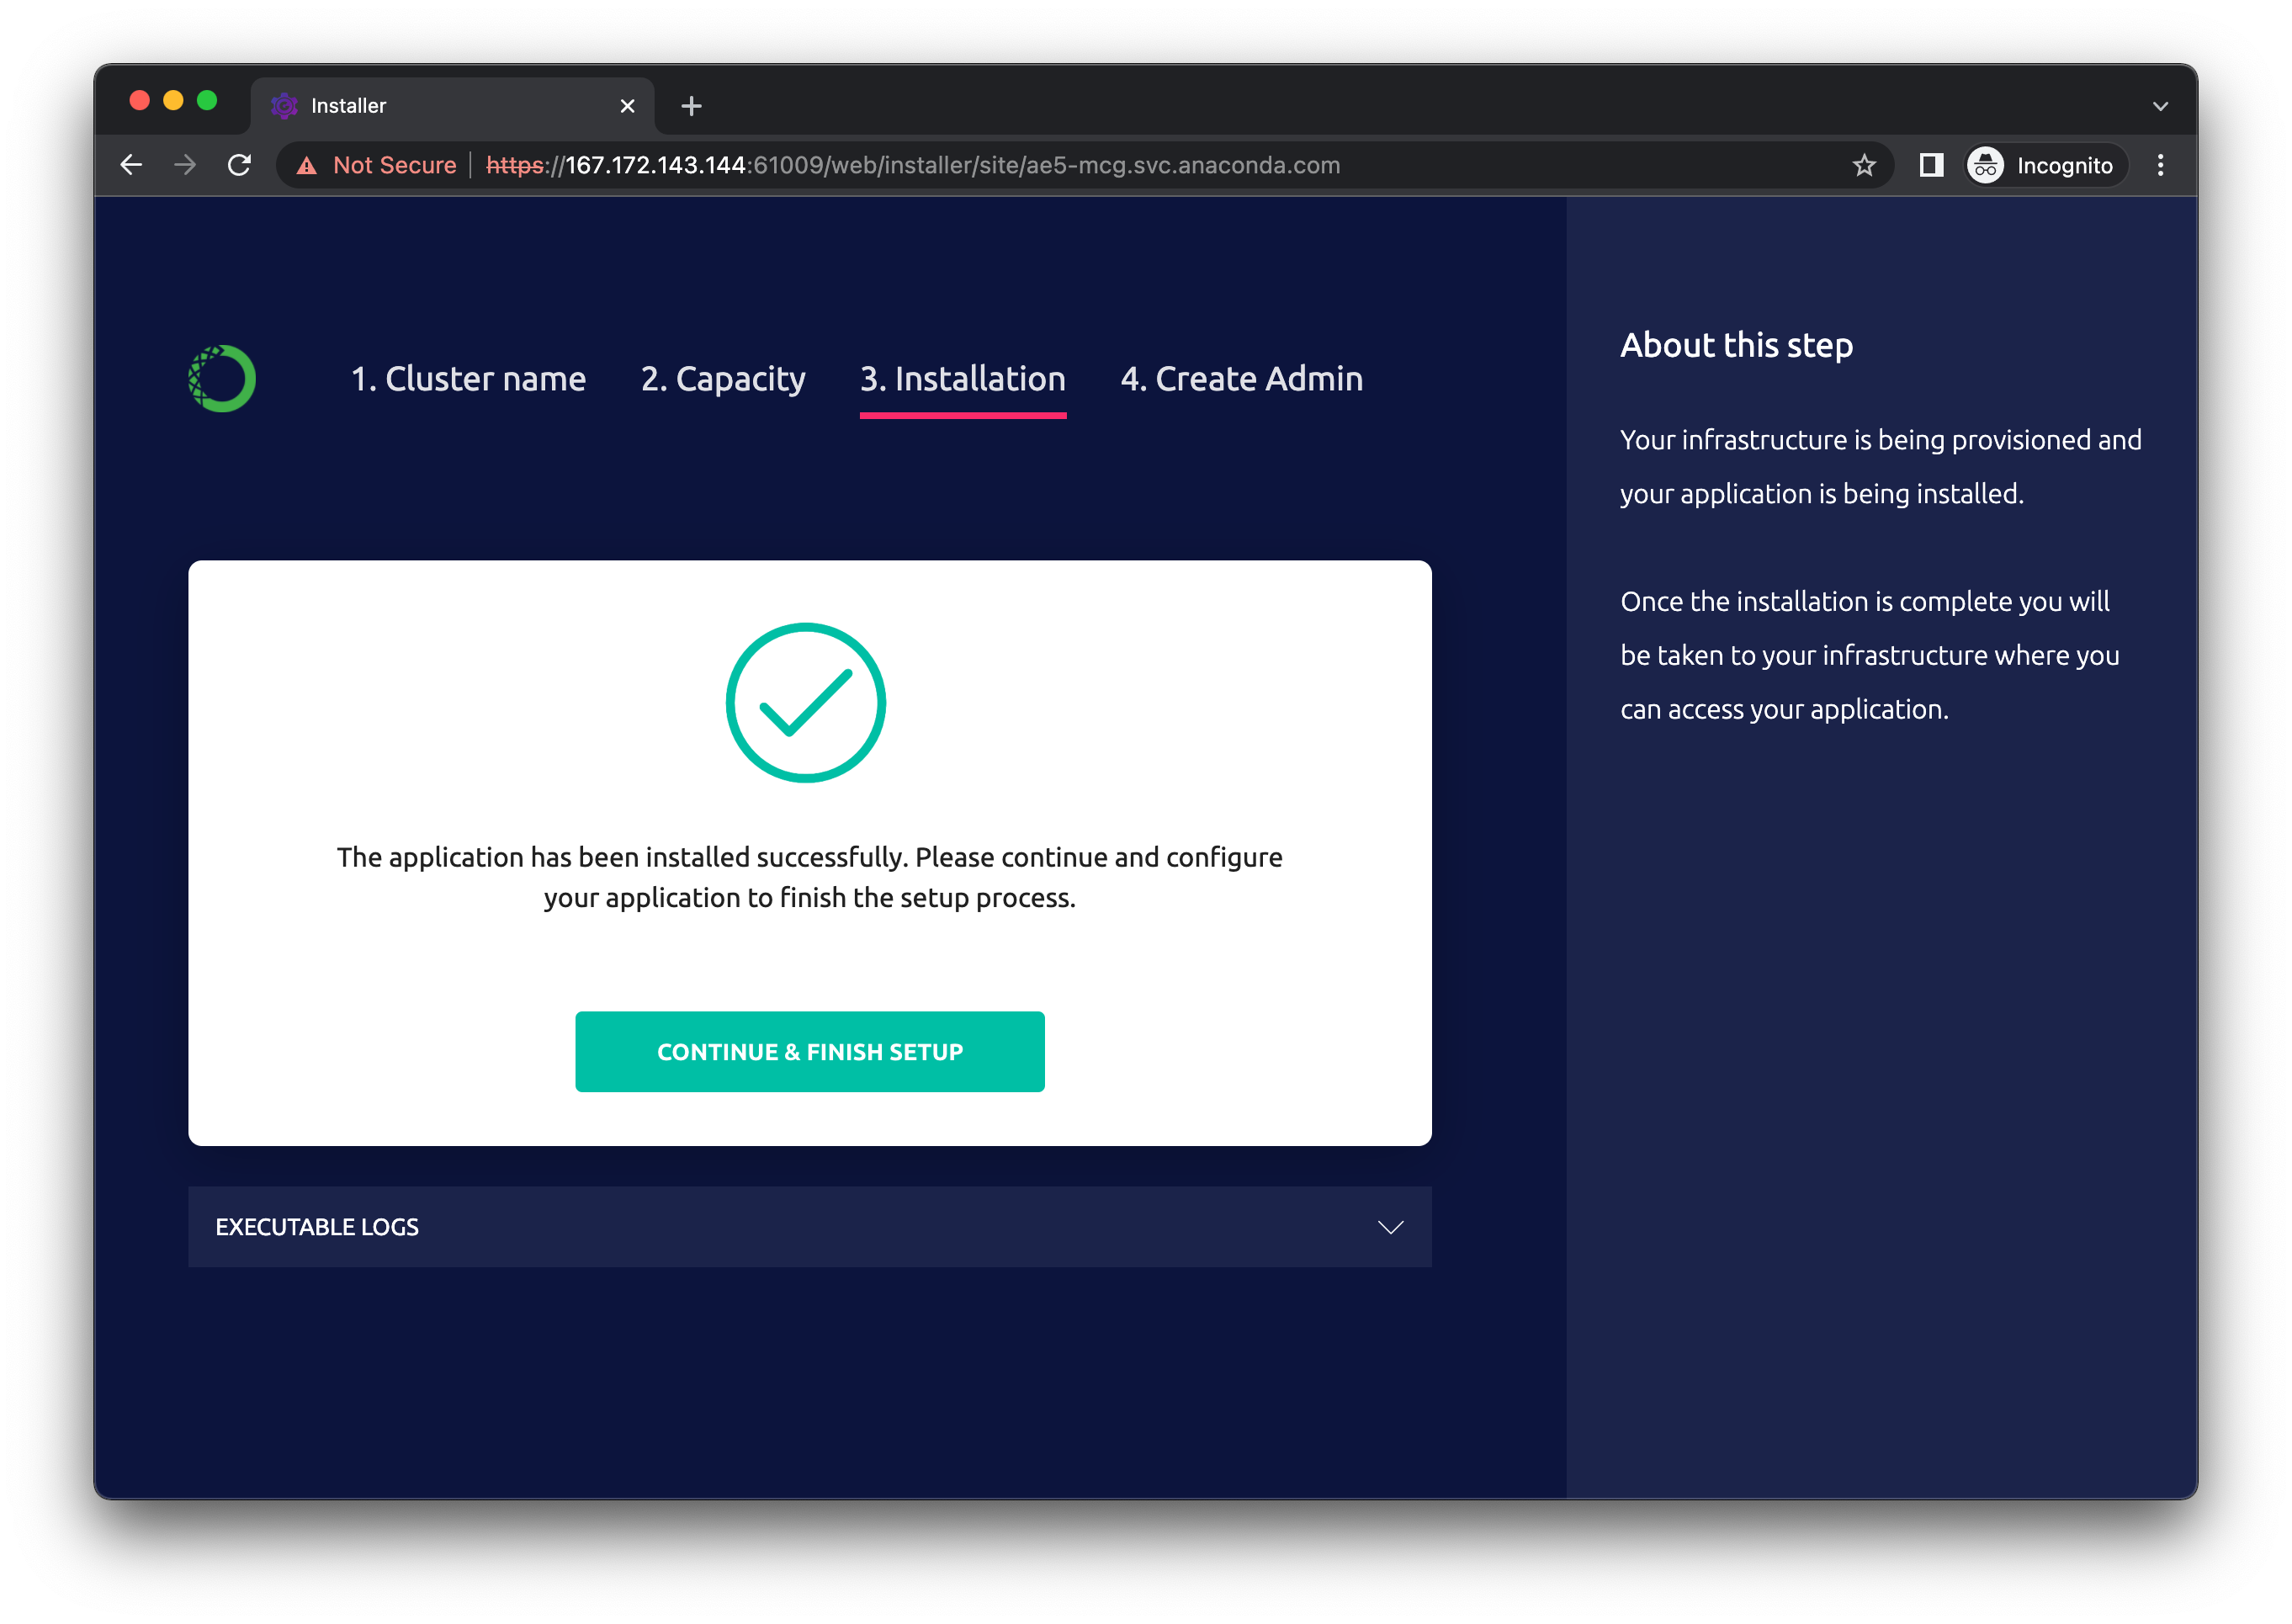 Click **Continue & Finish Setup**.
13. You are now presented with a simple form to create the Gravity Ops Center administrator account. Enter an email address and password to serve as the login credentials, then click “NEXT”.
Click **Continue & Finish Setup**.
13. You are now presented with a simple form to create the Gravity Ops Center administrator account. Enter an email address and password to serve as the login credentials, then click “NEXT”.
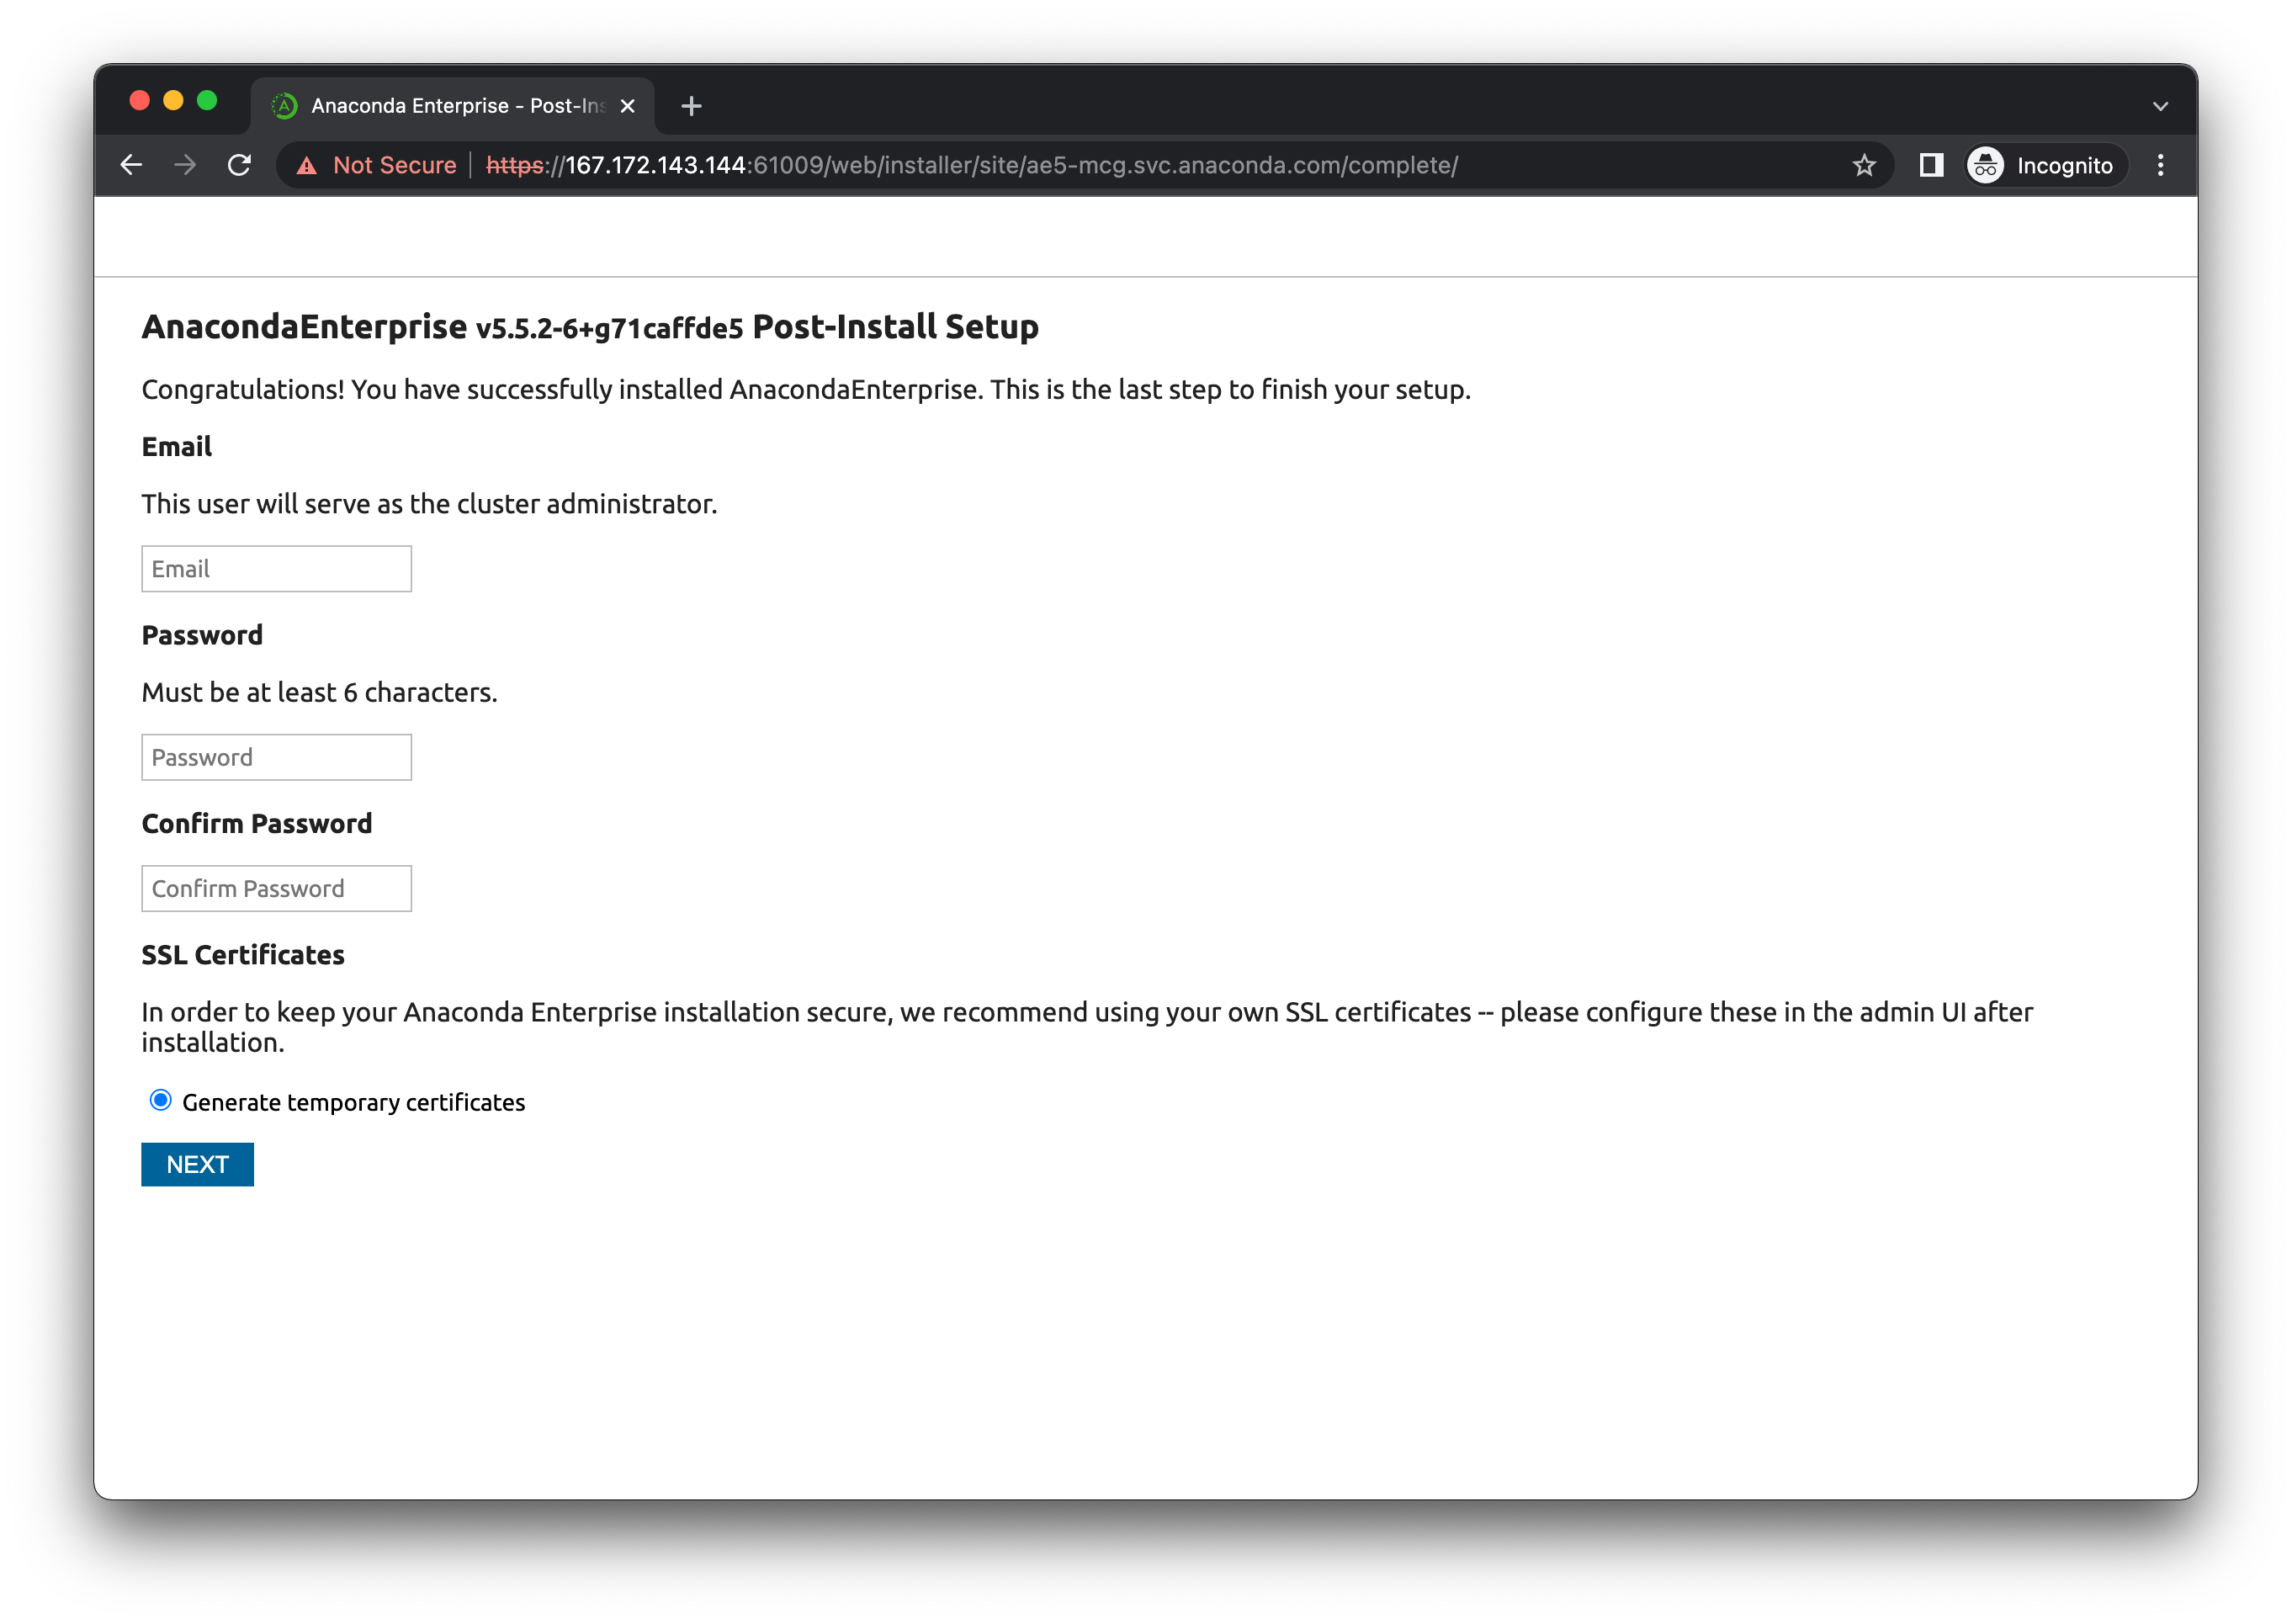 14. One more form: this time, simply enter the fully qualified domain name (FQDN) for the cluster; then click “FINISH SETUP”.
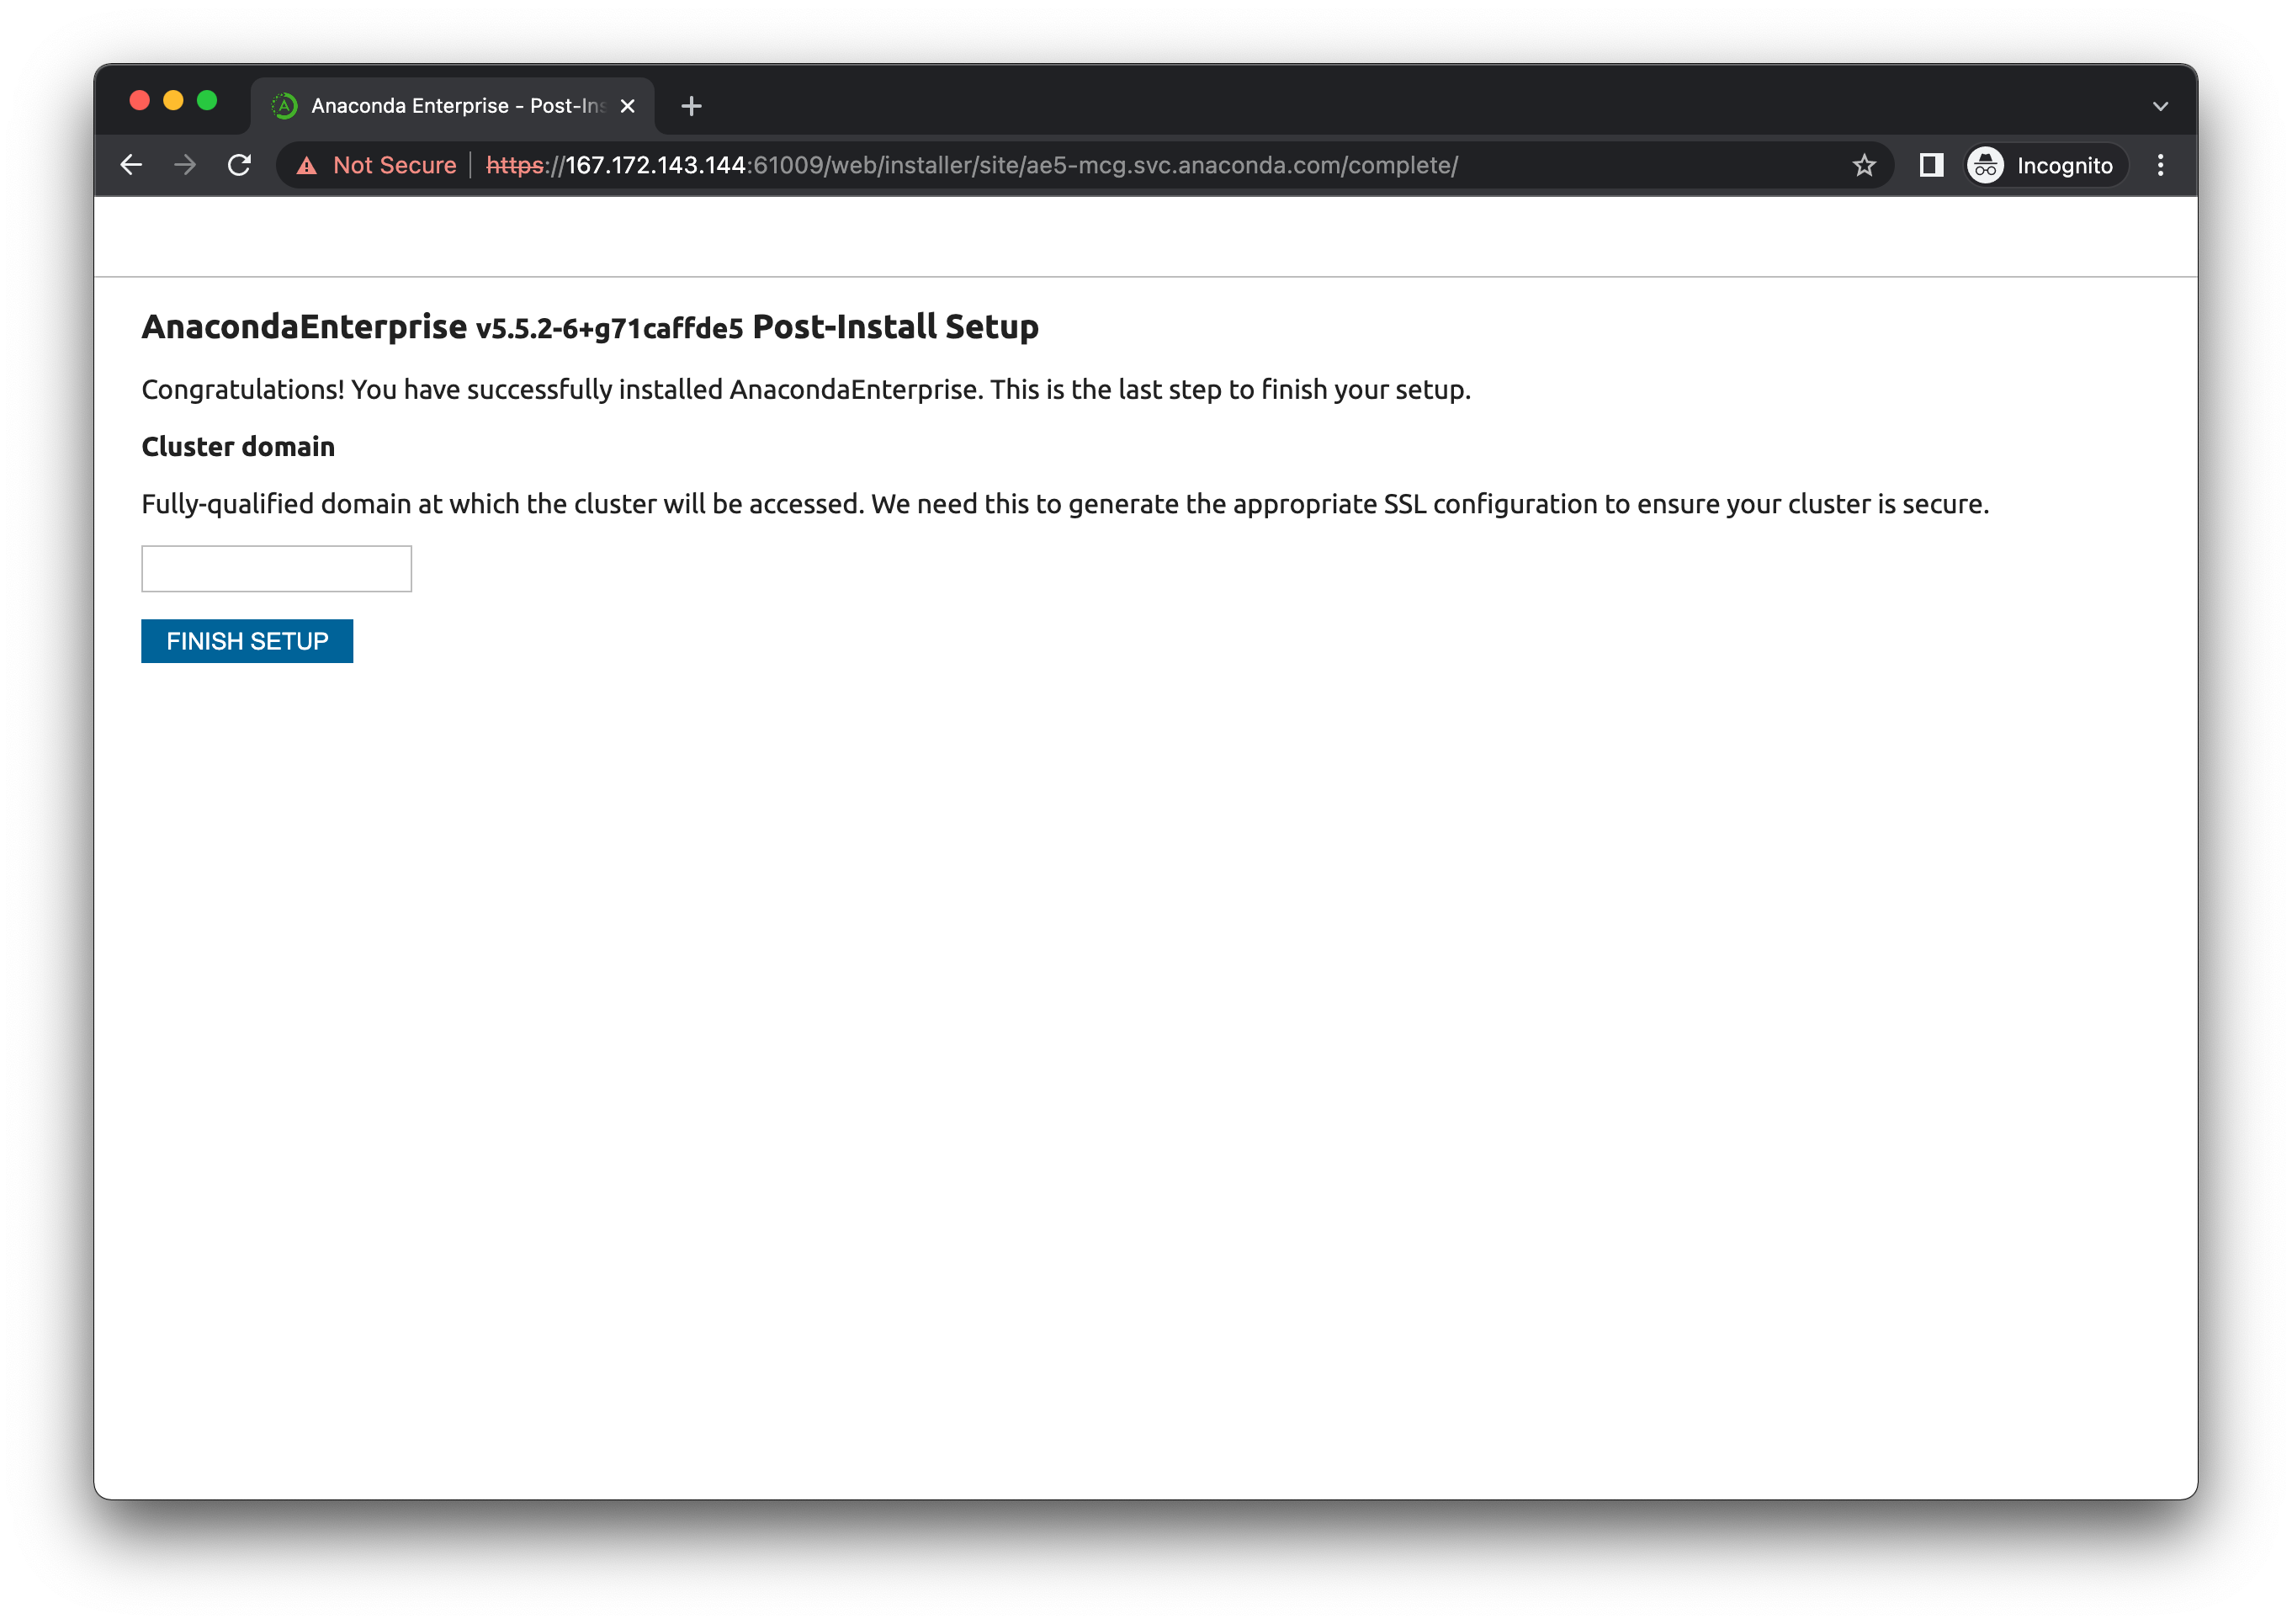 15. You should arrive at this page, indicating that the installation is complete.
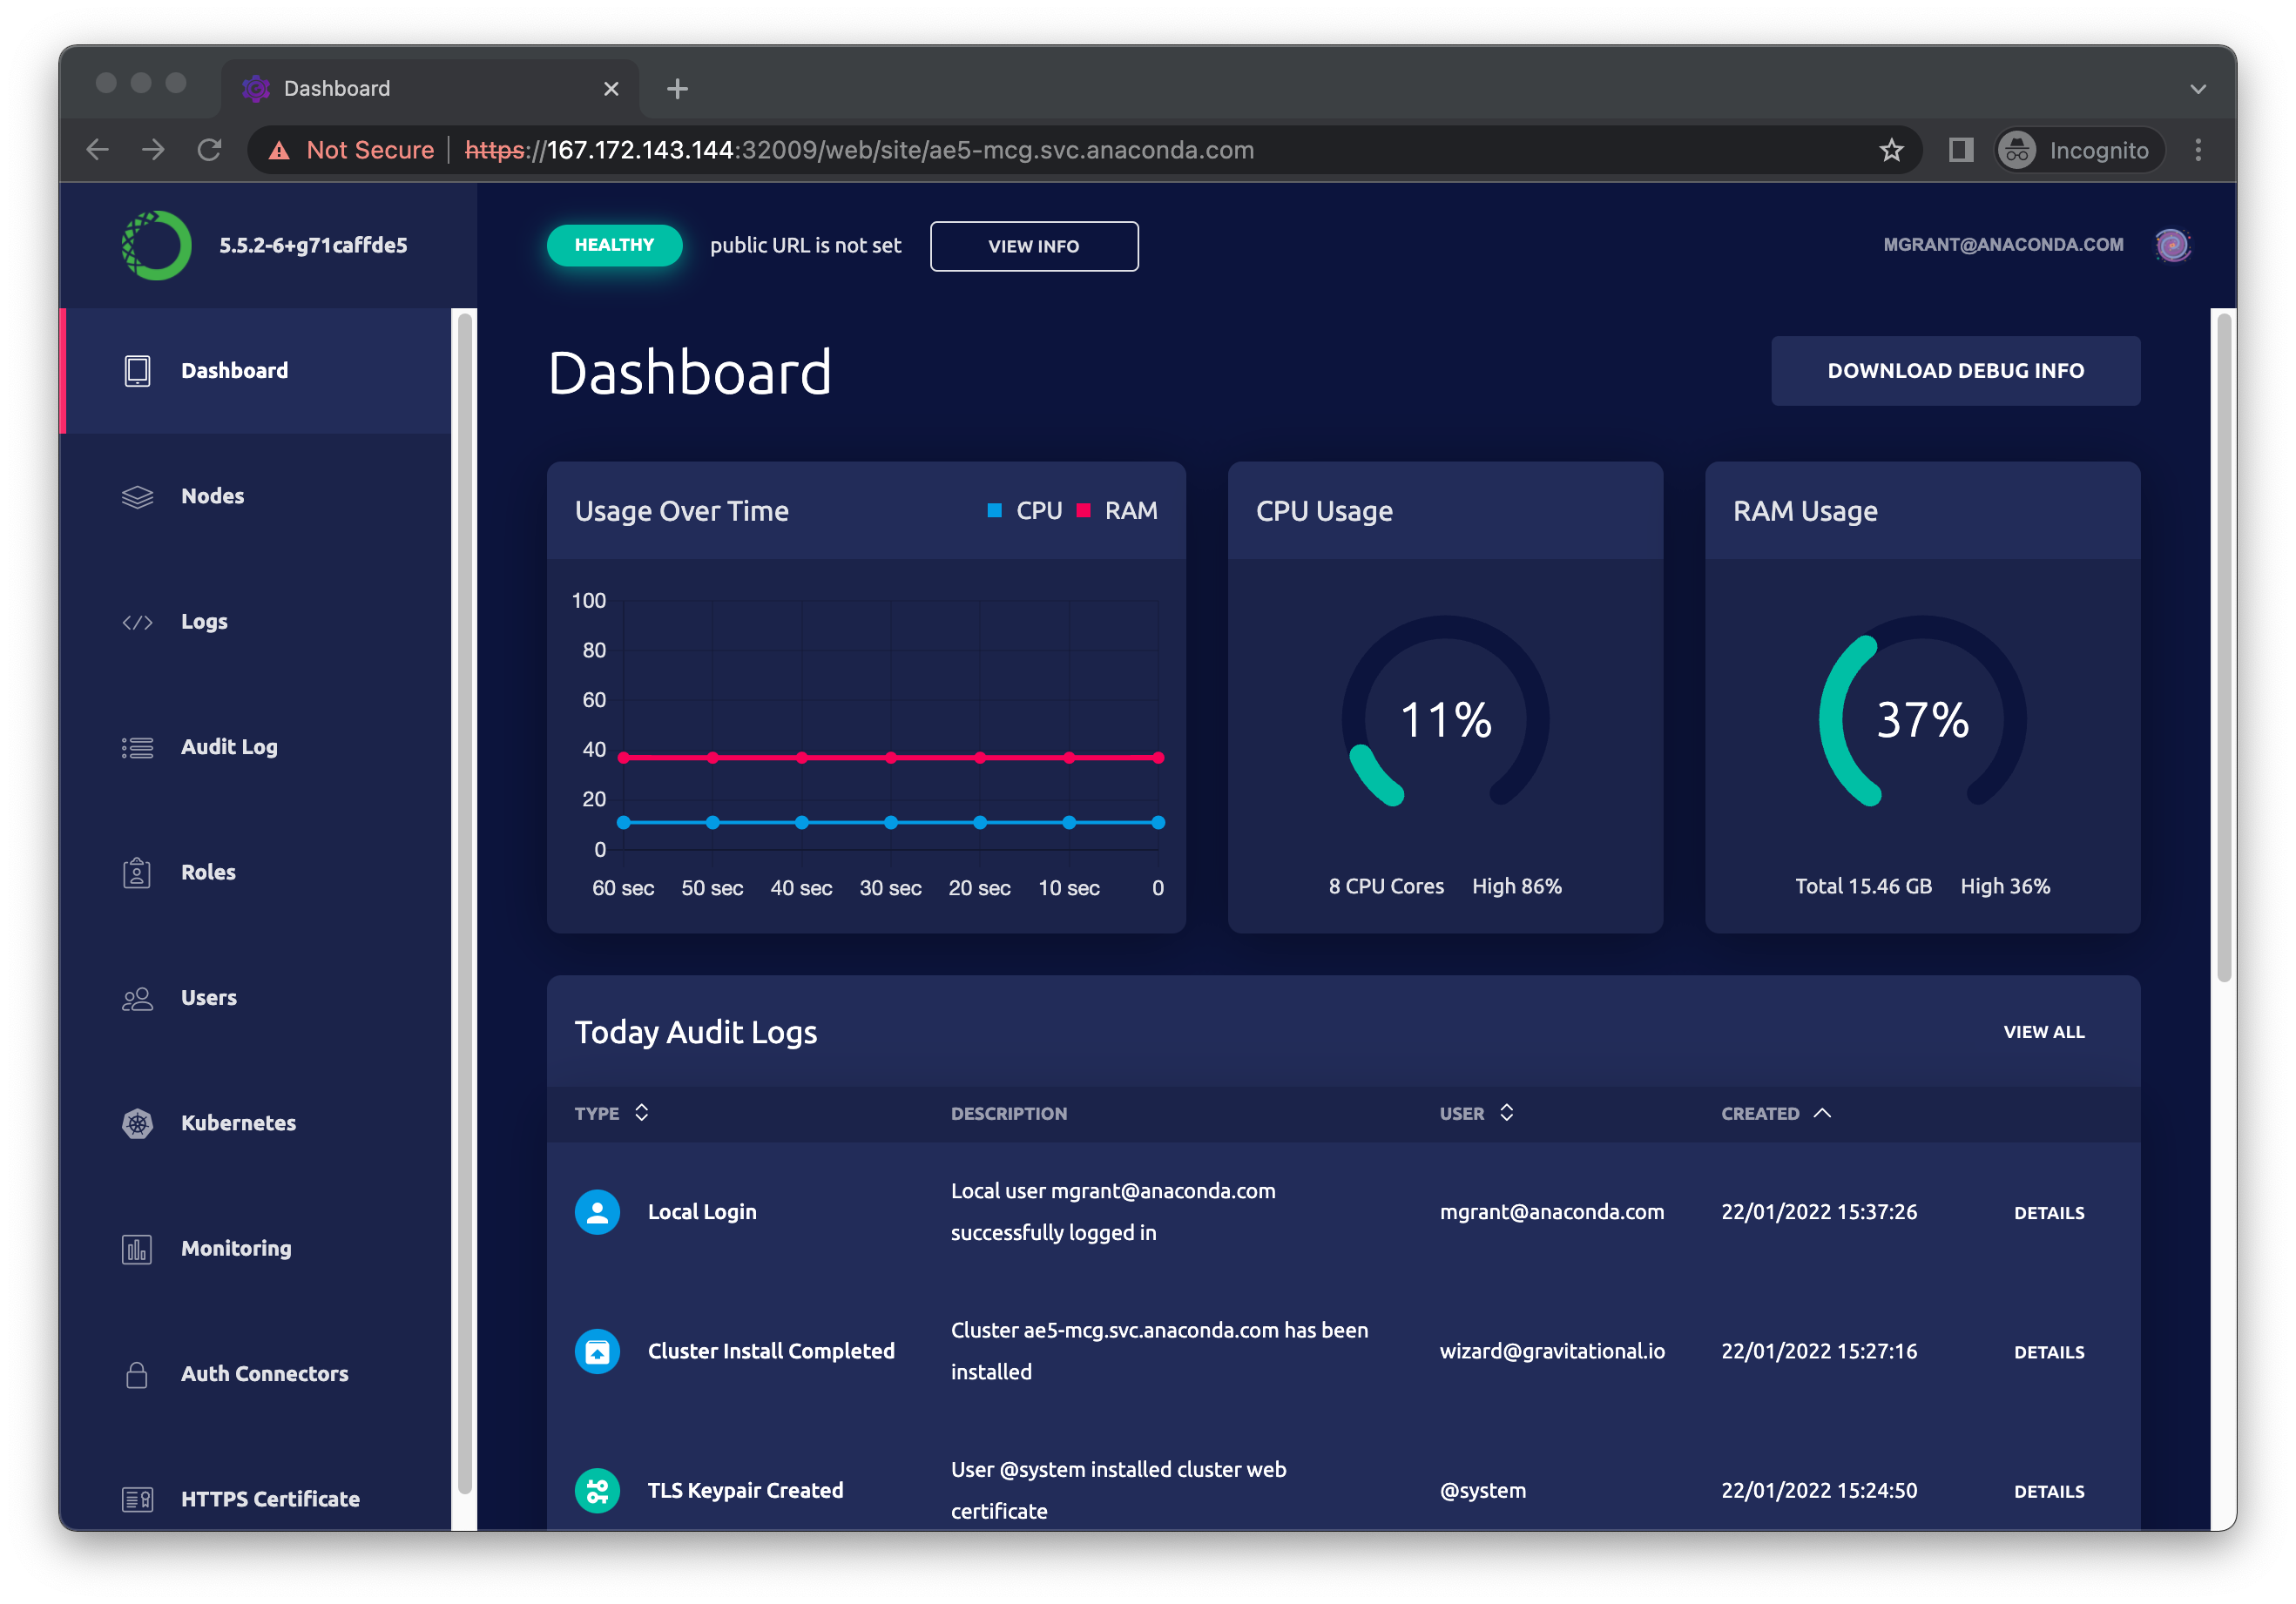
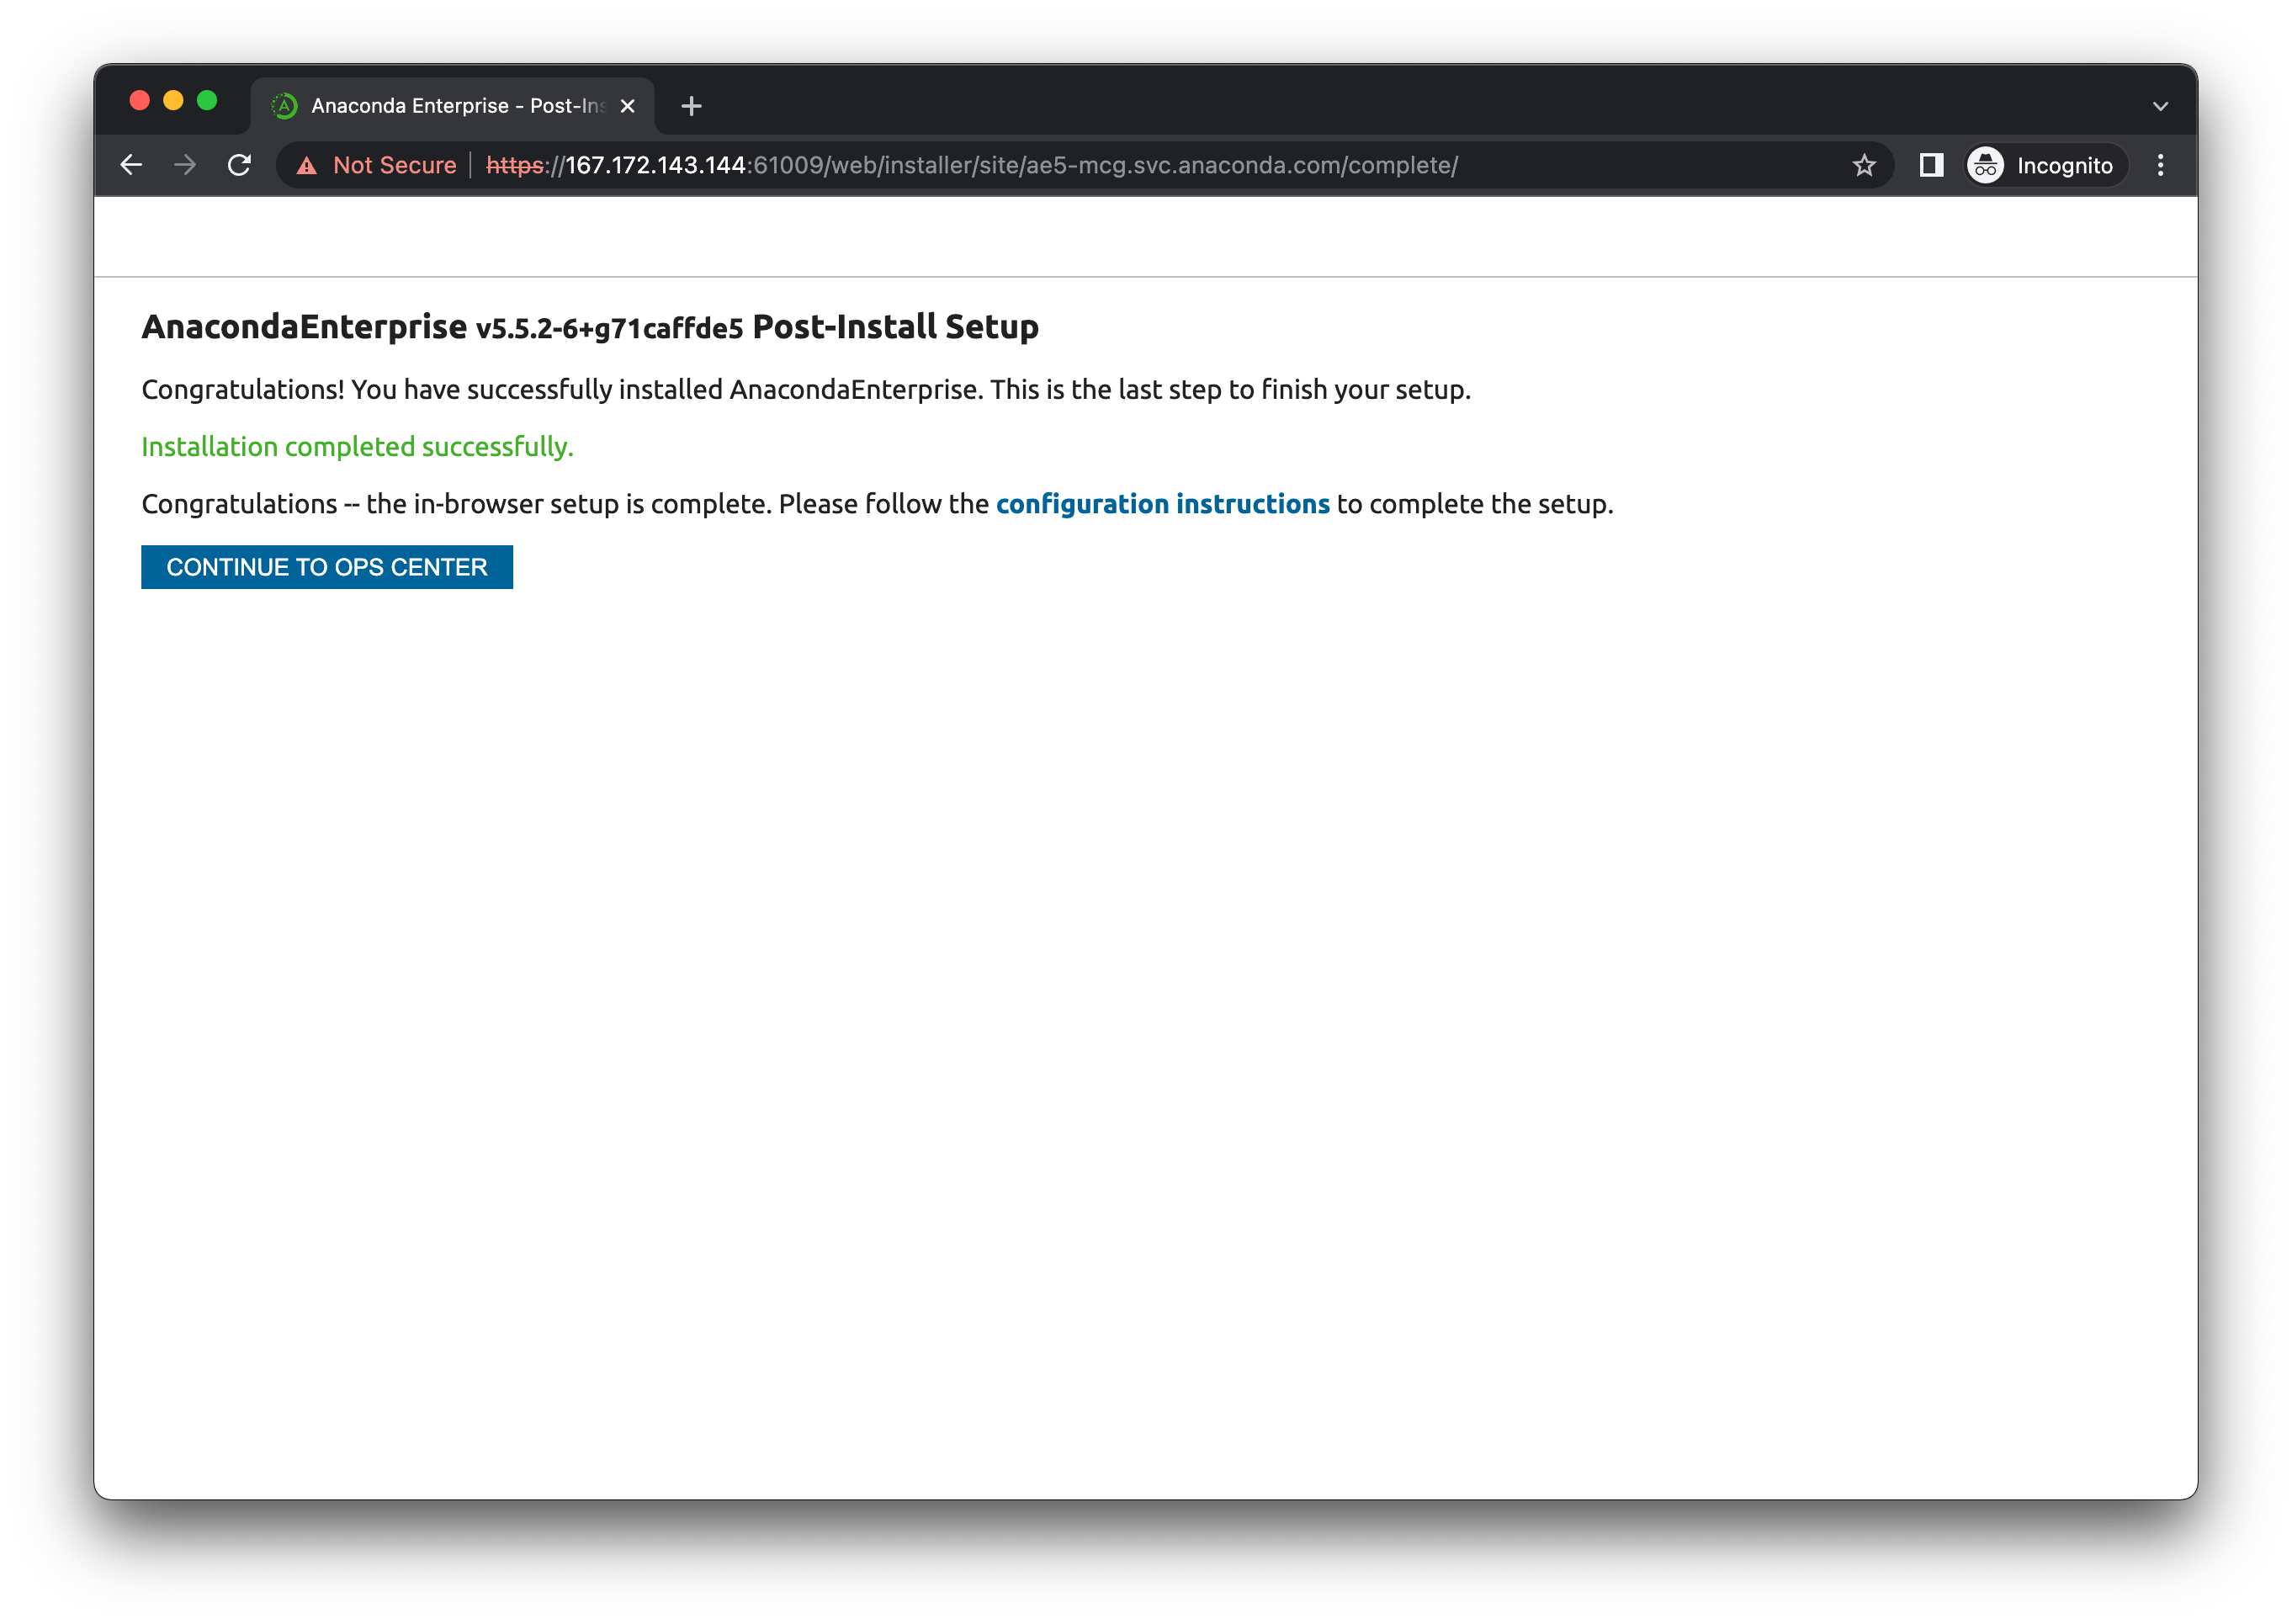 If you wish, you may click “CONTINUE TO OPS CENTER”, and enter the credentials you provided in step 15, to arrive at the Gravity Ops Center dashboard.
 16. The process running in your first terminal will have printed a message instructing you to press `Ctrl-C` to finish the operation. You may do that now.
17. Proceed to the [post-install configuration steps](./config).
16. The process running in your first terminal will have printed a message instructing you to press `Ctrl-C` to finish the operation. You may do that now.
17. Proceed to the [post-install configuration steps](./config).