> ## Documentation Index
> Fetch the complete documentation index at: https://anaconda.com/docs/llms.txt
> Use this file to discover all available pages before exploring further.
# Installing the cluster
After you have determined the initial topology for your Anaconda Enterprise
cluster, and verified that your system meets all of the [installation
requirements](./reqs), you’re ready to install the cluster.
**Before you begin:**
If you haven’t already, consider using the [pre-install checklist](./checklist) provided, to verify that you’ve accounted for everything before you begin.
* By default, Anaconda Enterprise installs using a service account with the user ID (UID) `1000`. You can change the UID of the service account by using the `--service-uid` option or the `GRAVITY_SERVICE_USER` environment variable *at installation time*. To do so, you need to have first created a group for that user with the UID.
For example, to use UID `1001`, run the following commands **on each node of the cluster**:
```
root$ groupadd mygroup -g 1001
root$ useradd --no-create-home -u 1001 -g mygroup myuser
```
* The installer uses the `TMPDIR` directory that’s configured on the master node, so **be sure the default directory contains sufficient space** or create an alternate directory (with sufficient space) for the installer to use. If you choose to use an alternate directory, ensure it has the correct permissions enabled (`drwxrwxrwx`), and either add it to `/etc/environment` or explicitly specify the directory during installation.
## Determine your install method
The method you use to install the cluster will vary, depending on your ability to access the target machine. If you have network access to the target machine, Anaconda recommends you install Anaconda Enterprise [using a web browser](#using-a-web-browser-recommended). Otherwise, you’ll need to [use a command line](#using-a-command-line).
With both methods, you can create any number of nodes from one to five nodes. You can also add or remove nodes at any time after installation. For more information, see [Adding and removing
nodes](../admin/resources/add-remove-node).
If the cluster where you will install AE cannot connect to the internet, follow the instructions for [Installing in an air-gapped environment](#airgap-install).
## Using a web browser (recommended)
1. On the master node, download and decompress the installer, replacing `` with the location of the installer, and `` with your installer version:
```
curl -O .tar.gz
tar xvf anaconda-enterprise-.tar.gz
```
2. On the master node, *run the pre-installation system checks* as sudo or root user before proceeding with the installation:
```
sudo ./gravity check --profile ae-master
```
3. To perform system checks *on a worker node*, run the following command as sudo or root user:
```
sudo ./gravity check --profile ae-worker
```
If all of the system checks pass and all requirements are met, the output from the above commands will be empty. If the system checks fail and some requirements are not met, the output will indicate which system checks failed.
4. After doing the pre-installation system checks, run the installer on the master node *as sudo or root user*:
```
sudo ./gravity wizard
```
If you’re using a service account UID that’s different than the default `1000`, append the command with the actual UID. For example, to use UID `1001`, run `sudo ./gravity wizard --service-uid=1001`.
If you’re using an alternate `TMPDIR`, pre-pend the command with the directory. For example, `sudo TMPDIR=/mytmp ./gravity wizard`
```
Tue Oct 29 14:22:22 UTC Starting enterprise installer
To abort the installation and clean up the system,
press Ctrl+C two times in a row.
If the you get disconnected from the terminal, you can reconnect to the installer
agent by issuing 'gravity resume' command.
If the installation fails, use 'gravity plan' to inspect the state and
'gravity resume' to continue the operation.
See https://gravitational.com/gravity/docs/cluster/#managing-an-ongoing-operation for details.
Tue Oct 29 14:22:22 UTC Connecting to installer
Tue Oct 29 14:22:27 UTC Connected to installer
Tue Oct 29 14:22:28 UTC Starting web UI install wizard
Tue Oct 29 14:22:28 UTC Open this URL in browser: https://172.31.67.113:61009/web/installer/new/gravitational.io/AnacondaEnterprise/5.4.0-36.gdf45da616?install_token=9954bf9f357b0eff8d2d2a4a48c8d9e6
Tue Oct 29 14:22:28 UTC Waiting for the operation to start
```
5. To start the browser-based install, copy the full URL that is generated into your browser. *Ensure that you are connecting to the public network interface.*
**NOTES:**
* If you’re using an alternate `TMPDIR` and DID NOT add it to `/etc/environment`, edit the copied URL to include the directory in the `sudo bash` command. For example, `sudo TMPDIR=/mytmp bash`.
* If you’re unable to connect to the URL due to security measures in place at your organization, select **File > New Incognito Window** to launch the installer.
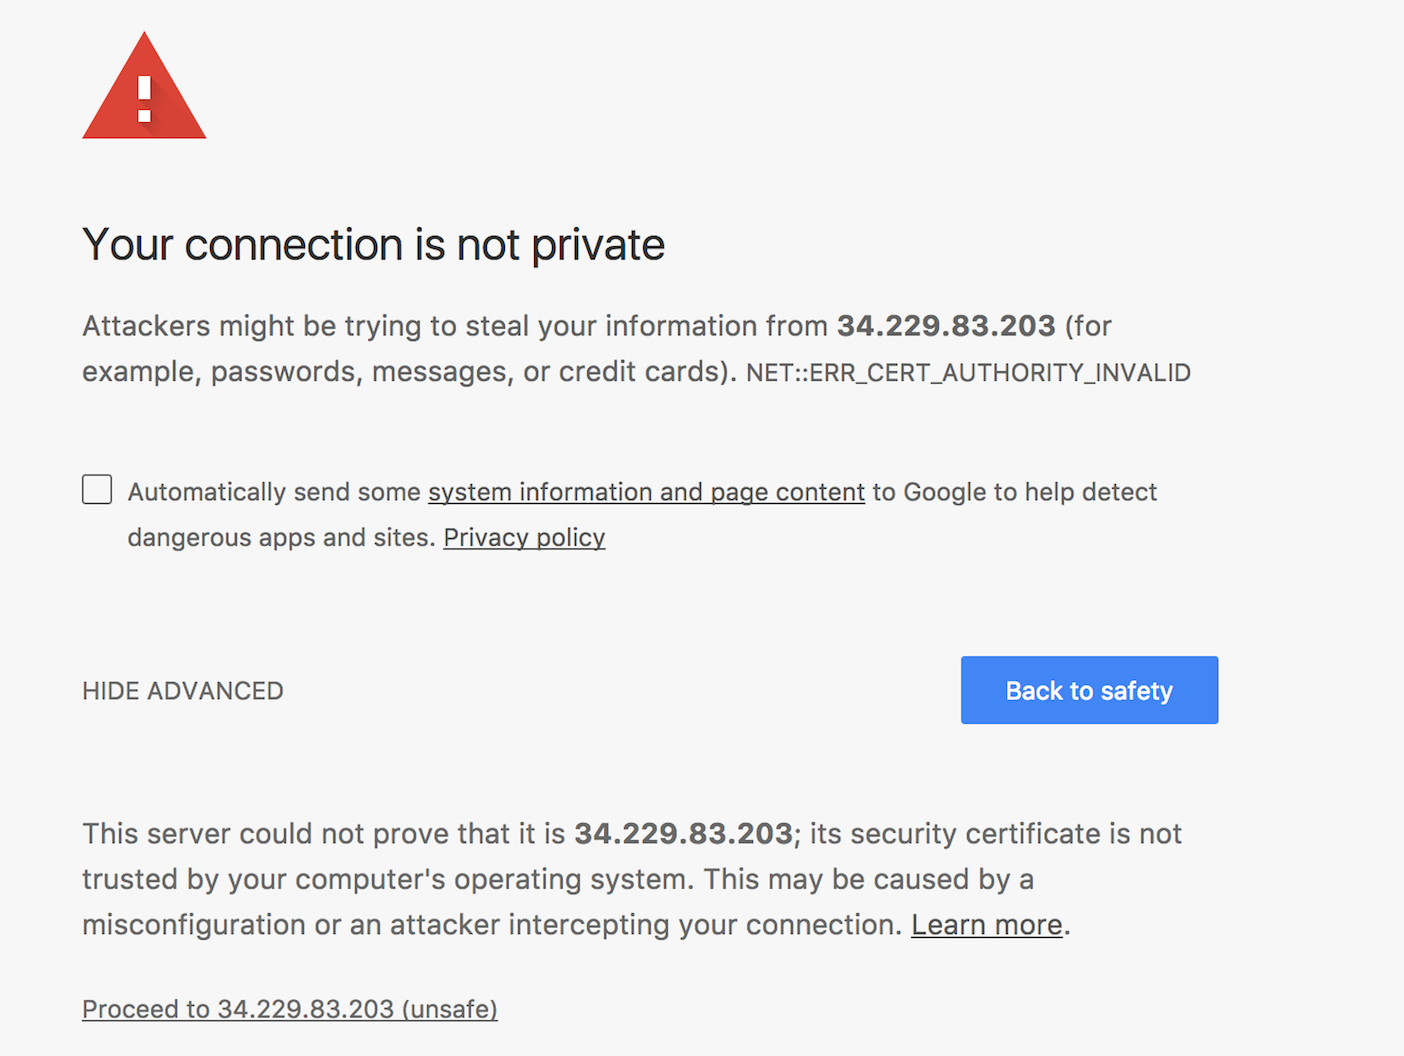
6. The installer will install a self-signed TLS/SSL certificate, so you can click the link at the bottom of this warning message to proceed:
 7. After reviewing the License Agreement, check **I Agree To The Terms** and click **Accept**.
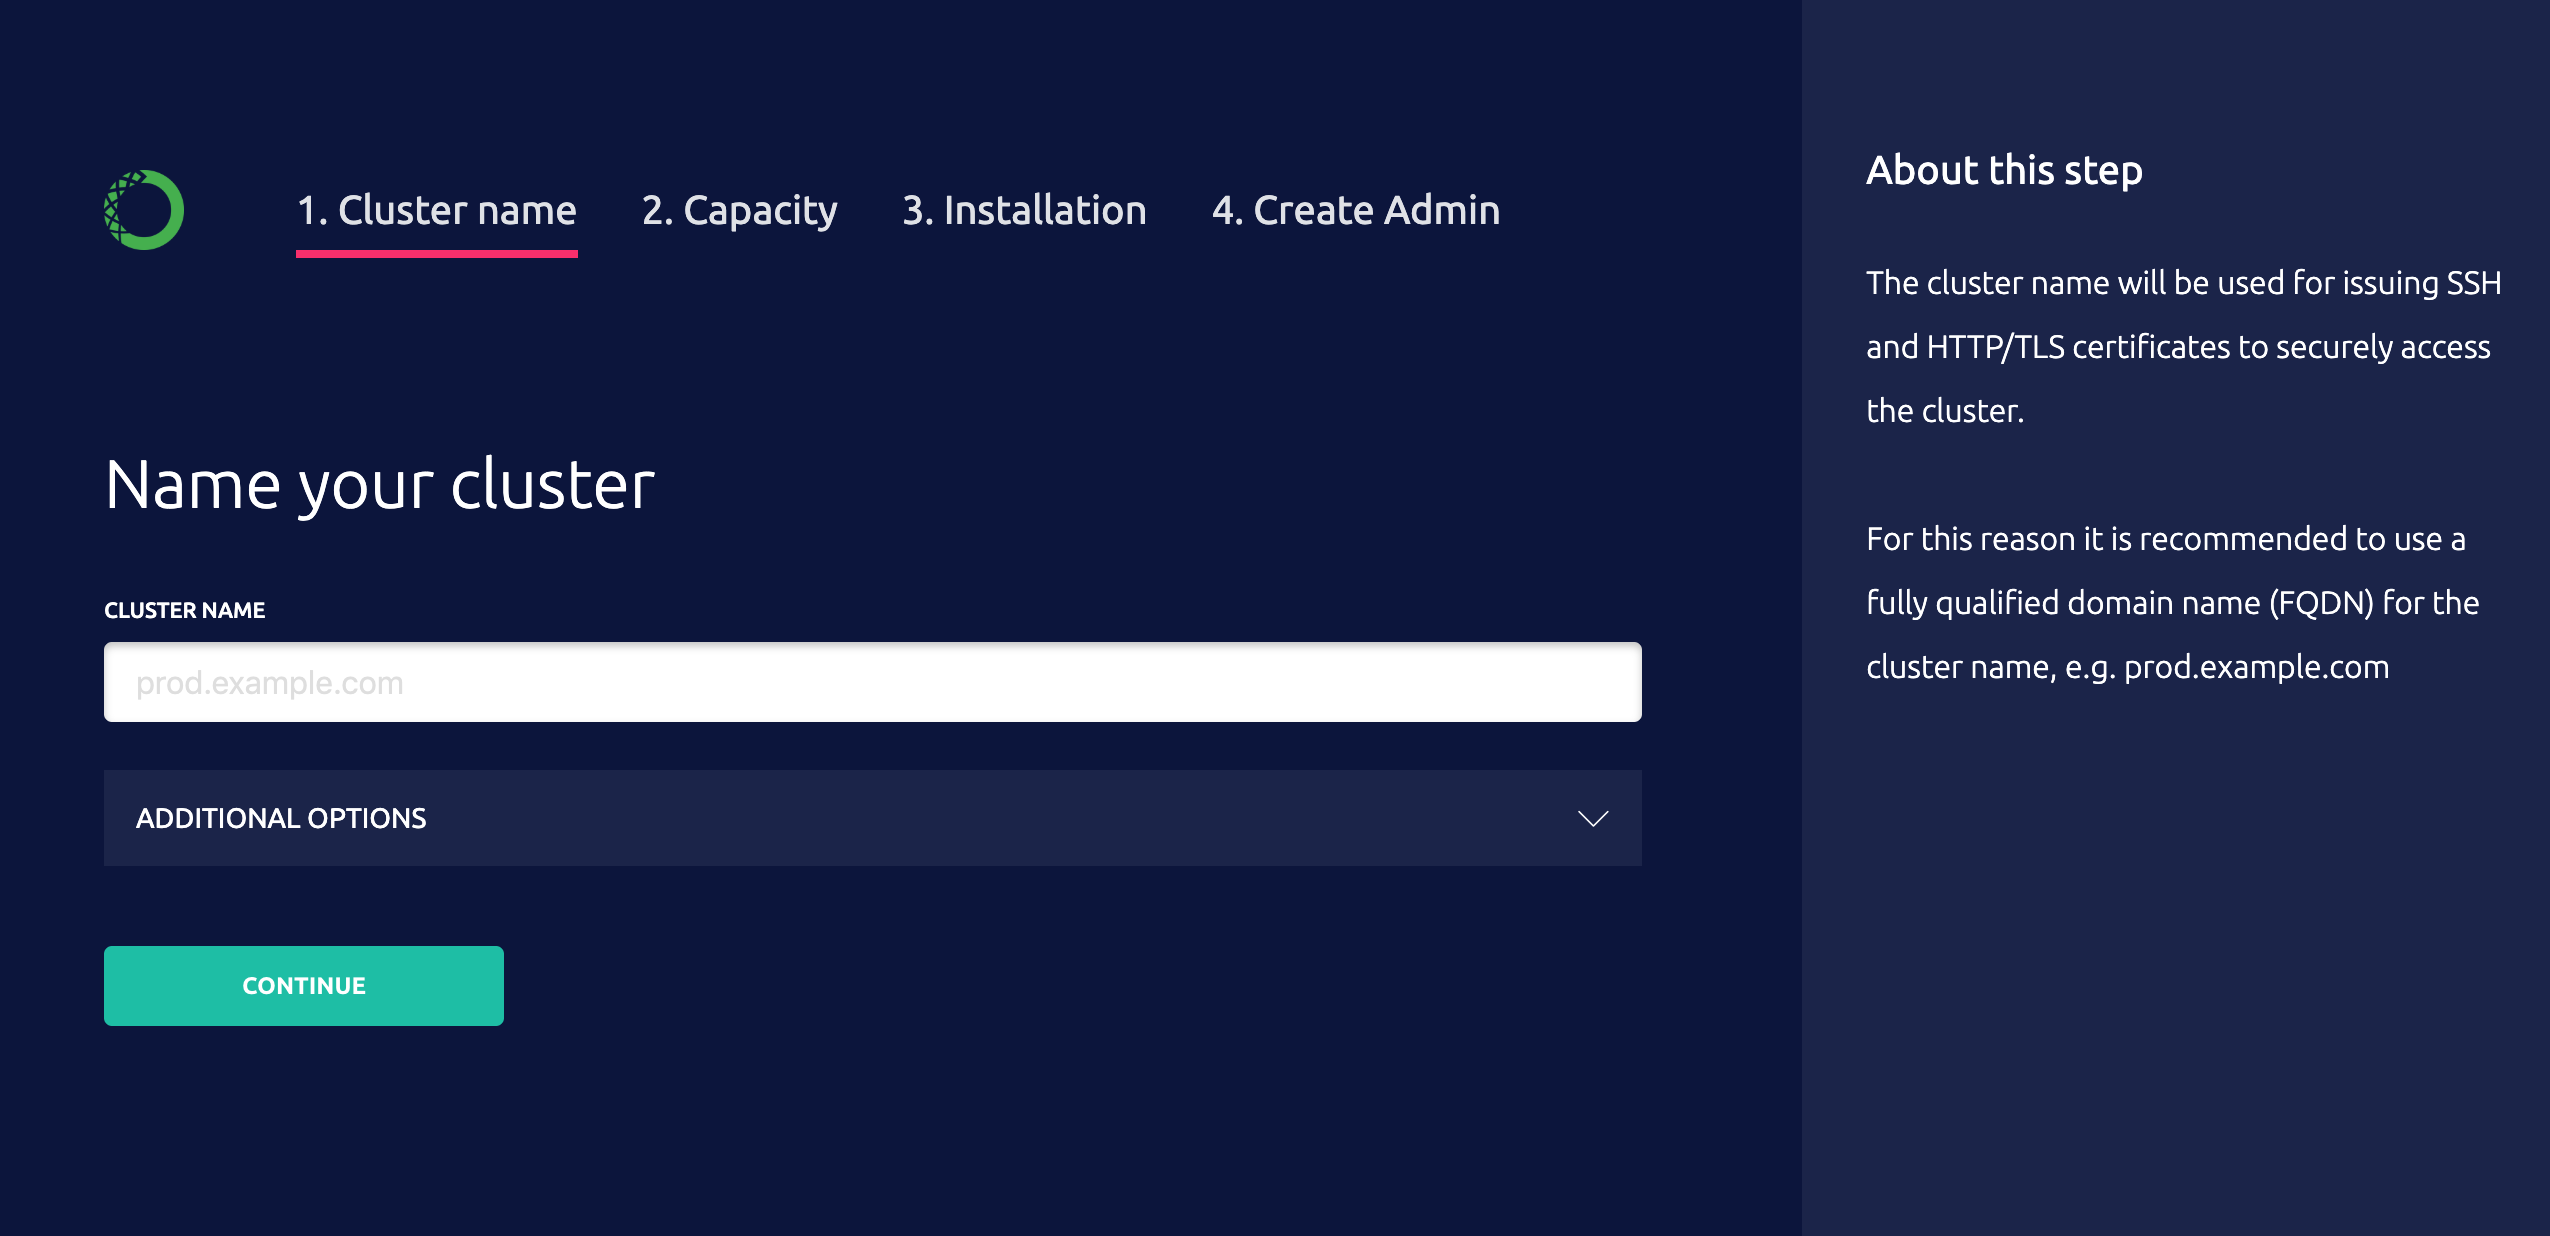
8. Enter the name to use for your deployment in the **Cluster Name** field. The **Bare Metal** option is already selected, so you can click **Continue**.
7. After reviewing the License Agreement, check **I Agree To The Terms** and click **Accept**.
8. Enter the name to use for your deployment in the **Cluster Name** field. The **Bare Metal** option is already selected, so you can click **Continue**.
 9. Select the number of nodes—between one and five—that you want to install in the cluster. One node will act as the master node, and any remaining nodes will be worker nodes. See [Fault tolerance](../admin/resources/fault-tolerance) for more information on how to size your cluster.
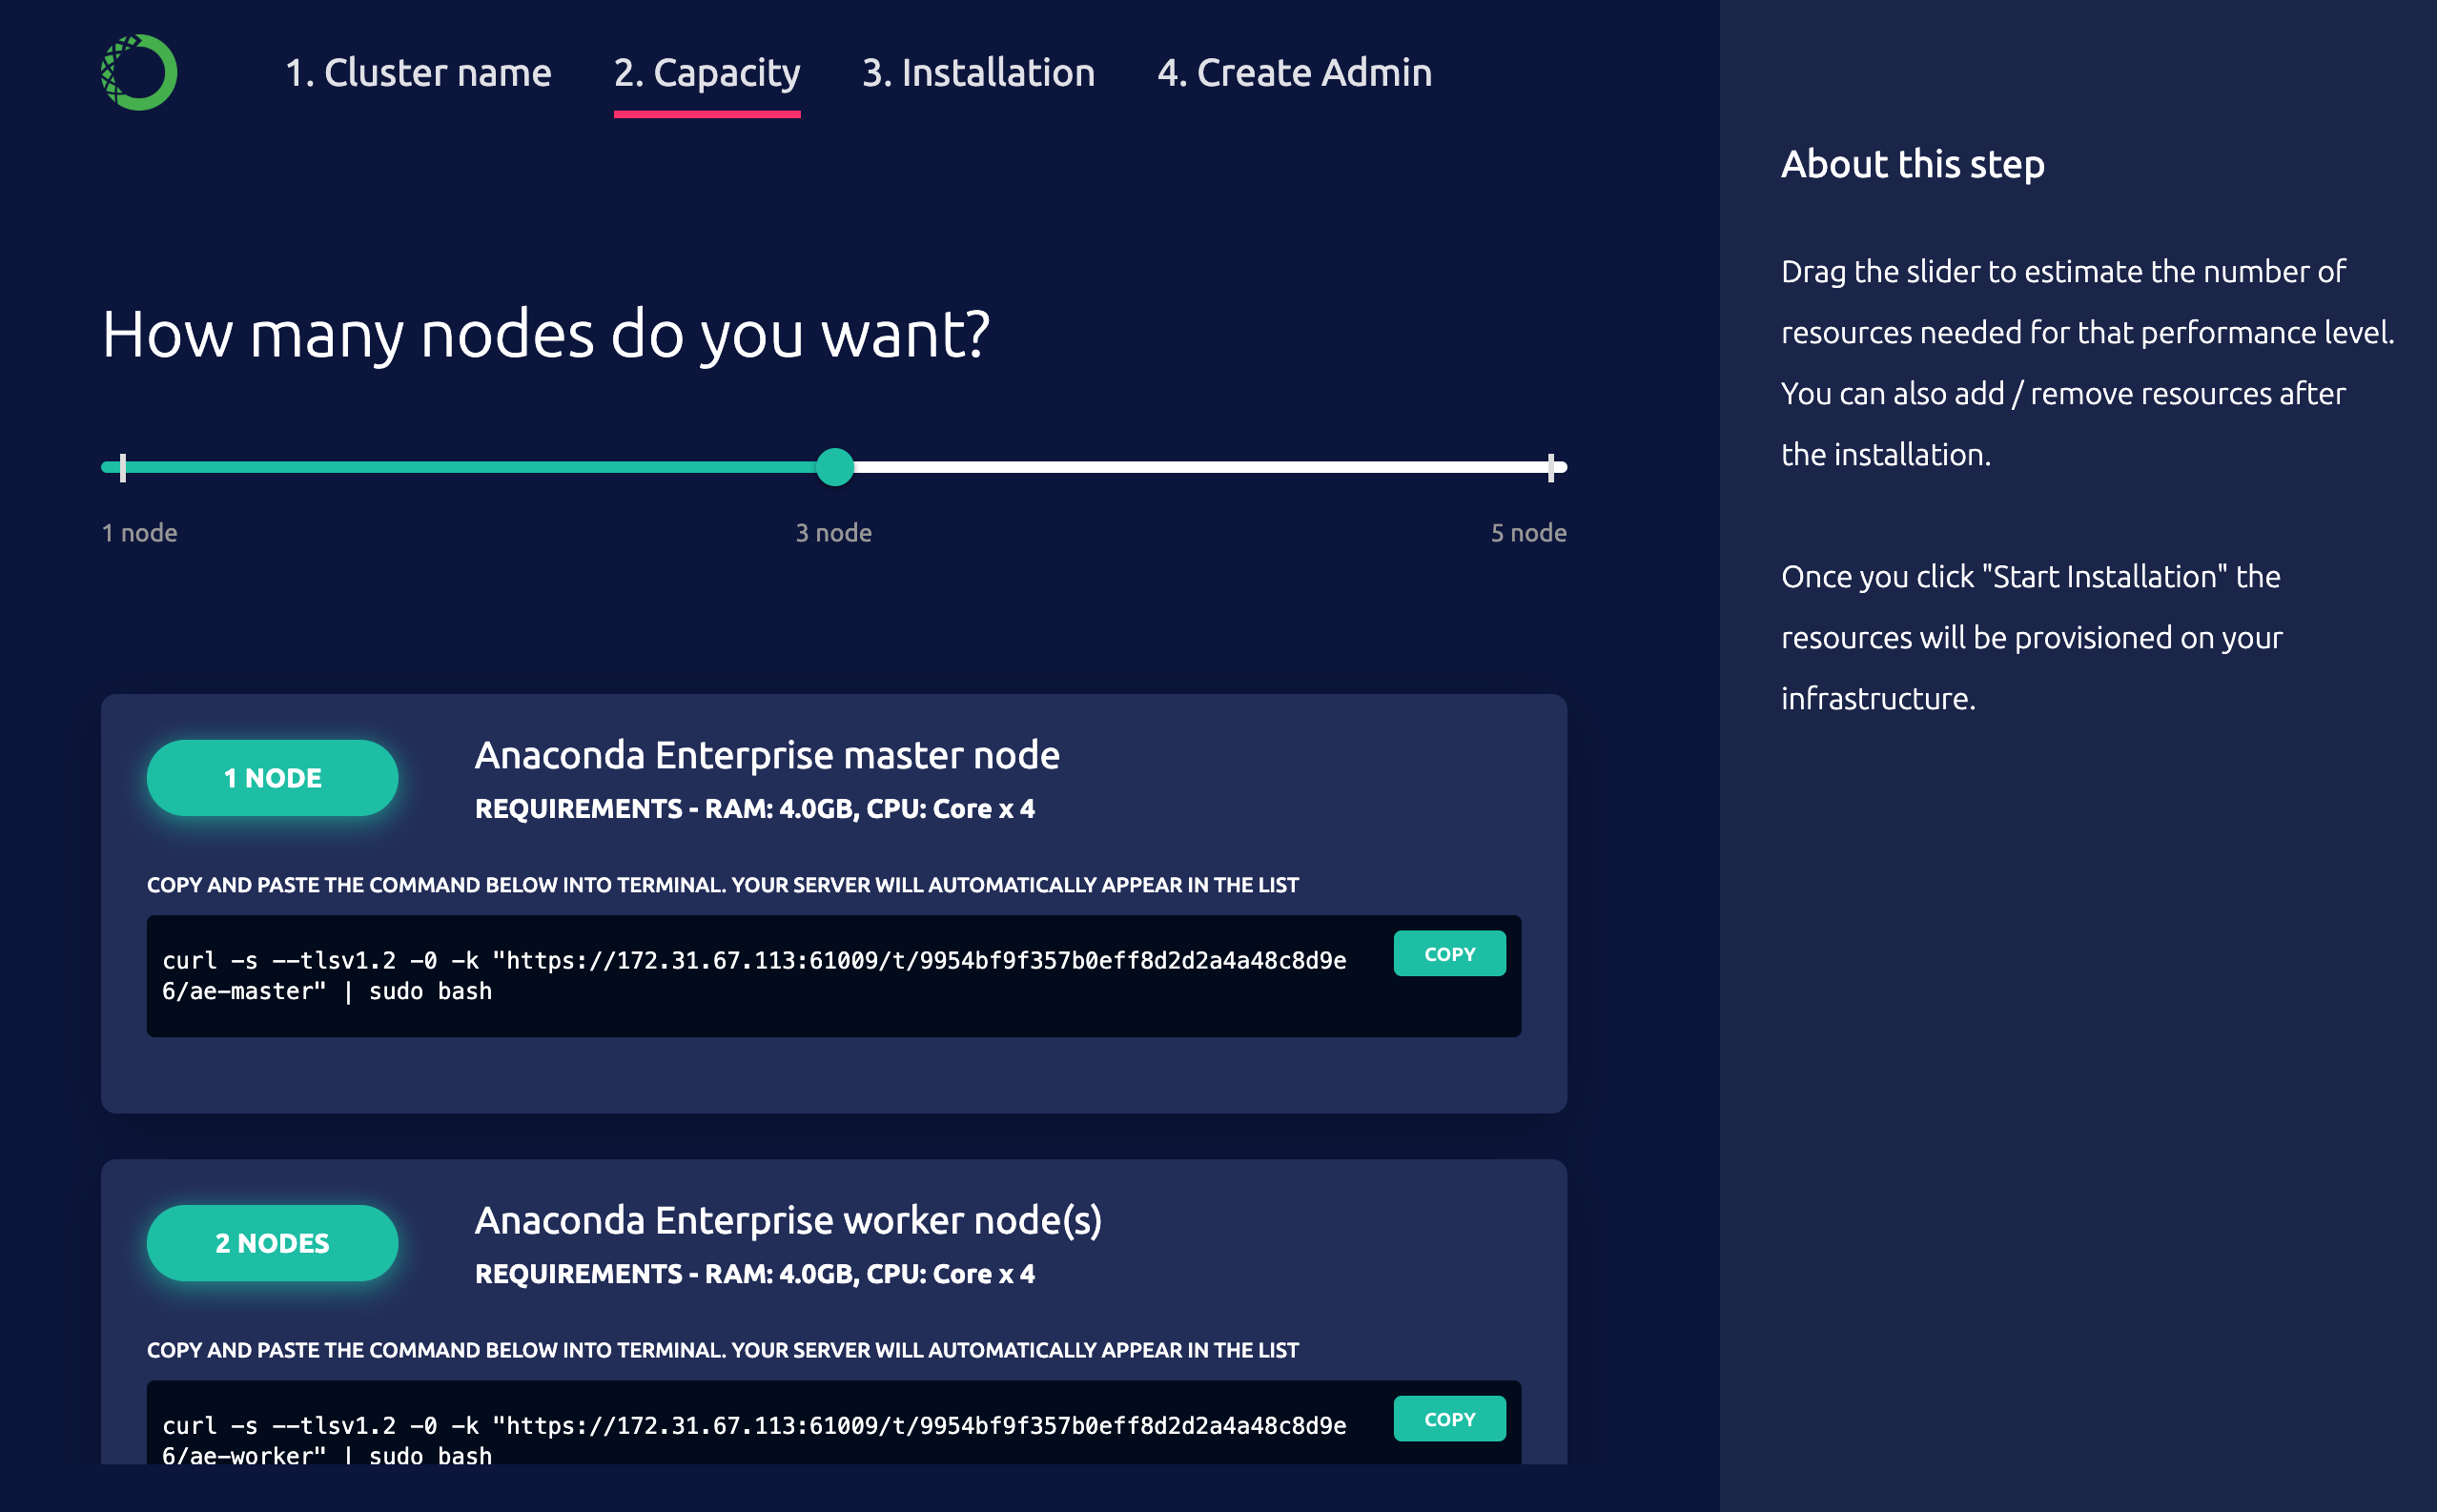 10. *On each node* you plan to install Anaconda Enterprise, copy and run the command that’s provided as it applies to the master node and any worker nodes. As you run the command on each node, the host name of the node is listed below the nodes.
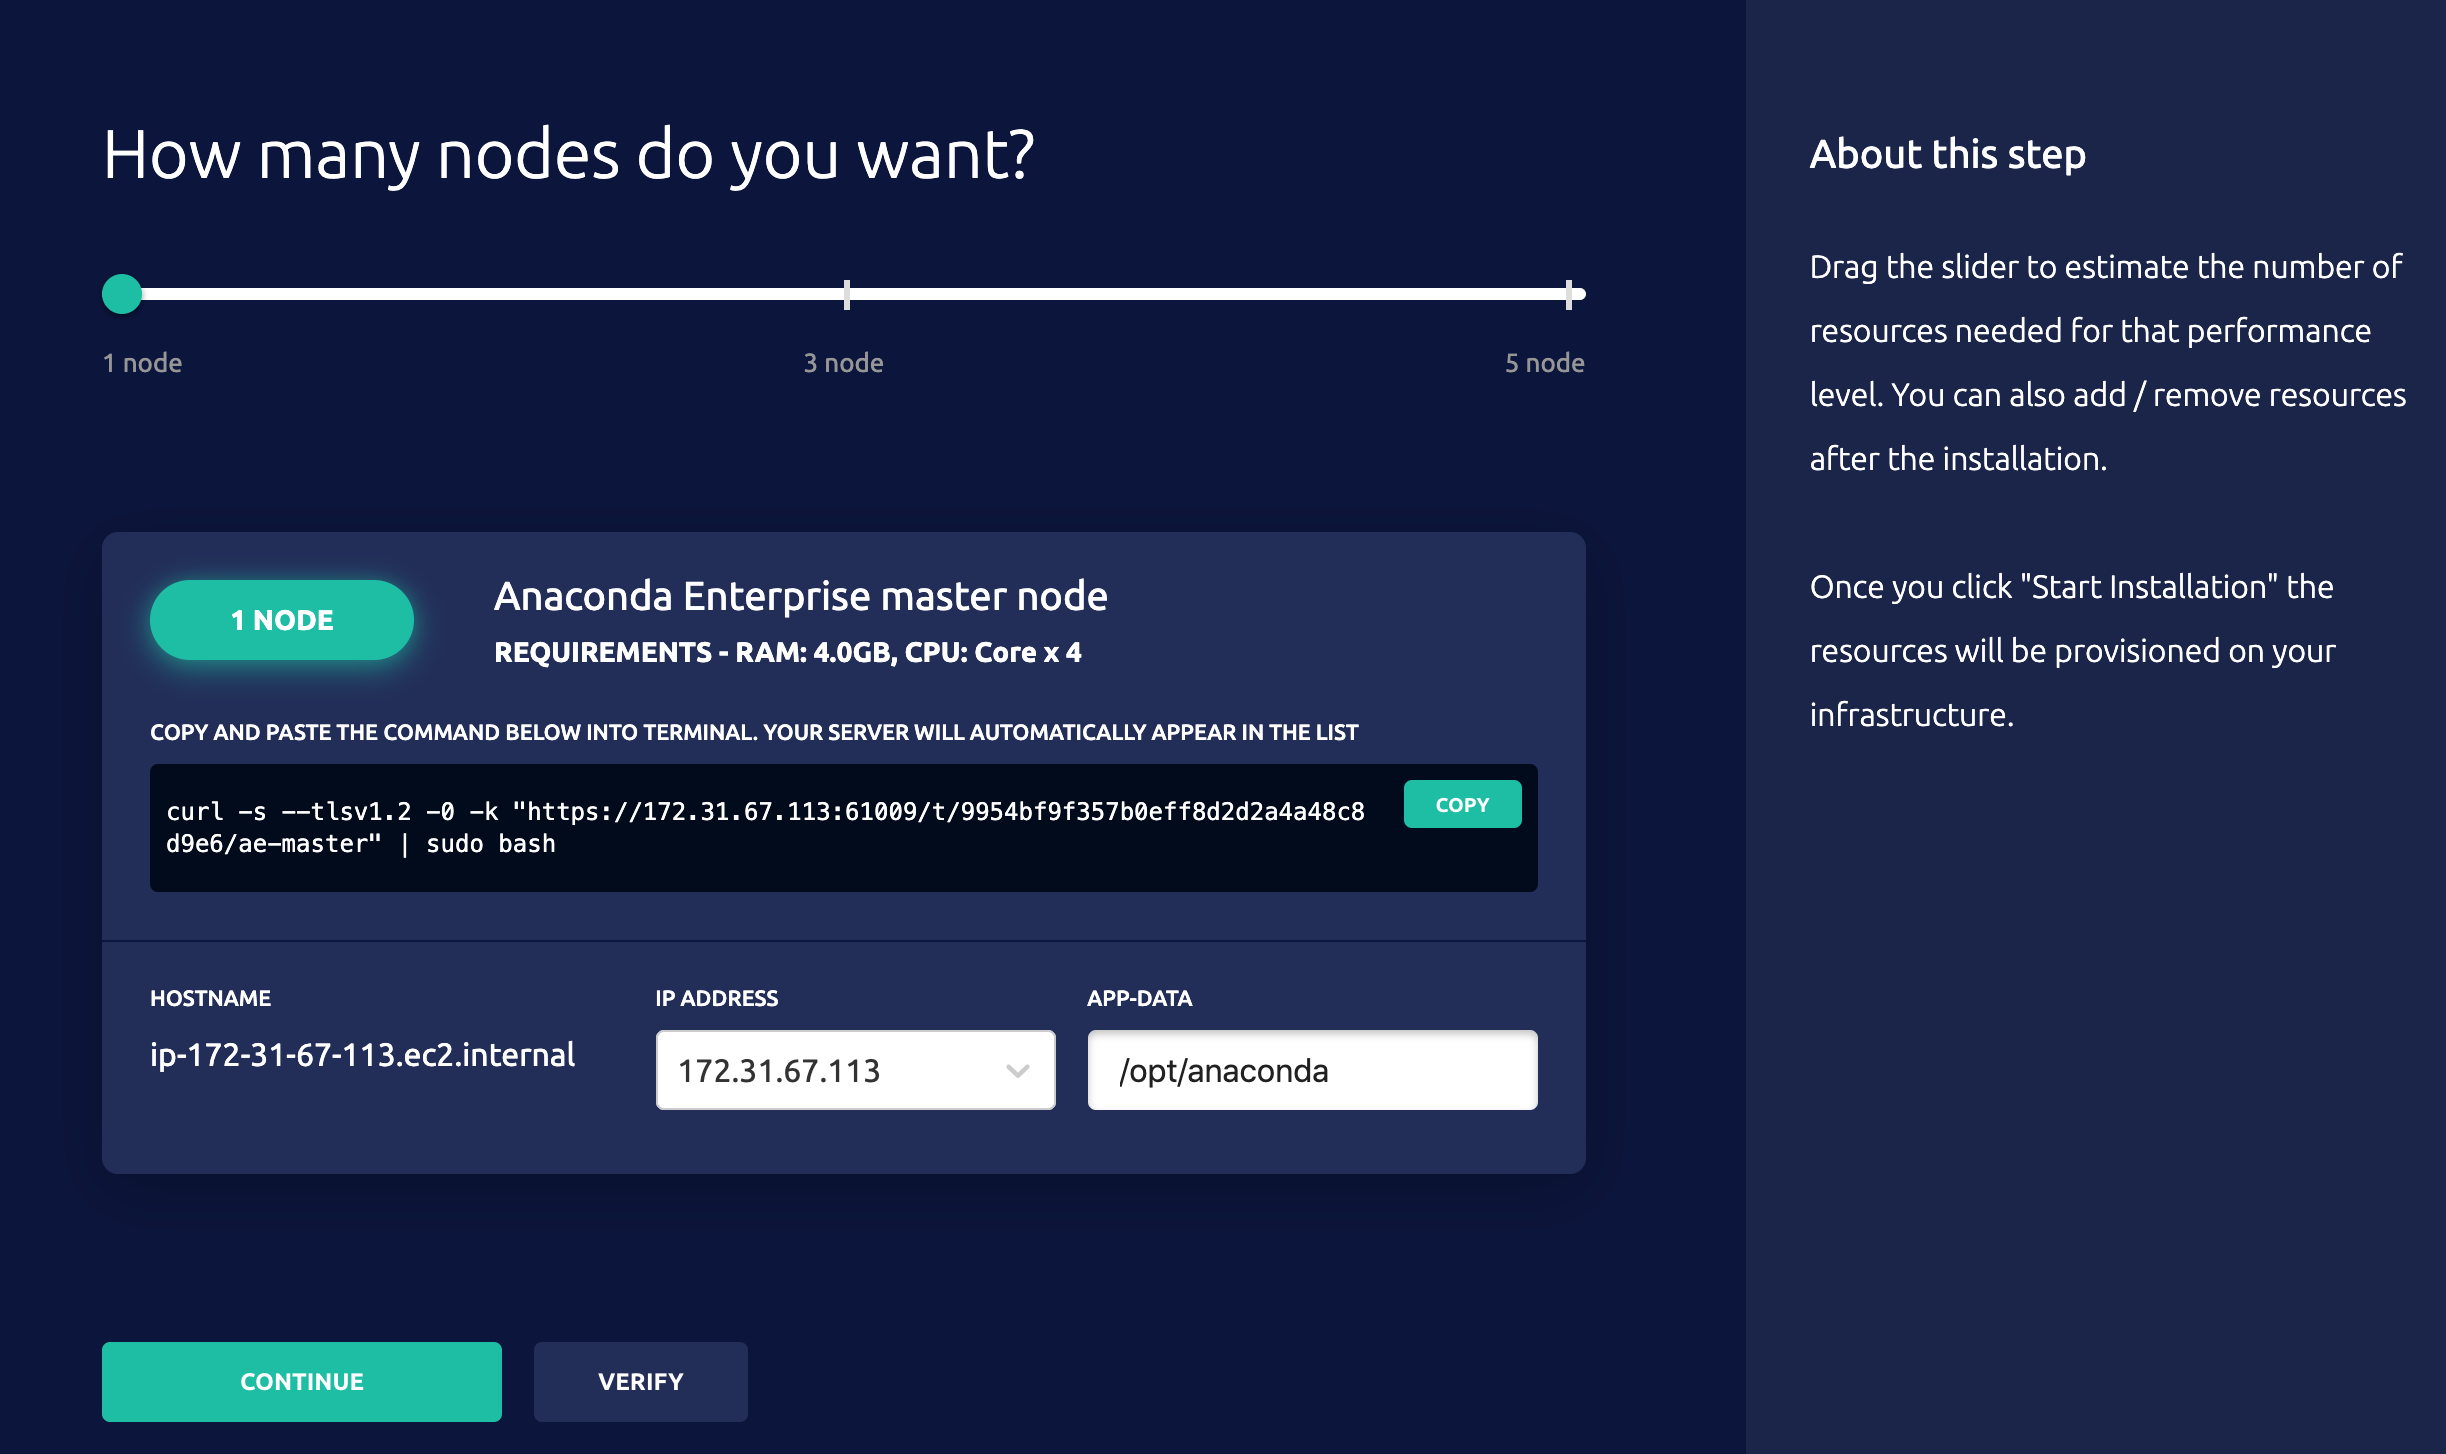 11. Use the **IP Address** drop-down to select the IP address for each node.
12. Accept the default directory for installing application data (`/opt/anaconda/`) or enter another location.
13. After all nodes are listed, click **Continue**. This process can take approximately 20 minutes to complete.
11. Use the **IP Address** drop-down to select the IP address for each node.
12. Accept the default directory for installing application data (`/opt/anaconda/`) or enter another location.
13. After all nodes are listed, click **Continue**. This process can take approximately 20 minutes to complete.
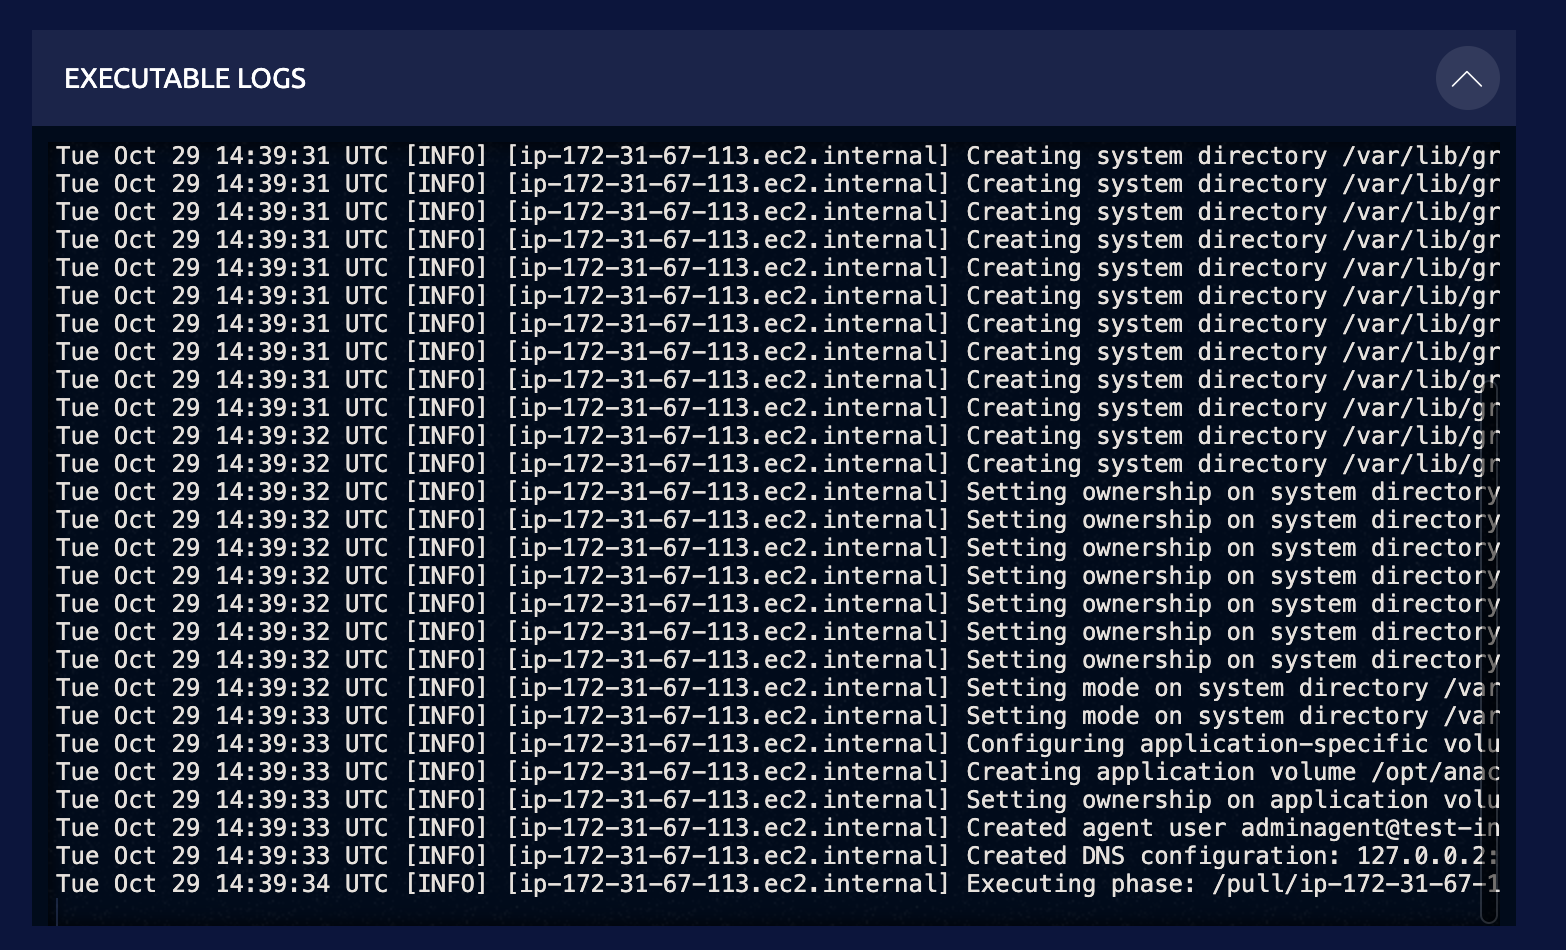
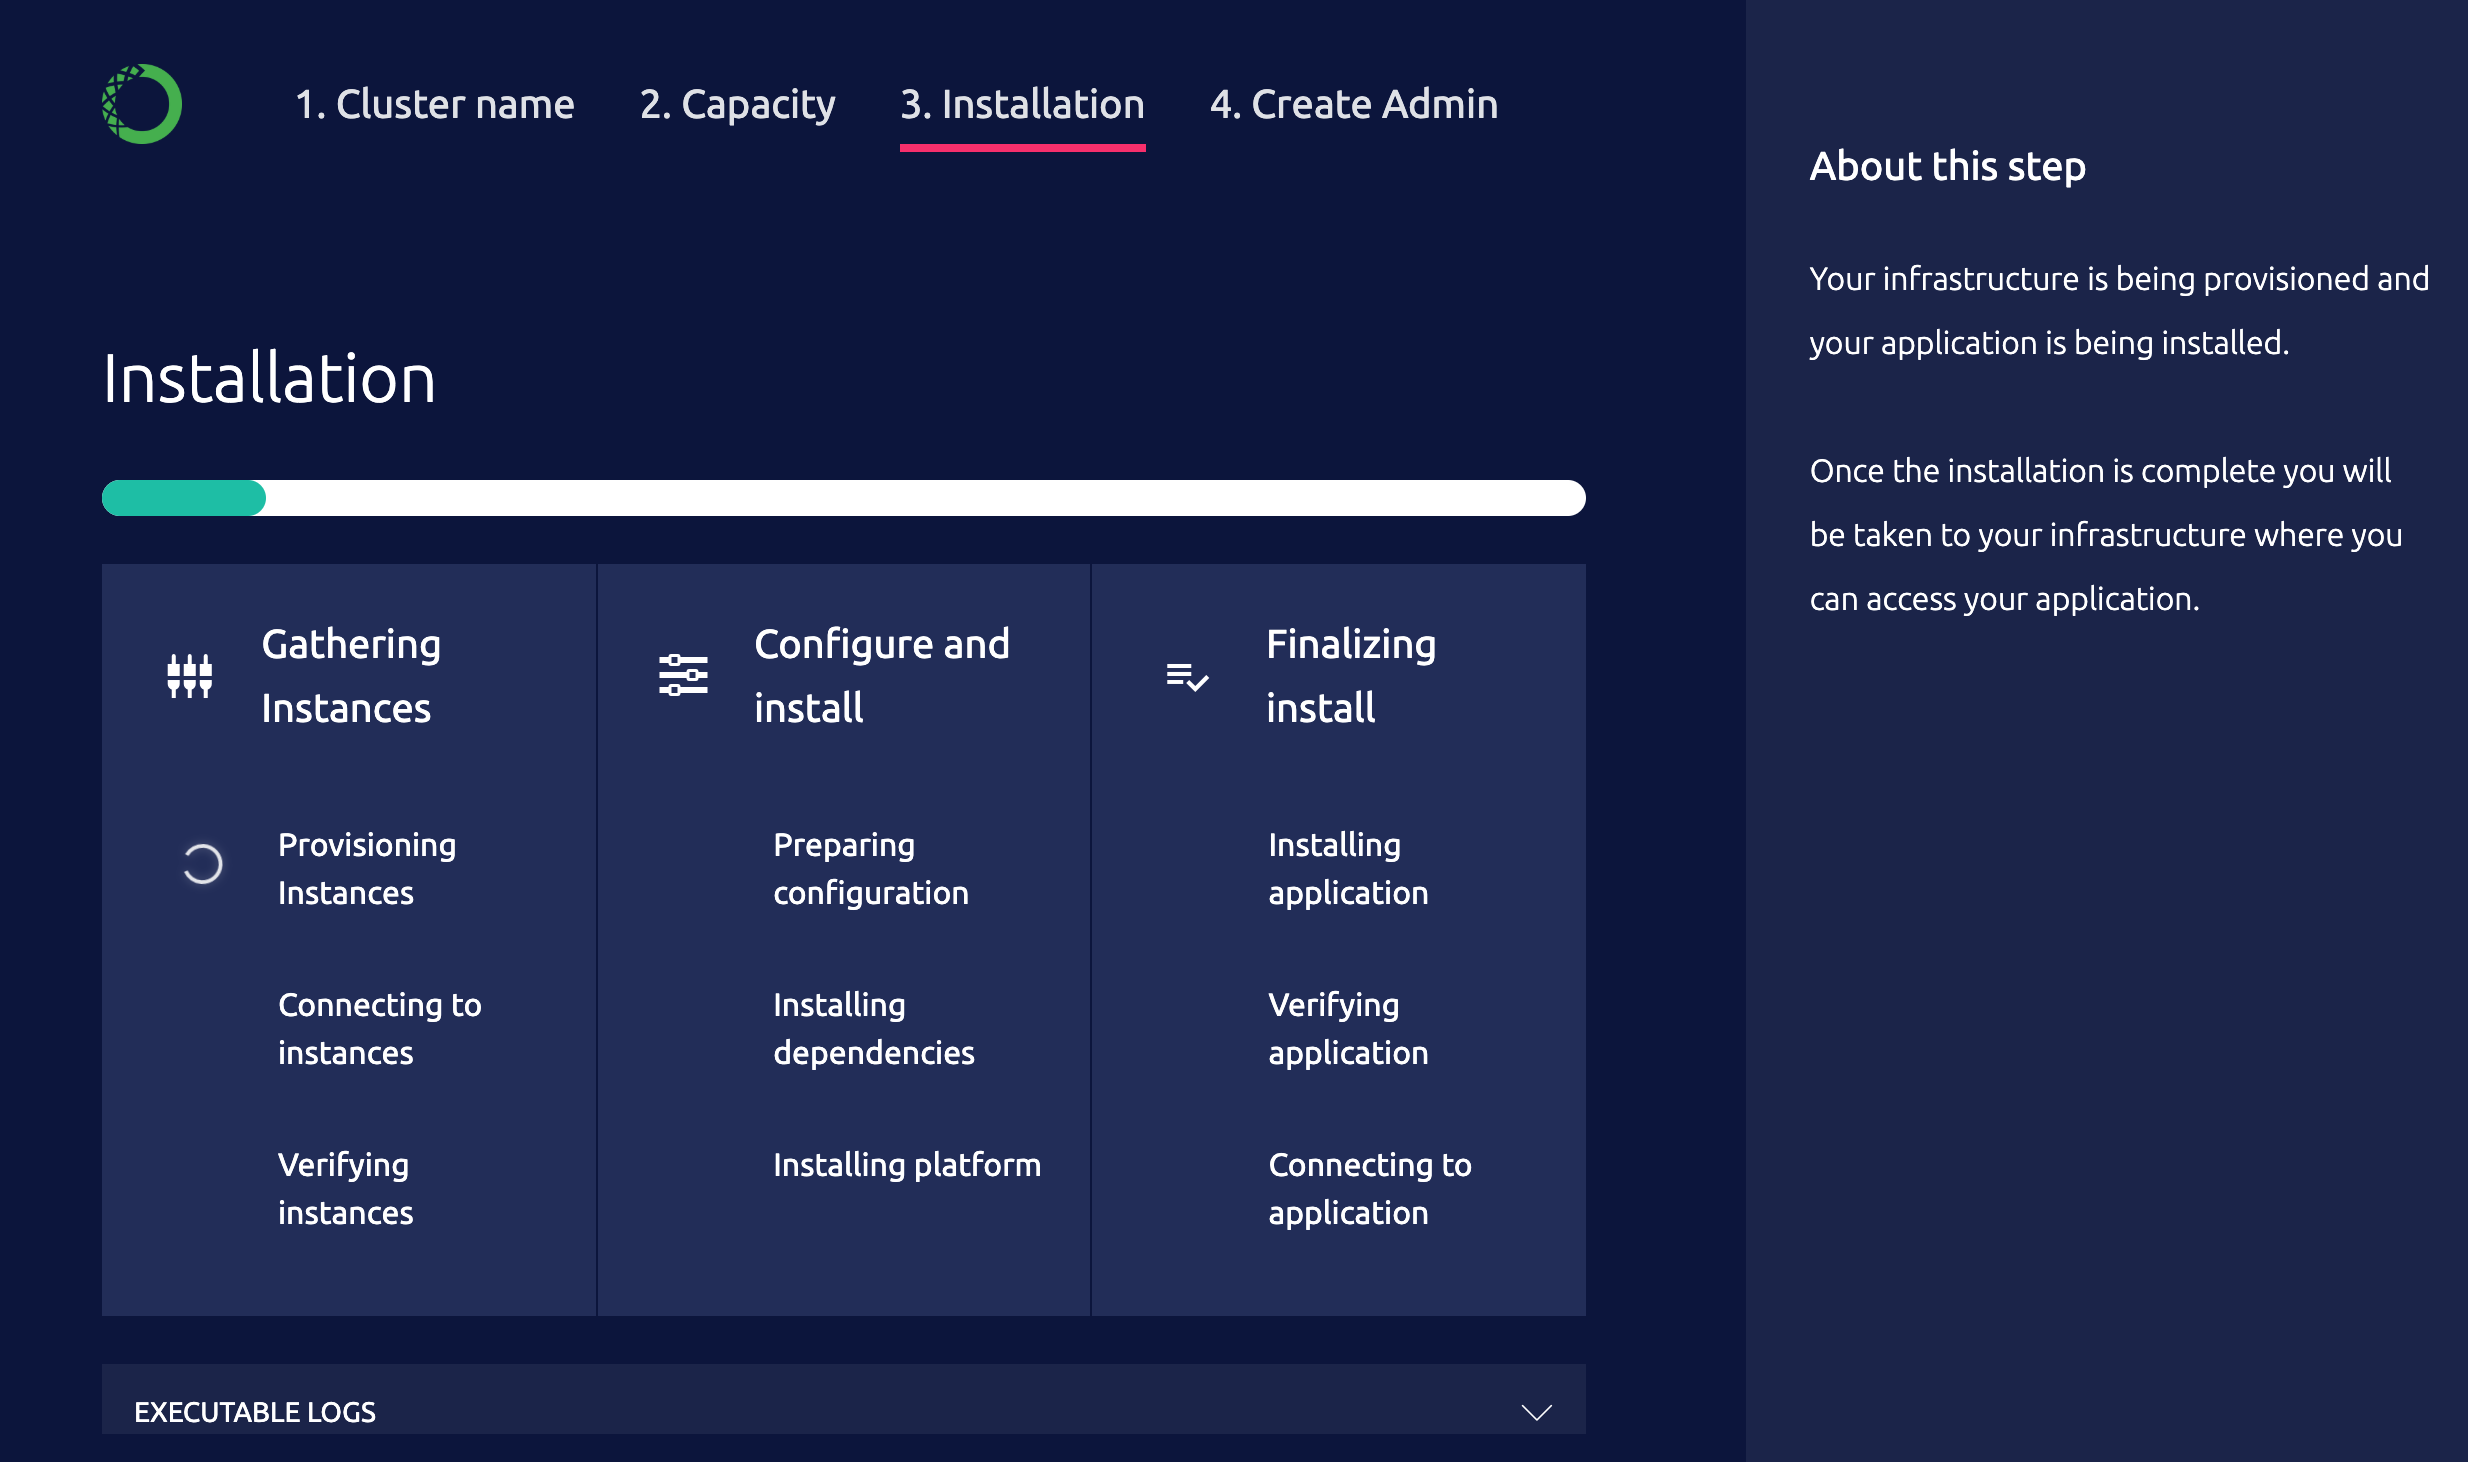 To view the install logs, click the `EXECUTABLE LOGS` pulldown at the bottom of the panel.
 When the installation is complete, the following screen is displayed:
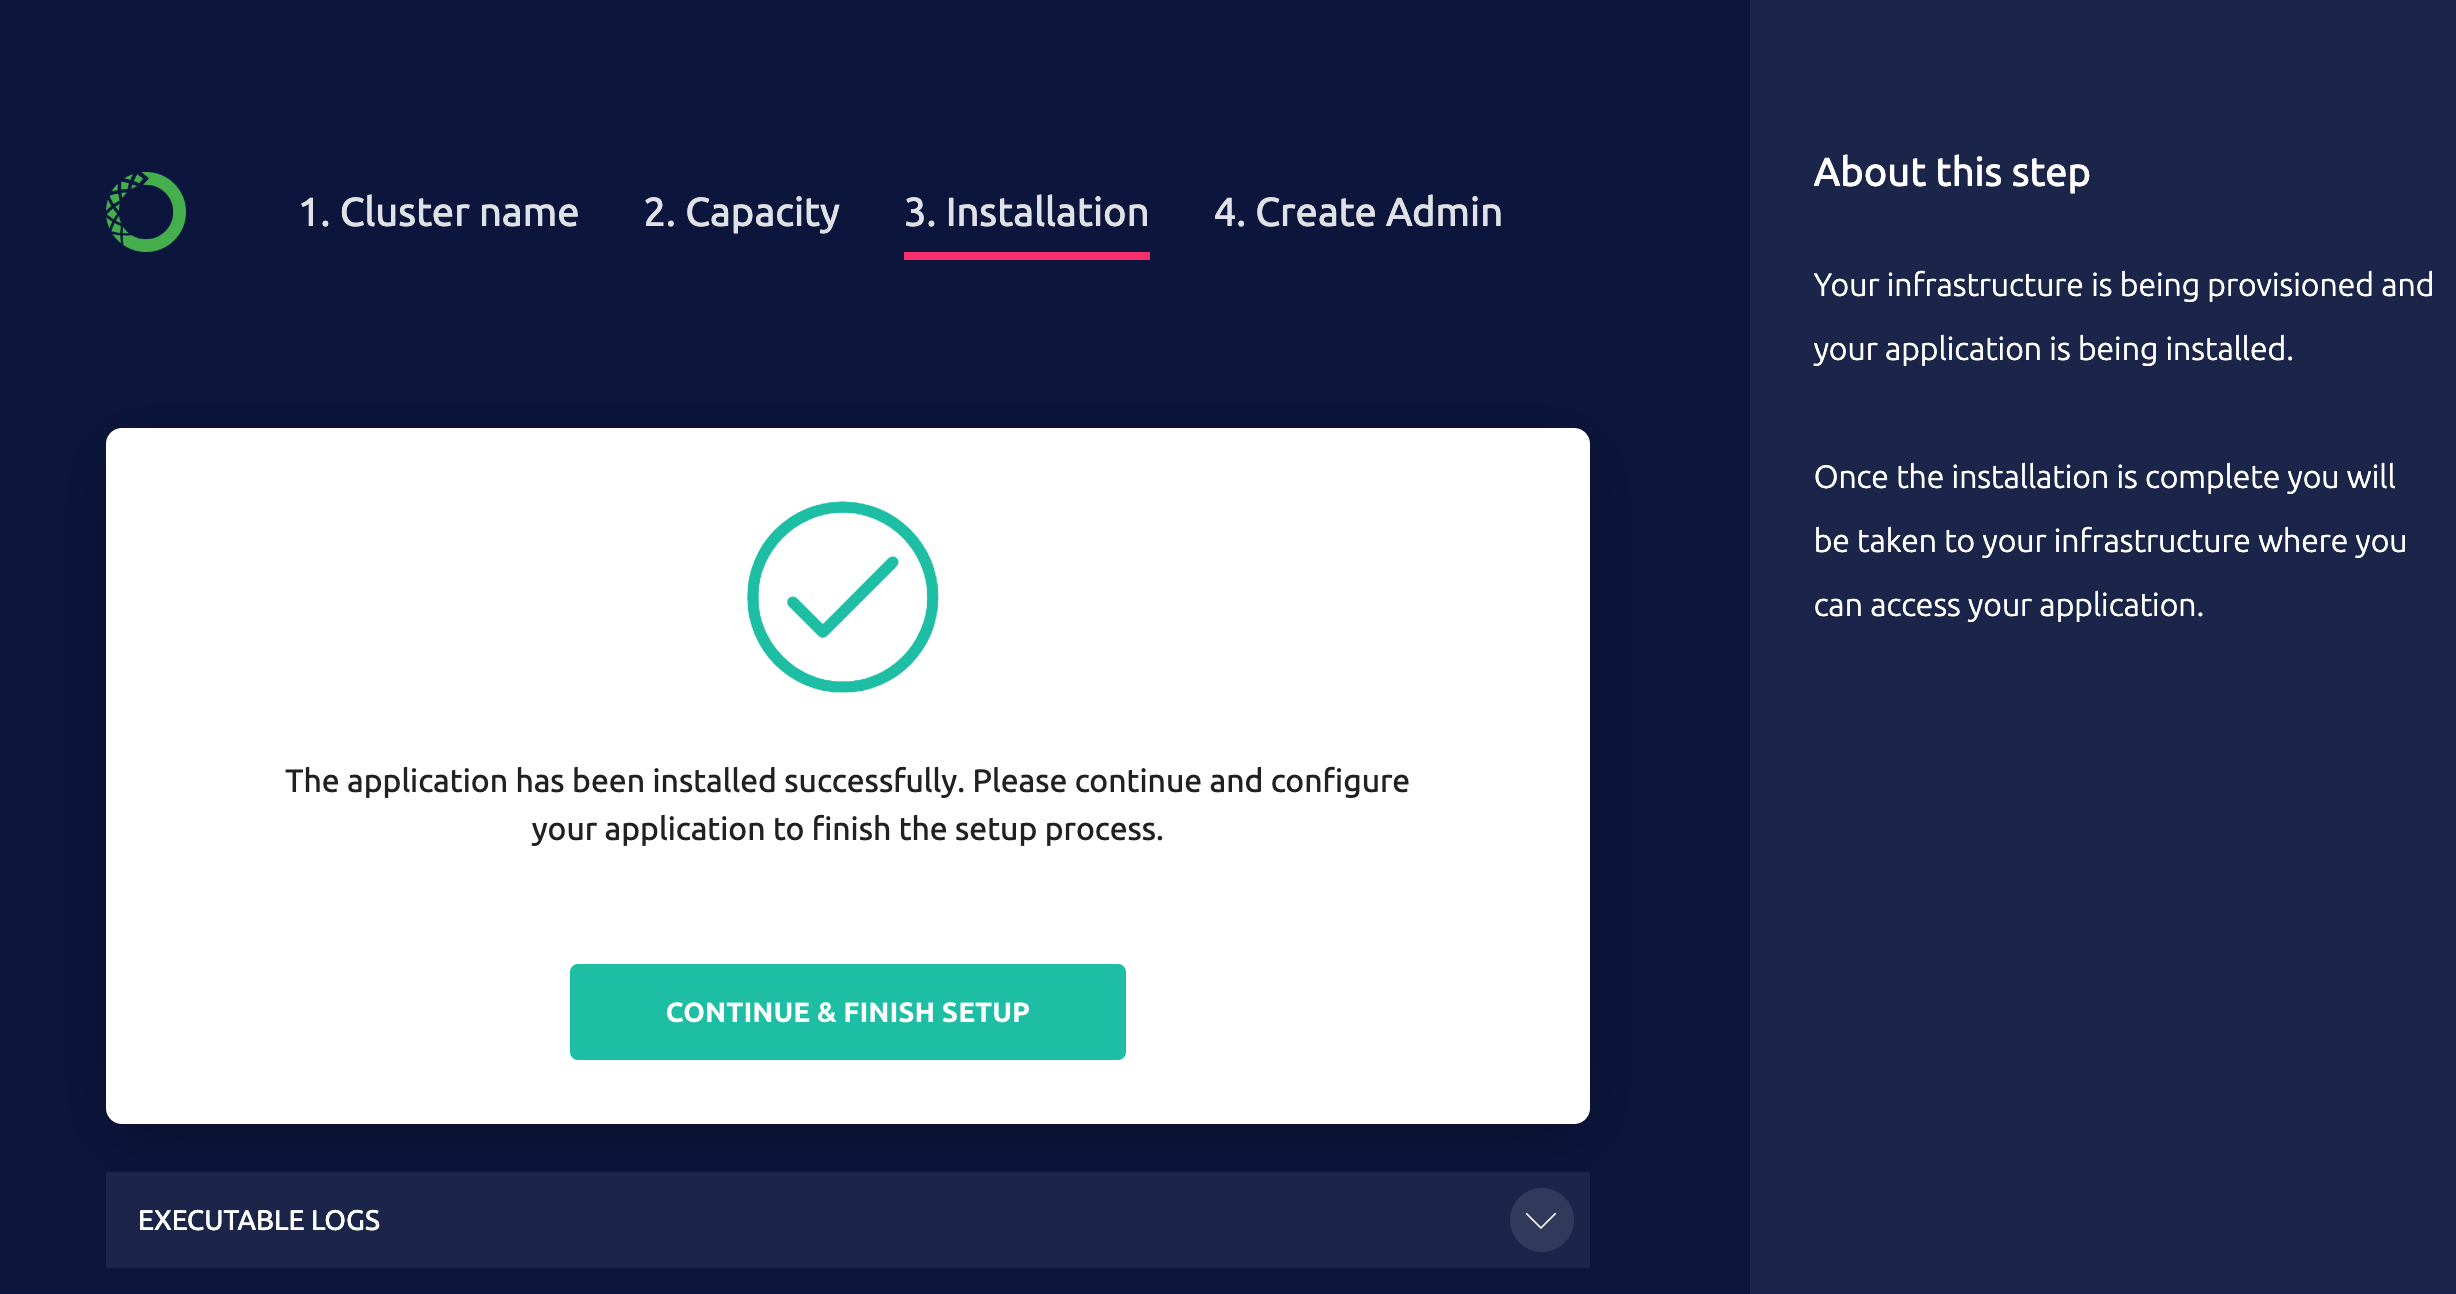 14. Click **Continue & Finish Setup** to proceed to [Post-install configuration](./config).
The installer running in the terminal will note that installation is complete and that you can stop the installer process. **Do not do so** until you have completed the [post-install configuration](./config).
## Using a command line
If you cannot connect to the server from a browser—because you’re installing from a different network, for example—you can install Anaconda Enterprise using a command line.
On each node in the cluster, download and decompress the installer, replacing `` with the location of the installer, and `` with your installer version:
```
curl -O .tar.gz
tar xvf anaconda-enterprise-.tar.gz
cd anaconda-enterprise-
```
*On the master node*, run the pre-installation system checks—as sudo or root user—before proceeding with the installation:
```
sudo ./gravity check --profile ae-master
```
Create a file named `values.yaml` with the following values, replacing `HOSTNAME` with the fully qualified domain name (FQDN) of the host server:
```
apiVersion: v1
kind: ConfigMap
metadata:
name: anaconda-enterprise-install
data:
values: |
hostname: HOSTNAME
generateCerts: true
keycloak:
includeMasterRealm: true
```
After running the pre-installation system checks and creating the YAML file, run the following command *on the master node* as sudo or root user, where you replace:
* The `advertise-addr` IP address with the address you want to be visible to the other nodes
* `CLUSTERNAME` with a name, otherwise a random cluster name will be assigned
Gravity requires the use of lowercase, alphanumeric characters for cluster names. Periods are acceptable for spacing; for example, `test.cluster1`.
* `/path/to/values.yaml` with the path to the `values.yaml` file you created
For `flavor`, choose from the following options the one that represents the number and type of nodes you want to install in the cluster:
* `small`: installs a single-node cluster (one ae-master node). This is the default flavor.
* `medium`: installs three nodes (one ae-master node and two ae-worker nodes)
* `large`: installs five nodes (one ae-master node, two k8s-master nodes and two ae-worker nodes):
```
sudo ./gravity install --advertise-addr=192.168.1.1 --token=anaconda-enterprise --cluster=CLUSTERNAME --flavor=small --config /path/to/values.yaml
```
**NOTES:**
**If you’re using a service account UID that’s different than the default** `1000`, append the command with the actual UID. For example, to use UID `1001`, run:
```
sudo ./gravity install --advertise-addr=192.168.1.1 --token=anaconda-enterprise --cluster=CLUSTERNAME --flavor=small --config /path/to/values.yaml --service-uid=1001
-or-
sudo GRAVITY_SERVICE_USER=1001 ./gravity install --advertise-addr=192.168.1.1 --token=anaconda-enterprise --cluster=CLUSTERNAME --flavor=small --config /path/to/values.yaml
```
**If you’re using an alternate TMPDIR** , pre-pend the command with the directory. For example:
```
sudo TMPDIR=/mytmp ./gravity install --advertise-addr=192.168.1.1 --token=anaconda-enterprise --cluster=CLUSTERNAME --flavor=small --config=/path/to/values.yaml
```
The command line displays the installer’s progress:
```
* [0/100] starting installer
* [0/100] preparing for installation... please wait
* [0/100] application: AnacondaEnterprise:5.2.x
* [0/100] starting non-interactive install
* [0/100] still waiting for 1 nodes of role "worker" to join
* [0/100] still waiting for 1 nodes of role "worker" to join
* [0/100] still waiting for 1 nodes of role "worker" to join
* [0/100] initializing the operation
* [20/100] configuring packages
* [50/100] installing software
```
**If you’re installing AE on AWS** , use the `--cloud-provider` option when installing the master. The installer automatically detects EC2 and uses the VPC-based flannel backend instead of VXLAN. **To force the use of VXLAN**, use the `--cloud-provider generic` option.
*On each worker node*, run the following command, replacing the `advertise-addr` IP address with the address you want to be visible to the other nodes:
```
sudo ./gravity join 192.168.1.1 --advertise-addr=192.168.1.2 --token=anaconda-enterprise --role=ae-worker
```
The command line displays the installer’s progress:
```
* [0/100] joining cluster
* [0/100] connecting to cluster
* [0/100] connected to installer at 192.168.1.1
* [0/100] initializing the operation
* [20/100] configuring packages
* [50/100] installing software
```
This process takes approximately 20 minutes.
After you’ve finished installing Anaconda Enterprise, you’ll need to create a local user account and password to log in to the Anaconda Enterprise Operations Center.
First, enter the Anaconda Enterprise environment *on any of the master or worker nodes*:
```
sudo gravity enter
```
Then, run the following command to create a local user account and password for the Anaconda Enterprise Operations Center, replacing `your-email` and `your-password` with the email address and password you want to use.
Passwords must be at least six characters long.
```
gravity --insecure user create --type=admin --email= --password= --ops-url=https://gravity-site.kube-system.svc.cluster.local:3009
```
14. Click **Continue & Finish Setup** to proceed to [Post-install configuration](./config).
The installer running in the terminal will note that installation is complete and that you can stop the installer process. **Do not do so** until you have completed the [post-install configuration](./config).
## Using a command line
If you cannot connect to the server from a browser—because you’re installing from a different network, for example—you can install Anaconda Enterprise using a command line.
On each node in the cluster, download and decompress the installer, replacing `` with the location of the installer, and `` with your installer version:
```
curl -O .tar.gz
tar xvf anaconda-enterprise-.tar.gz
cd anaconda-enterprise-
```
*On the master node*, run the pre-installation system checks—as sudo or root user—before proceeding with the installation:
```
sudo ./gravity check --profile ae-master
```
Create a file named `values.yaml` with the following values, replacing `HOSTNAME` with the fully qualified domain name (FQDN) of the host server:
```
apiVersion: v1
kind: ConfigMap
metadata:
name: anaconda-enterprise-install
data:
values: |
hostname: HOSTNAME
generateCerts: true
keycloak:
includeMasterRealm: true
```
After running the pre-installation system checks and creating the YAML file, run the following command *on the master node* as sudo or root user, where you replace:
* The `advertise-addr` IP address with the address you want to be visible to the other nodes
* `CLUSTERNAME` with a name, otherwise a random cluster name will be assigned
Gravity requires the use of lowercase, alphanumeric characters for cluster names. Periods are acceptable for spacing; for example, `test.cluster1`.
* `/path/to/values.yaml` with the path to the `values.yaml` file you created
For `flavor`, choose from the following options the one that represents the number and type of nodes you want to install in the cluster:
* `small`: installs a single-node cluster (one ae-master node). This is the default flavor.
* `medium`: installs three nodes (one ae-master node and two ae-worker nodes)
* `large`: installs five nodes (one ae-master node, two k8s-master nodes and two ae-worker nodes):
```
sudo ./gravity install --advertise-addr=192.168.1.1 --token=anaconda-enterprise --cluster=CLUSTERNAME --flavor=small --config /path/to/values.yaml
```
**NOTES:**
**If you’re using a service account UID that’s different than the default** `1000`, append the command with the actual UID. For example, to use UID `1001`, run:
```
sudo ./gravity install --advertise-addr=192.168.1.1 --token=anaconda-enterprise --cluster=CLUSTERNAME --flavor=small --config /path/to/values.yaml --service-uid=1001
-or-
sudo GRAVITY_SERVICE_USER=1001 ./gravity install --advertise-addr=192.168.1.1 --token=anaconda-enterprise --cluster=CLUSTERNAME --flavor=small --config /path/to/values.yaml
```
**If you’re using an alternate TMPDIR** , pre-pend the command with the directory. For example:
```
sudo TMPDIR=/mytmp ./gravity install --advertise-addr=192.168.1.1 --token=anaconda-enterprise --cluster=CLUSTERNAME --flavor=small --config=/path/to/values.yaml
```
The command line displays the installer’s progress:
```
* [0/100] starting installer
* [0/100] preparing for installation... please wait
* [0/100] application: AnacondaEnterprise:5.2.x
* [0/100] starting non-interactive install
* [0/100] still waiting for 1 nodes of role "worker" to join
* [0/100] still waiting for 1 nodes of role "worker" to join
* [0/100] still waiting for 1 nodes of role "worker" to join
* [0/100] initializing the operation
* [20/100] configuring packages
* [50/100] installing software
```
**If you’re installing AE on AWS** , use the `--cloud-provider` option when installing the master. The installer automatically detects EC2 and uses the VPC-based flannel backend instead of VXLAN. **To force the use of VXLAN**, use the `--cloud-provider generic` option.
*On each worker node*, run the following command, replacing the `advertise-addr` IP address with the address you want to be visible to the other nodes:
```
sudo ./gravity join 192.168.1.1 --advertise-addr=192.168.1.2 --token=anaconda-enterprise --role=ae-worker
```
The command line displays the installer’s progress:
```
* [0/100] joining cluster
* [0/100] connecting to cluster
* [0/100] connected to installer at 192.168.1.1
* [0/100] initializing the operation
* [20/100] configuring packages
* [50/100] installing software
```
This process takes approximately 20 minutes.
After you’ve finished installing Anaconda Enterprise, you’ll need to create a local user account and password to log in to the Anaconda Enterprise Operations Center.
First, enter the Anaconda Enterprise environment *on any of the master or worker nodes*:
```
sudo gravity enter
```
Then, run the following command to create a local user account and password for the Anaconda Enterprise Operations Center, replacing `your-email` and `your-password` with the email address and password you want to use.
Passwords must be at least six characters long.
```
gravity --insecure user create --type=admin --email= --password= --ops-url=https://gravity-site.kube-system.svc.cluster.local:3009
```
Installing in an air-gapped environment
If the cluster where you will install Anaconda Enterprise *cannot connect to the internet*, follow
these instructions:
1. Download the installer tarball file to a jumpbox or USB key.
2. Move the installer tarball file to a designated head node in the cluster.
3. Untar the installer file and run `sudo ./gravity wizard` for browser-based
installation or `sudo ./gravity install` for CLI-based installation.
Installation and post-install configuration steps are the same for air-gapped and internet-connected installations, so you can continue the installation process from this point, choosing your preferred method:
* [Browser installation](#using-a-web-browser-recommended) (must be on the same network as the target machines)
* [Unattended command-line interface (CLI) installation](#using-a-command-line)
**Post-install configuration**
After completing either installation path, complete the [post-install configuration steps](./config).